
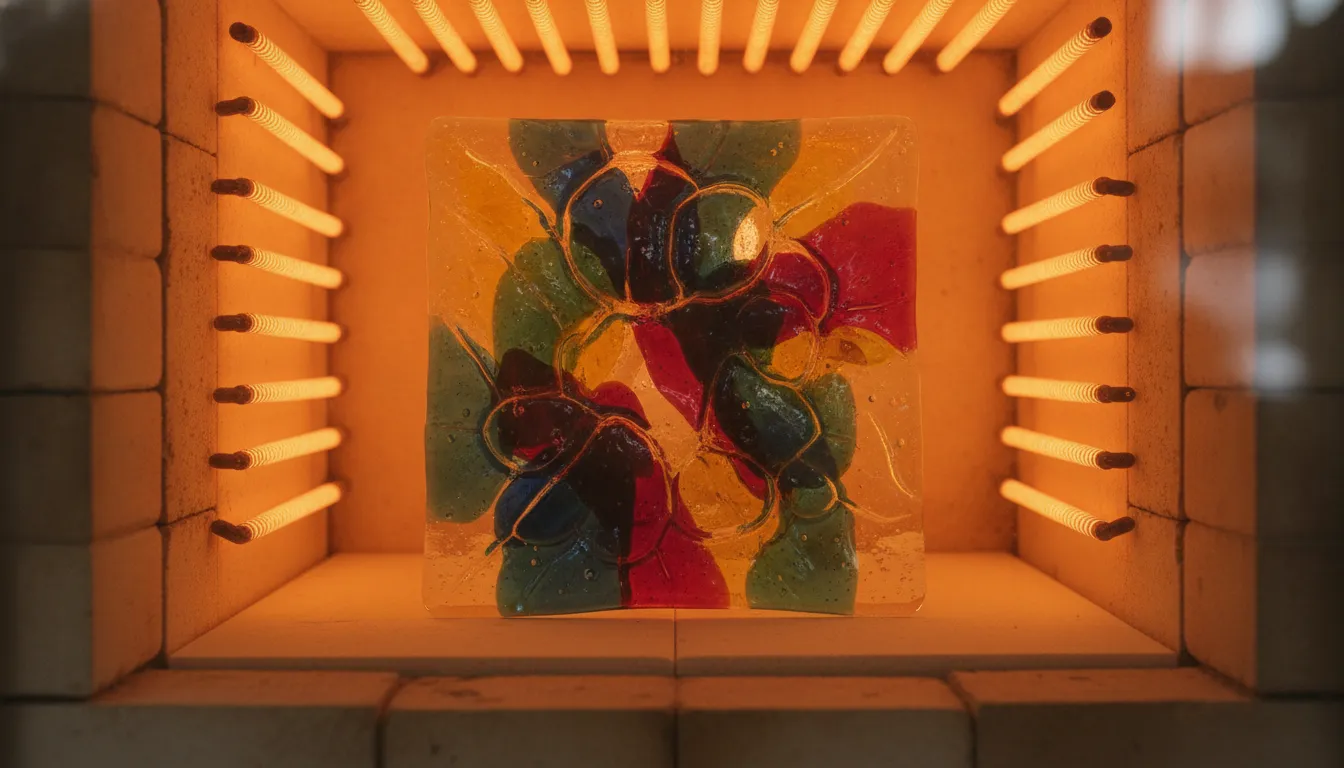
Every piece of fused glass starts with one critical choice: the path you take through the heat. A firing schedule for glass fusing is a temperature plan that controls how your kiln heats, holds, and cools your work. Get it right, and your glass comes out smooth and strong. Miss a key step, and you face bubbles, cracks, or cloudy surfaces.
At Art Glass Supplies, we help artists master their kilns. This guide covers the three main schedule types: tack fuse, full fuse, and slump. You will learn the exact temperature zones, soak times, and ramp rates for each one. Let us start with the most important variable: glass compatibility.
Firing Schedules For Glass Fusing: Understanding COE and Glass Compatibility
Glass fusing starts with a simple law of physics: glass expands when hot and contracts when cold. The Coefficient of Expansion (COE) tells us how fast this happens. Every piece of glass in your work must have the same COE. Art Glass Supplies recommends sorting your glass by COE before any project. If you mix glass types, they will pull against each other as the kiln cools. You can see how this works in our Bullseye COE 90 firing schedule guide.
The standard glass families
Most artists use two main types: COE 90 and COE 96. COE 90 is for Bullseye glass. COE 96 includes brands like Oceanside and Wissmach. Because COE 96 glass is softer, it melts at a lower heat. Mixing these types creates stress that leads to cracks. A piece might look fine at first, but the stress can break the glass weeks later.
The quarter inch rule
Hot glass wants to be about 6mm (1/4 inch) thick. Thin projects pull edges inward to thicken up. Thick projects spread outward. This rule helps you predict the final size of your project before you fire it. Art Glass Supplies provides detailed guidance in our glass fusing kiln guide.
How to test for stress
Even glass from the same brand can change between batches. Most pros use these stress-testing methods:
- Polarizing filter test: Place your fused piece between two polarized light filters. Dark spots or colored rings indicate trapped stress.
- Batch testing: Fire a small sample of each glass lot together and check for cracks after 24 hours.
- Edge inspection: Run your finger along the edge. Sharp or uneven edges can signal stress points.
Keeping your glass sorted by COE is the best way to stop costly errors in the kiln.
Browse our Skutt and Olympic glass kilns with next-day shipping
Full Fuse Firing Schedule: Complete Temperature Guide
A full fuse melts stacked layers into one flat, uniform piece about 6mm thick. Art Glass Supplies recommends this as the starting point for most projects. Here are the go-to schedules for COE96 and COE90 glass.
| Segment | Rate (F/hr) | Temp (F) | Hold | What Happens |
|---|---|---|---|---|
| 1. Initial Heat | 400 | 1225 | :30 | Glass warms evenly past the thermal shock zone. |
| 2. Bubble Soak | 0 | 1225 | :30 | Trapped air escapes between layers. |
| 3. Rapid Heat | 600 | 1460 | :10 | Fast rise to full fuse temperature. |
| 4. Process Soak | 0 | 1460 | :10 | Glass levels and fuses into one layer. |
| 5. Rapid Cool | AFAP | 960 | 1:00 | Quick drop to annealing range. |
| 6. Anneal Soak | 0 | 960 | 1:00 | Internal stress relieved |
| 7. Controlled Cool | 100 | 700 | :00 | Slow cool through the stress zone |
| 8. Cool to Room | AFAP | 70 | — | Kiln off; cool naturally |
For COE90 glass: Raise the top temperature by 20 degrees F to about 1480F. Keep all other settings the same. COE90 glass is stiffer and needs extra heat to reach the same flow.
The Bubble Soak
The hold at 1225F for 30 minutes is one of the most important parts of a full fuse schedule. At this temperature, the glass is soft enough for air pockets to push out from between layers. If you skip or shorten this step, large bubbles get sealed inside when the glass melts at 1460F. For larger pieces or three or more layers, extend this soak to 45 or 60 minutes.
Rapid Heat and Process Soak
Once the bubble soak ends, raise the temperature at 600F per hour. The glass is past the thermal shock zone and handles fast heat well. The top temperature of 1460F (COE96) or 1480F (COE90) is held for 10 minutes. Longer holds cause the glass to spread more, changing the final size. Keep the 1/4 inch rule in mind when you choose your soak time.
Cooling and Annealing
After the process soak, cool the kiln as fast as it can drop to 960F. The one-hour soak at 960F is where annealing happens. This removes stress inside the glass by letting molecules settle into a stable arrangement. A controlled cool at 100F per hour down to 700F finishes the cycle. Below 700F, you can turn the kiln off and let the glass cool naturally. Never open the kiln above 400F. For full details, read Art Glass Supplies’ guide on how to use a glass fusing kiln.
Tack Fuse Firing Schedule: When and How
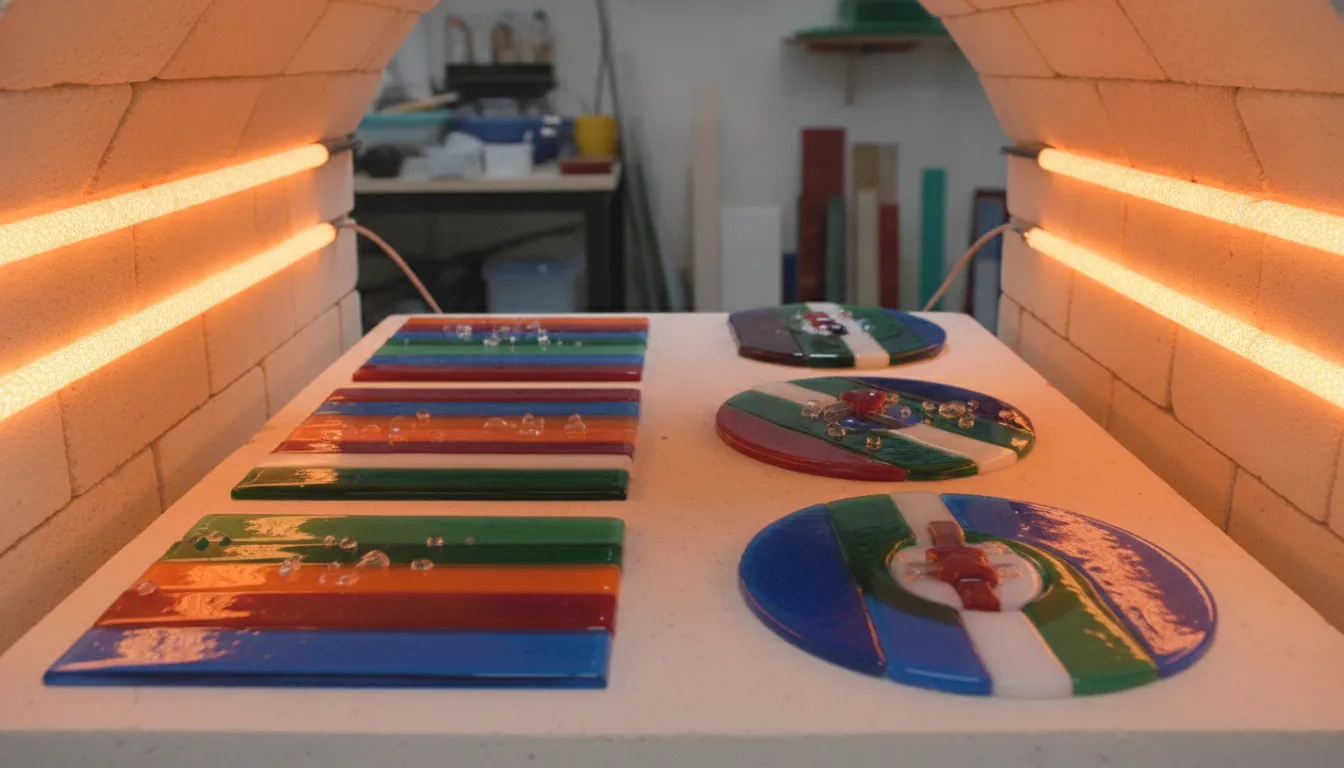
A tack fuse allows you to join pieces of glass while keeping their individual shapes and textures. Unlike a full fuse, where layers melt into a single flat sheet, a tack fuse stops just as the glass begins to soften. Art Glass Supplies recommends this method for jewelry, wall art, and projects needing a 3D effect. The peak heat for a tack fuse is about 1350 to 1380 degrees Fahrenheit.
Preserving Texture and Edge Detail
The main reason to choose a tack fuse is to keep distinct edges on your glass pieces. Stopping the heat early prevents the glass from leveling out. This preserves the height and detail of your design. Common tack fuse projects include:
- Cabochons and pendants for fused glass jewelry.
- Textured wall art with raised dimensional elements.
- Decorative coasters with raised pattern details.
- Small sculptural pieces with layered depth.
You must still follow a proper ramp and soak to ensure the bond is solid and the glass does not crack during cooling.
Tack Fuse vs. Full Fuse Comparison
It helps to see how these two methods differ in heat and result. A tack fuse focuses on bonding, while a full fuse focuses on blending.
| Feature | Tack Fuse | Full Fuse |
|---|---|---|
| Peak Heat | 1350-1380 F. | 1450-1480 F. |
| Surface Result | Raised, 3D texture. | Smooth, flat surface. |
| Edge Shape | Keeps sharp or rounded edges. | Edges pull in and level out. |
| Standard Soak | 5 to 10 minutes. | 10 to 30 minutes. |
| Best Use Case | Jewelry and wall art. | Plates and coasters. |
Both require careful control of your kiln to avoid stress in the material. The lower top heat of a tack fuse saves time and energy while protecting delicate surface features.
Firing Steps for COE 90 and COE 96
The tack fuse process follows a similar curve for both glass types. Start with a steady heat of 300 to 400 degrees per hour until you reach the bubble soak zone. A short hold at 1225 degrees helps air escape. This step is vital to prevent large bubbles as the glass begins to stick together. After the bubble soak, move to peak heat at a rapid rate. A five to ten minute soak at peak secures the pieces. The cooling and annealing stages are the same as a full fuse. Art Glass Supplies offers a full range of glass fusing kilns designed for both schedule types.
Slumping Firing Schedules for Kilnformed Glass
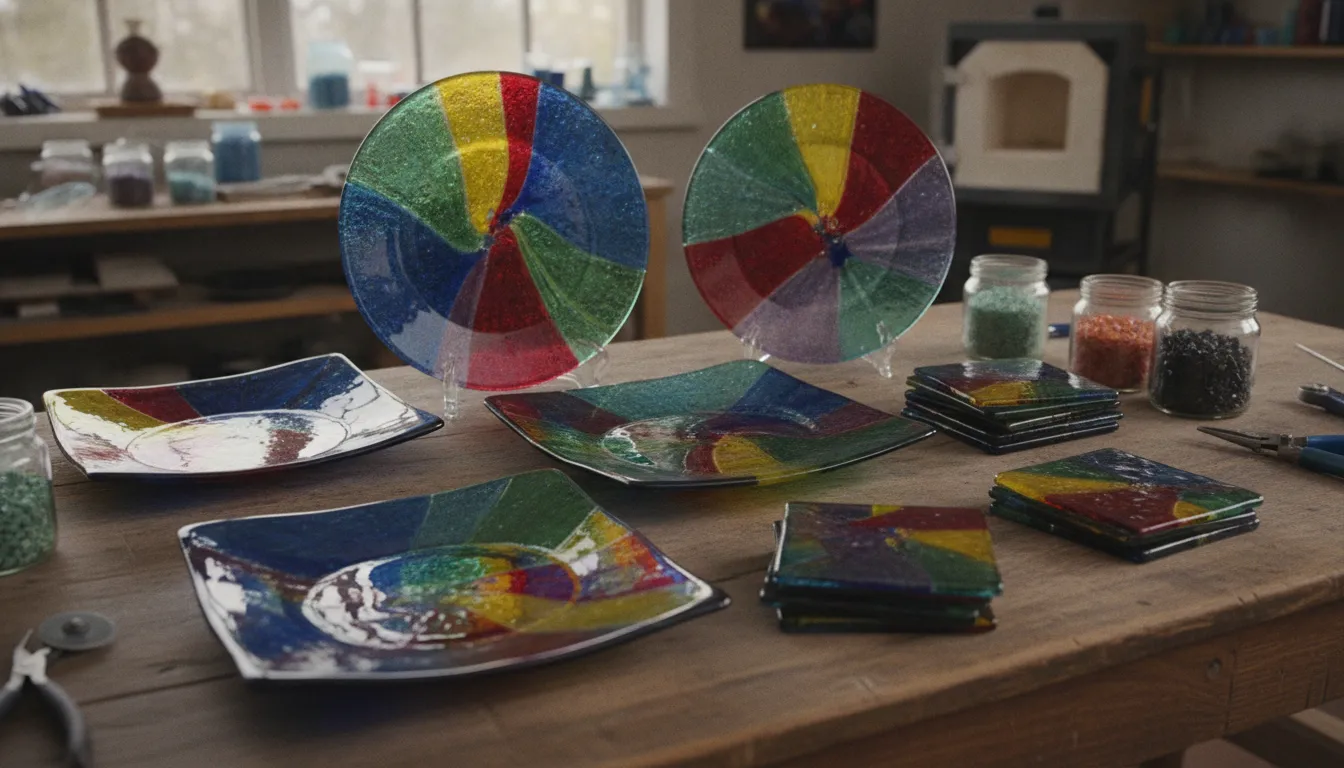
Slumping shapes fused glass over or into a mold without remelting it. The glass softens just enough to sag into the mold shape. Because the top temperature is lower than a full fuse, the glass keeps its fused surface texture and color patterns. Art Glass Supplies stocks everything you need for slump work. Here is a standard slump schedule for COE96 glass using a 6mm blank.
| Segment | Rate (F/hr) | Temp (F) | Hold | What Happens |
|---|---|---|---|---|
| 1. Initial Heat | 400 | 1225 | :30 | Glass warms evenly past the shock zone |
| 2. Slow Heat | 300 | 1325 | :15 | Glass softens and sags into the mold |
| 3. Rapid Cool | AFAP | 960 | 1:00 | Drop to annealing range |
| 4. Anneal Soak | 0 | 960 | 1:00 | Internal stress relieved |
| 5. Controlled Cool | 100 | 700 | :00 | Slow cool through the stress zone |
| 6. Cool to Room | AFAP | 70 | — | Kiln off; cool naturally |
For COE90 glass: Raise the slump temperature by about 20 degrees F to 1345F. The initial heat and anneal stay the same.
Regular Slump vs. Contour Slump
There are two main slump types to know:
- Regular slump: Uses a faster final ramp (300-400F/hr) and a higher top temperature. The glass drops freely into the mold. Best for simple shapes like bowls and plates.
- Contour slump: Uses a slower final ramp (200F/hr) and a slightly lower top temperature. The glass follows the mold more closely. Best for textured molds or pieces that need crisp detail.
Art Glass Supplies recommends testing a small sample before committing an important piece to a new mold.
Mold Preparation Tips
Your mold material affects how the glass slumps. Ceramic molds need kiln wash to stop sticking. Stainless steel molds need a release agent or fiber paper. Always bring the mold up to temperature with the glass during the initial heat. A cold mold placed under hot glass creates uneven slumping and can crack the piece.
What Causes Bubbles, Devitrification, and Cracks in Fused Glass?
Small errors in your kiln plan lead to big problems. Most issues come from how glass reacts to heat at specific points in your cycle. Art Glass Supplies sees these three issues most often with new artists.
How to Prevent Trapped Air Bubbles
Bubbles form when air gets stuck between layers as they soften. The top layer edges seal before air in the middle escapes. To stop this:
- Add a bubble soak at about 1225 degrees Fahrenheit for 20 to 30 minutes.
- Ensure glass is clean and dry before firing.
- Avoid stacking more than three layers without extended soak times.
Stopping Surface Clouding and Devitrification
Devitrification is a white, cloudy growth on the glass surface. It happens when glass stays too long in the crystal zone between 1300 and 1400 degrees Fahrenheit. The glass starts forming tiny crystals instead of staying smooth. Move through this heat range fast. Keep your kiln and glass free of dust and oils.
Avoiding Thermal Stress and Cracks
Cracks result from thermal stress when glass heats or cools too fast through the 1000 degree Fahrenheit zone. Use slow ramps for thick glass and follow a full anneal cycle. Art Glass Supplies’ glass fusing kiln guide covers ramp rate selection in detail.
Annealing: The Critical Cooling Phase for Stress-Free Glass
Annealing removes internal stress from your glass through slow, controlled cooling. Without it, your finished piece can crack days, weeks, or even months after firing. The process is simple, but the timing must be exact. Art Glass Supplies considers proper annealing the single most important skill in glass fusing.
The Annealing Point
The annealing point for fusible glass is about 960F (516C). At this temperature, the glass is soft enough for its molecules to move and rearrange. Holding at 960F for 60 minutes lets molecules settle into a relaxed state with no internal tension. This is the single most important hold in any firing schedule. Cutting it short creates hidden stress that shows up later as cracks.
The Controlled Cool
After the anneal soak, cool slowly from 960F down to 700F at 100F per hour. This gives about two and a half hours of controlled cooling. The glass is rigid but still warm enough for stress to develop if the outside cools faster than the inside. For thick pieces or complex projects, use 50F per hour instead of 100F.
What Happens When You Skip Annealing
Glass that cools too fast develops internal stress. The outside layer hardens first while the inside is still warm and shrinking. This creates a pull between the two zones. You might not see the damage at first. The glass can sit for weeks and then crack from a tiny bump or room temperature change.
A complete anneal cycle prevents this. Here are the key steps:
- Soak at 960F for 60 minutes to let glass molecules settle into a stress-free arrangement.
- Cool at 100F per hour from 960F to 700F to keep the temperature even through the entire piece.
- Drop to room temperature naturally by turning the kiln off below 700F and leaving it closed.
- Never open the kiln above 400F or the sudden cold air will crack the glass.
Check out our Olympic glass kilns for your studio
Frequently Asked Questions About Firing Schedules
Here are answers to the most common questions about firing schedules for glass fusing.
What is the difference between a tack fuse and a full fuse?
A tack fuse heats glass to about 1350-1380F. Layers stick together but keep their individual shapes and textures. A full fuse heats to 1450-1480F and layers melt into one flat, smooth piece about 6mm thick.
What is the 1/4 inch rule in glass fusing?
At full fuse temperature, glass wants to be about 1/4 inch (6mm) thick. A single 3mm layer pulls inward to get thicker. Two stacked 3mm layers hold their size. Three or more layers spread outward. This rule helps predict your project’s final size.
Can you fire COE90 and COE96 glass together?
No. COE90 and COE96 glass expand and contract at different rates. Fusing them creates internal stress that causes cracking days or weeks later. Always use the same COE in a single project. COE90 fires about 20F higher than COE96 for the same result.
What causes bubbles in glass fusing?
Bubbles are caused by air trapped between glass layers. The most common cause is a bubble soak that is too short or skipped. The 30-minute hold at 1225F lets air escape before the glass melts. Moisture on the glass or kiln wash can also cause bubbles.
How long does a glass fusing firing take?
A typical full fuse cycle takes 8 to 14 hours from start to cool. The heating phase takes 2 to 4 hours. The full anneal soak takes 1 hour. The controlled cool from 960F to 700F takes about 2.5 hours. The final cool to room temperature takes another 2 to 4 hours.
What is devitrification in glass fusing?
Devitrification is a cloudy, frost-like layer on the surface of fused glass. It happens when glass stays too long between 1300F and 1400F, the crystal growth zone. The glass forms tiny crystals instead of staying smooth. Prevent it by moving through this range quickly and keeping your kiln clean.
How do I prevent thermal shock in glass fusing?
Thermal shock comes from heating or cooling glass too fast, especially below 1000F. Heat at 400F per hour or slower for 3mm glass. Use 300F per hour or slower for 6mm glass or thicker pieces. Always include a bubble soak at 1225F. Never open the kiln above 400F.
Ready to put these firing schedules to work in your studio?
Art Glass Supplies carries the full line of Skutt glass fusing kilns and Olympic kilns for glass fusing with next-day shipping on every order. Whether you need a starter kiln for small projects or a production model, we have the right kiln for your work. Call us at (888) 213-8588 with your questions, or shop online for our full selection of kilns, glass, and supplies.