
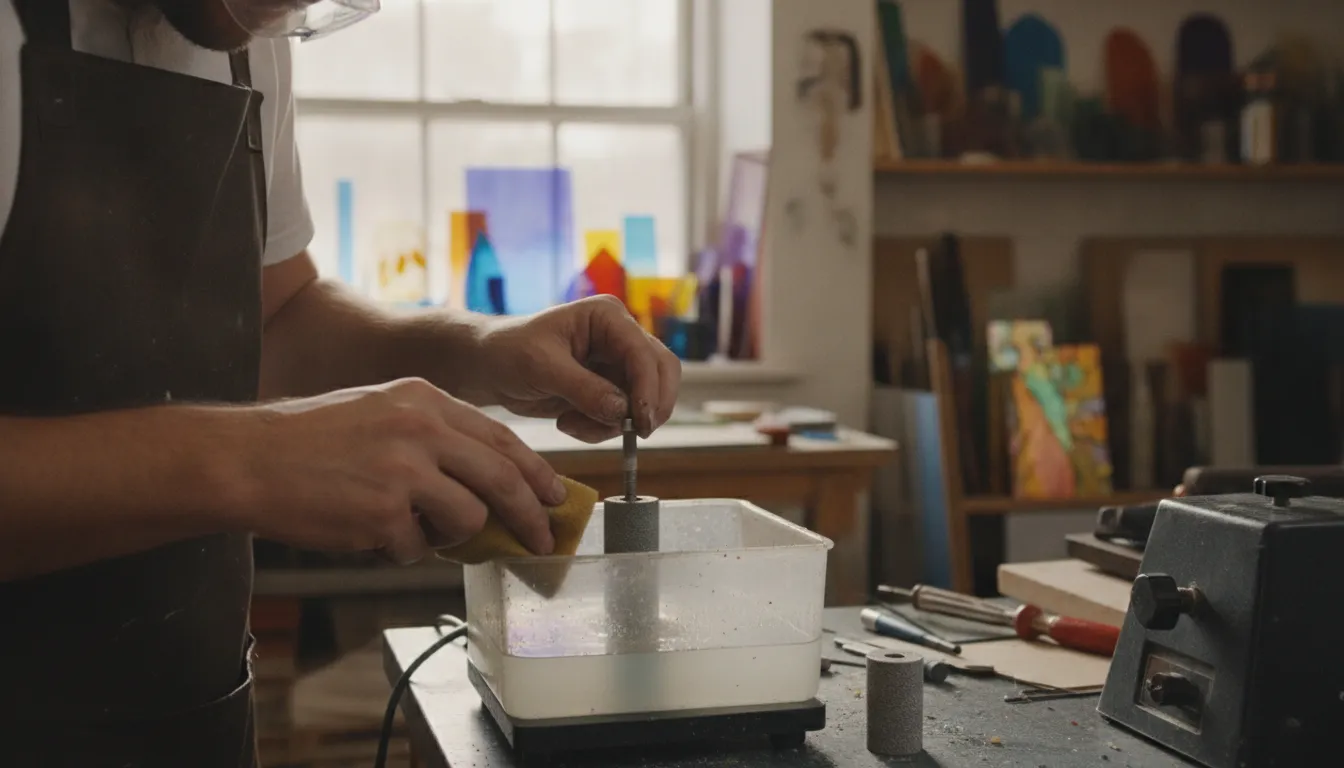
Glass grinding produces fine gritty sludge that can destroy a diamond bit and motor shaft without regular care. This abrasive dust settles into every moving part and creates friction that slows down your work.
Glass grinder maintenance is the way you clean and care for your tools to keep them running for many years. First, empty the water tray after every use to stop glass dust from drying into a thick paste. Put anti-seize grease on the motor shaft so the diamond bit does not get stuck. Check your sponge often to keep it wet and clean. A dry bit wears out much faster and may chip your glass edges.
Shop glass grinders and replacement parts at Art Glass Supplies for next-day shipping.
Learning the right way to care for your gear helps you avoid costly repairs and keeps your studio safe. Spot the signs of wear before they ruin a piece of glass by understanding why regular glass grinder maintenance matters for your tools and art.
Why Regular Glass Grinder Maintenance Matters
Regular glass grinder maintenance keeps your tool in top shape for years by preventing grit buildup, motor strain, and bacterial growth in the water tray. Without routine care, even the best machine will fail prematurely. This section covers the core reasons to make maintenance a habit.
Your glass grinder is the main tool in your stained glass shop. It turns rough edges into smooth shapes that fit your art. Without a working machine, your progress stops. Most artists spend time picking the right grinder for their needs. But even a top machine will fail without proper care. You must clean the tray, grease the motor shaft, and check the bits regularly.
Stop germ growth and bad smells
Water keeps the bit cool and traps fine glass dust. But leaving water in the tray can cause issues. Standing water is a place where germs grow. Over time, these germs make a foul smell that fills your shop. Empty the tray after each use to keep your workspace fresh. Rinse the tray and sponge with fresh water to avoid this risk. It takes one minute to dump the tray but saves you from a messy cleanup later.
Protect your motor from glass grit
Tiny shards and grit mix with the water during grinding. This mud can settle and get hard, putting extra stress on the motor. A flat, level surface is a must for your grinder to work well. If grit builds up under the grid, your glass may wobble. Take the machine apart and rinse all parts with dish soap to remove glass mud and help your motor run for a long time.
Make your diamond bits last longer
Diamond bits have a layer of diamonds held in place by a metal bond. Without care, these bits can wear out fast. By changing the height of the bit, you can use the whole diamond surface and make it last twice as long. Bits can also get stuck on the motor shaft if left too long. A small amount of anti-seize grease on the shaft before putting on a bit stops this from happening.
Browse our complete selection of replacement diamond bits for all major grinder brands.
How to Clean Your Glass Grinder Reservoir and Sponge
Cleaning the reservoir and sponge is the single most effective step you can take for glass grinder maintenance. Glass grit builds up in the water tray and clogs the sponge if not removed regularly. Follow these steps at the end of every work day.
Keeping your glass grinder clean is the best way to make it last. Clean your machine at the end of every work day to prevent glass grit from drying into a hard crust. Stagnant water can lead to bacterial growth and bad smells. Before you start, turn off the power and unplug the cord. Lift the work surface or grid from the top, remove the grinder bit and splash guard, then lift the water tray straight up to avoid spills.
Scrubbing the water tray and grid
Take the water tray to a sink and empty the old water and glass waste into a bucket. Do not pour this waste down your drain as it can clog pipes. Some artists line the tray with aluminum foil before grinding, making it easy to lift the grit out at cleanup time. Use warm water and mild dish soap with a soft cloth or brush. Rinse everything well. Wipe any grit away from the motor shaft with a damp cloth.
Managing the cooling sponge
The sponge carries water to the bit. A high-quality Super Sponge can hold more than 10 times its weight in water. If the sponge gets clogged with glass dust, the bit gets too hot and wears out fast. Rinse the sponge under a tap until the water runs clear. If it feels hard or looks very worn, replace it. When reassembling, fill the tray about 3/4 full with fresh water.
Steps to clean your grinder
- Turn off the motor and unplug the power cord.
- Remove the lift grid, diamond bit, and splash guard in that order.
- Lift the water tray straight up and empty glass waste into a bucket.
- Wash the tray and grid with mild dish soap and a soft cloth.
- Rinse the cooling sponge until clean or replace it if worn.
- Wipe the motor shaft to remove buildup before reassembly.
How to Lubricate the Motor Shaft Properly
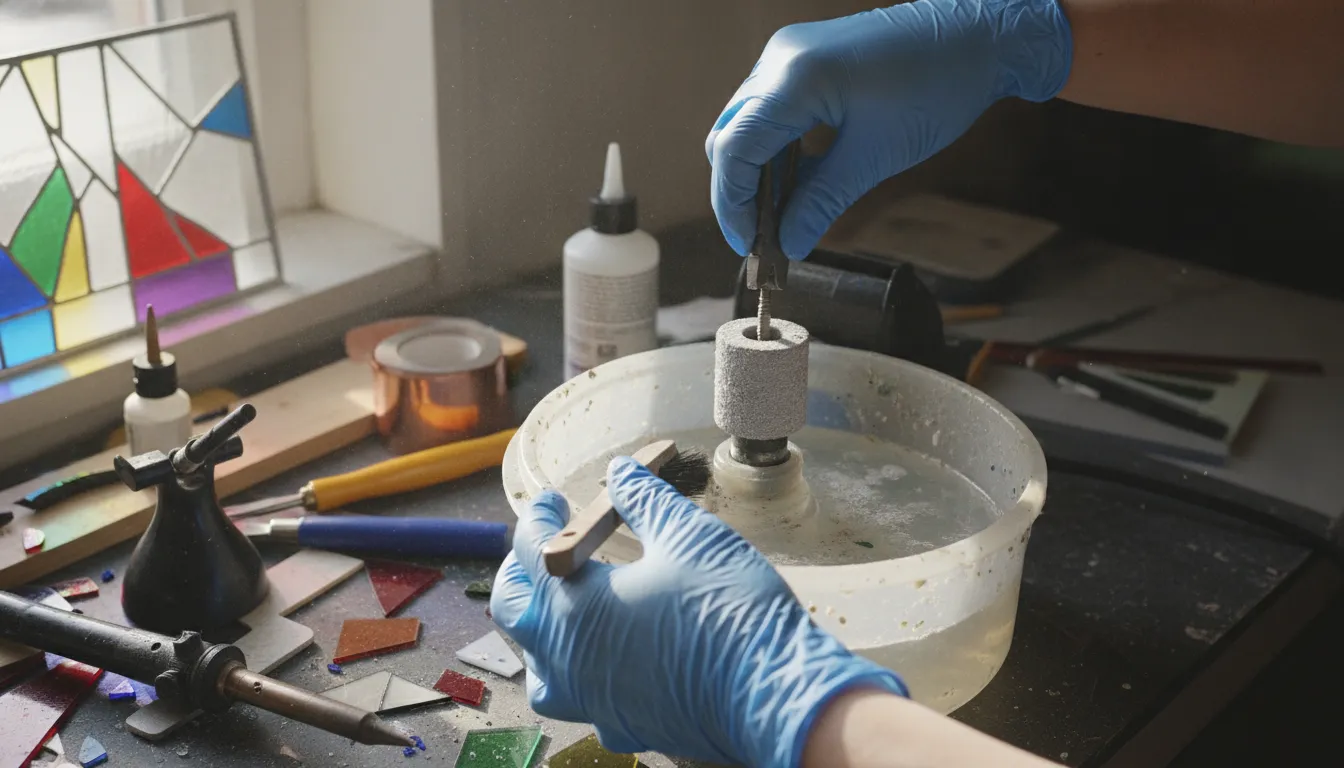
Proper shaft lubrication prevents the diamond bit from seizing onto the motor shaft, a common failure that can require a full motor replacement. A thin layer of anti-seize compound applied before each bit change keeps the assembly moving freely and extends the life of both parts.
The bit sits on a metal rod called the motor shaft. Without care, these metal parts can stick together because of heat and moisture. When they stick, you cannot remove the bit to change it or clean the machine. Apply a lubricant to the motor shaft before putting on a new bit. This stops the bit from sticking and helps it move up and down easily.
Many artists use a small amount of anti-seize compound. This thick grease stays in place even at high speeds and protects the metal from rust. The motor shaft has one flat side and one rounded side. Always line up the bit screw with the flat side. Tightening onto the round side scars the metal and makes the bit very hard to remove later.
- Clean the motor shaft with a soft cloth to remove old grit.
- Apply a thin layer of anti-seize lubricant to the top half of the shaft.
- Slide the diamond bit onto the shaft with the screw facing the flat side.
- Lower the bit so about 1/8 inch of diamond sits above the work grid.
- Use a hex key to tighten the screw firmly against the flat side.
How to Adjust Your Grinder Head to Maximize Diamond Surface
Most artists use only a small fraction of the diamond surface on their bit. Adjusting the bit height exposes fresh diamond grit and can triple the usable life of each bit. This is one of the most cost-effective glass grinder maintenance practices in any studio.
The top edge of the diamond surface wears down fast because it sits at the same height as the glass. If you do not move the bit, you waste most of the diamond grit that stays below the work surface. A new bit has a full band of diamond grit from top to bottom. When the contact line becomes smooth, slide the bit up or down the shaft to bring fresh diamond grit to the work area.
Proper bit position also keeps the glass cool. A dull bit creates more heat because it rubs against the glass instead of cutting it. Heat can cause your glass to crack. Aim for a bit height that lets the glass meet fresh grit every few sessions.
- Loosen the set screw on the bit with a hex key until it moves freely on the shaft.
- Slide the bit up so at least 1/8 inch of diamond surface sits above the work surface.
- Turn the bit so the set screw faces the flat side of the motor shaft.
- Tighten the set screw firmly so the bit does not slip during use.
- Check that the water sponge still touches the diamond band at the new height.
Fine vs Standard vs Coarse Grit: When to Replace Diamond Bits
Glass grinder bits come in three main grit levels, each designed for a specific stage of shaping. Matching the grit to your project prevents glass breakage and speeds up your workflow. Replace the bit when the diamond surface becomes smooth.
Fine grit bits use high numbers and work best for smooth edges on thin glass. Standard grit bits are the best choice for general shaping tasks. Coarse grit bits remove glass fast but leave a rough edge that needs smoothing afterward. Most bits use a nickel bond to hold the diamonds in place. For small tasks like jewelry, a 1/4 inch mini bit is common. Larger 1 inch bits handle standard glass sheets.
A worn bit makes grinding much harder. The most common sign of wear is slower grinding speed. You may push the glass harder against the bit, which creates heat that can crack your glass. Check the bit for a smooth or shiny look. A healthy bit feels rough like sandpaper. If the surface is smooth, the diamonds are gone. When these signs appear, it is time for a new bit.
| Grit Type | Best Use Case | Common Sizes | Wear Sign |
|---|---|---|---|
| Fine Grit | Delicate glass and smoothing | 3/4″, 1/4″ | Smooth surface |
| Standard | General shaping and edges | 1″, 3/4″ | Slow grinding |
| Coarse | Fast material removal | 1″, 3/4″ | Heavy chipping |
| Quick-Fit | Rapid bit changes | 3/4″, 1″ | High heat |
How to Manage Water and Sponge Flow to Keep the Bit Cool
Water is essential for glass grinder maintenance because it cools the diamond bit and traps hazardous glass dust. Without adequate water flow, friction heat causes glass to crack and diamond surfaces to degrade rapidly. Maintain the water level and sponge condition before every session.
Water acts as a coolant and lubricant. Without it, the diamond bit would get too hot and lose its cutting power. Heat also creates stress in the glass, leading to chips and breaks. Fill the water tray about 3/4 full before starting. Check the water level often during long tasks because glass mud at the bottom takes up space and makes the level look higher than it is.
The sponge moves water from the tray to the diamond bit. A Super Sponge can hold 10 times its weight in water, ensuring a steady flow to keep the bit cool. Rinse the sponge every few hours to remove glass dust. Flip it over to wear it at a steady rate. Replace it if it becomes hard or thin.
- Rinse the sponge in clean water every few hours.
- Flip the sponge over for even wear.
- Replace the sponge if it becomes hard or thin.
- Keep the sponge wet at all times while grinding.
Shop safety equipment including eyewear, gloves, and dust masks at Art Glass Supplies.
Safety Tips for Glass Grinder Maintenance
Glass grinder maintenance is also about personal safety. Fine glass dust and spinning diamond bits create hazards that require proper protective gear. Always wear safety glasses and follow these guidelines to keep your studio safe.
The bit spins fast and can throw tiny glass specks at your face. Wear clear eye protection that covers the sides of your eyes. A face shield adds extra protection against splashes. Use close-fitting gloves to protect your hands from sharp edges while maintaining feel. Keep your workspace neat, remove rings, and tie back long hair before starting the motor.
Always use a three-prong grounded plug for your glass grinder. This stops shocks in case of water spills or electrical faults. Keep the grinder on a flat, level surface. Unplug the cord before cleaning or changing bits. Check the power cord for damage before each use. Never operate the grinder with wet hands or near standing water that could reach electrical components.
Frequently Asked Questions
How often should I clean my glass grinder reservoir?
Empty and rinse the reservoir after every use. This prevents glass grit from drying into a hard crust and stops bacterial growth in standing water. A full deep cleaning with dish soap should be done weekly or whenever you change bits.
What lubricant should I use on the grinder motor shaft?
Use anti-seize compound or a high-quality general purpose grease. These thick lubricants stay in place at high speeds and prevent the diamond bit from seizing onto the shaft. Apply a thin layer each time you change bits.
How do I know when my diamond grinding bit is worn out?
A worn bit feels smooth instead of rough, grinds more slowly, and may cause glass to chip. Check the diamond surface regularly. If you have adjusted the height to expose fresh grit and the entire band is smooth, it is time for a replacement.
Can I use a dry glass grinder without water?
No. Running a glass grinder without water creates excessive heat that can crack the glass and destroy the diamond bit. Water also traps hazardous glass dust that would otherwise become airborne. Always fill the reservoir before grinding.
What is the best way to store glass grinder bits?
Store diamond bits in a dry container away from moisture. Clean them after use and let them dry completely before storage. A small amount of light oil on the inside bore prevents rust on the motor shaft contact area. Keep bits organized by grit size for easy access.
Why is my glass grinder making a loud noise?
A loud noise often indicates a dry motor shaft, worn bearings, or accumulated glass grit in the mechanism. Stop the machine, unplug it, and inspect the shaft and bit assembly. Clean and lubricate the shaft, and check the water level. If the noise persists, the motor bearings may need professional service.