
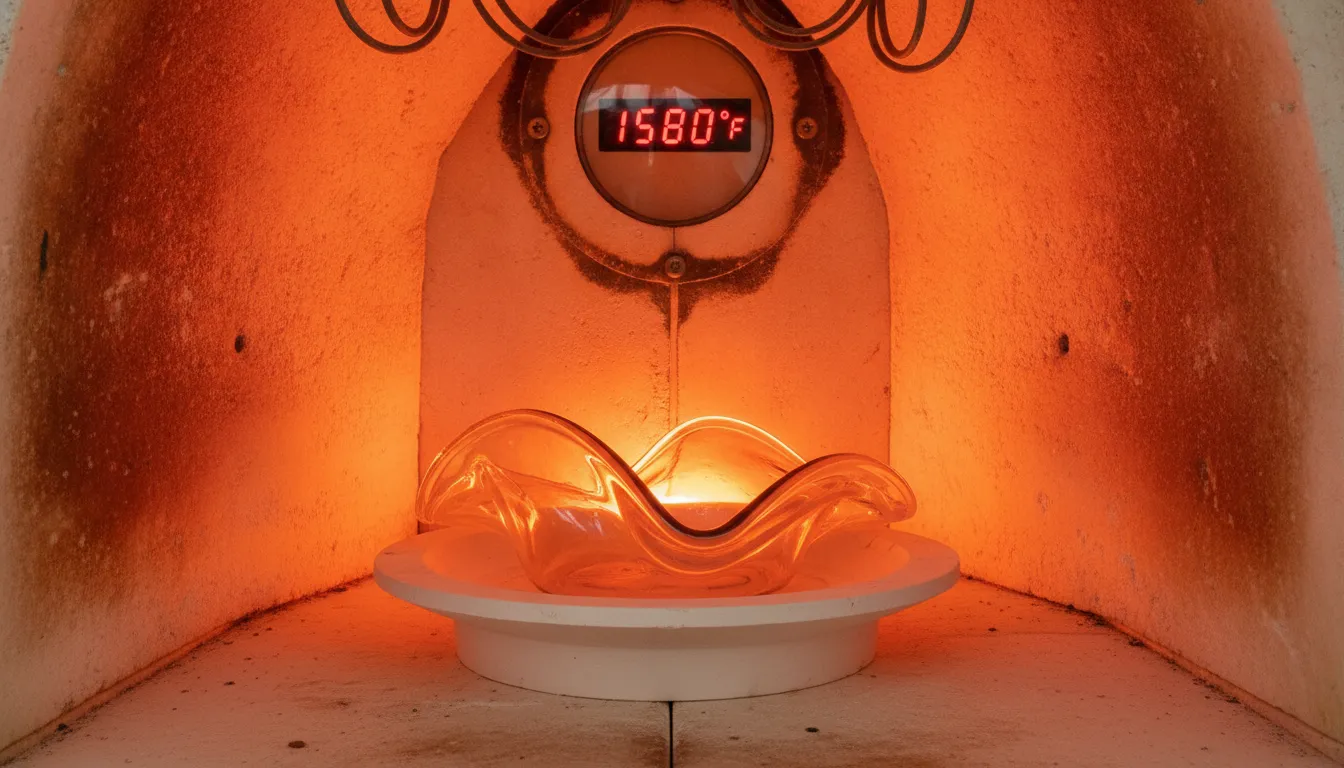
One degree of heat often separates a perfectly shaped glass bowl from a slumped disaster. Controlling your kiln temperature is the most important part of successful glass slumping.
A glass slumping temperature guide provides the firing ranges where glass softens into a mold while preserving surface texture. Most successful slumps occur between 1200 and 1400 degrees Fahrenheit depending on glass type and mold material.
Ready to fire with confidence? Browse our complete collection of glass slumping molds , in stock and ready to ship.
Understanding how these heat ranges work is the first step toward achieving better kiln results. You must learn the nuances of temperature zones to choose the right schedule for your specific project.
Glass Slumping Temperature Guide: What Is the Difference Between Slumping and Fusing?
Understanding heat levels in your kiln is key to making high-quality art. While both methods use heat to shape glass, they serve different roles in the studio. In the slumping process, you heat sheet glass over or into a mold to take the shape of that mold. This requires a glass slumping temperature guide that focuses on lower heat than fusing. Because slumping does not need layers to fully bond, the target heat is often lower than a full fuse.
How glass reacts to heat
As you heat your kiln, the glass goes through changes based on its glass transition temperature. This point determines the best range for shaping your materials. As the heat rises, the glass gets much softer. This change allows for shaping glass with molds. For many soda-lime glass types, this softening starts at about 1292 degrees Fahrenheit.
Defining the heat zones
Artists divide kiln work into zones to manage the final look of their pieces:
- Slump zone: 1200-1350F , glass softens enough to move under its own weight but stays stiff enough to keep surface texture
- Fuse zone: 1350-1450F , layers melt together to form a flat, bonded sheet
- Flow zone: 1450F+ , glass becomes a free-moving liquid
Why temperature control matters
Each type of glass has a specific heat profile. For example, using a stress relief process called annealing is needed to release tension built up during the forming stage. Since slumping heat levels differ from fusing levels, you must watch your kiln. If the heat is too low, the glass will not take the shape of the mold. If it is too high, you may lose the look you wanted to keep. Using the right heat for your COE ensures your project stays strong.
What Is the Recommended Firing Schedule for COE90 Glass?
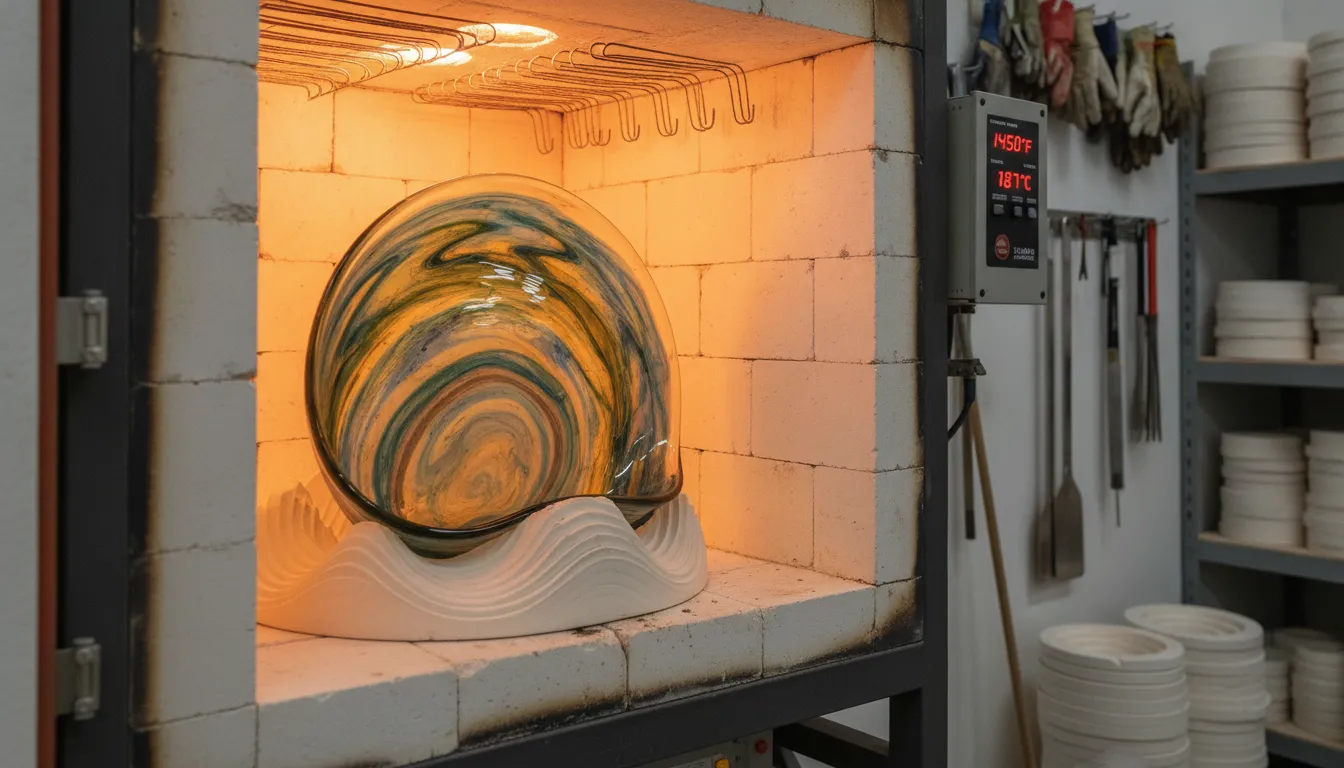
Glass artists must only use COE90 glass with other pieces from the same COE90 glass range. Matching glass types that have different rates of growth can cause your project to crack as it cools down. While some artists try to guess the best heat levels, there is no one-size-fits-all firing schedule for every kiln. Every kiln runs a bit differently. You must learn how your own oven handles heat. This guide gives a standard path for Bullseye COE90 glass to help you get the best results.
First ramp and bubble soak
The first stage of your kiln run must be slow to keep the glass safe. Thermal shock is a big risk at heats up to 1000 degrees Fahrenheit. A slow ramp is vital because thick glass does not heat at the same rate on the inside and outside. If the outside gets too hot while the inside stays cold, the glass will pull apart and break. To avoid this risk, you should heat the glass at a rate of 400 degrees per hour.
Once the kiln hits 1225 degrees, a bubble soak hold helps the layers join together. At this point, the glass starts to lose its hardness. It acts like a stiff liquid. This pause allows air to escape so your final piece is clear and strong. Small pockets of air can get trapped between sheets of glass during the first stages of firing. The soak time gives these bubbles a chance to move to the edges or shrink away.
Slumping temp and fast heat
After the soak, the kiln should move fast to the main slumping stage. The glass slumping temperature guide suggests a range of 1350 to 1400 degrees for COE90 glass. When you reach this range, the glass becomes soft enough to take the shape of your mold. The heat you need will depend on the depth of the mold and the look you want. Using the right shaping glass tools will help you get a clean finish.
Heating at 400 degrees per hour during this phase ensures the glass moves at a steady pace. You should watch the glass through the kiln port to see when it reaches the right shape. A simple slump into a flat bowl may only need 1350 degrees. A deep mold or a more tricky shape might need 1400 degrees to flow. If the kiln gets too hot, the glass may get a dull look or thin out at the edges.
| Segment | Rate (F/hr) | Target Temp (F) | Hold (min) |
|---|---|---|---|
| 1 (First Heat) | 400 | 1225 | 30 |
| 2 (Slump Heat) | 400 | 1350-1400 | 10 |
| 3 (Anneal) | AFAP (Full) | 960 | 45 |
| 4 (Slow Cool) | 100 | 600 | 0 |
| 5 (Finish) | Off | Room Temp | 0 |
Annealing and cooling
Once the glass has slumped, you must cool it down to the annealing point. Annealing is a key step that relieves inside stress within the glass form. During this soak, the tiny parts of the glass move into a stable state. This helps prevent cracks. For COE90 glass, you should hold the kiln at 960 degrees for 45 minutes. This hold helps the glass settle so it does not break later from stress cracks.
After the hold, the kiln should cool slowly at 100 degrees per hour until it reaches 600 degrees. Slow cooling is vital for the strength of your project before you turn the kiln off. Skipping this stage often leads to cracks that appear days or even weeks after the piece is finished. Once you reach 600 degrees, the glass is safe to cool down. You can let it reach room temperature at its own pace.
What Firing Schedule Works Best for COE96 Glass?
Understanding COE96 viscosity and ramp speeds
Firing COE96 glass requires a firm grasp of how it moves under heat. This type of glass has a lower viscosity than COE90, meaning it softens and flows more easily at high temperatures. If you use a schedule meant for COE90, your glass might lose its shape or flow too much. You must adjust your kiln to account for this softer nature to keep fine details in your work. A slower heat rate helps the glass stay stable as it transitions from a solid to a soft state.
The initial ramp speed is a vital part of your firing profile. While some artists use fast heat rates, you must avoid thermal shock. This damage can happen at any point up to 1000 degrees Fahrenheit. Wissmach Glass suggests a steady heat rate of 400 degrees per hour until the kiln reaches 1225 degrees Fahrenheit. This slow climb gives the COE96 glass sheet time to expand evenly. If you heat the glass too fast, the internal stress can cause it to crack before it ever begins to soften.
The critical role of bubble soaks
A bubble soak is a short pause in heating that allows air to escape from between your glass layers. As the kiln hits about 1225 degrees, the glass begins to act like a very thick liquid. During this hold, the layers start to make better contact with each other. If you skip this step, air can get trapped as the edges of the glass seal first. This often leads to large, unsightly bubbles that ruin the clarity of your final piece. A hold of 30 minutes at this stage is a common standard for most small to medium works.
The size of your project will dictate how long this soak should last. Larger objects need more time for the heat to reach the center of the glass mass. If you are working on a thick or wide project, you should add more time to your bubble soak hold. This ensures that the entire piece has reached a uniform temperature before you move into the rapid heat phase. Proper air escape is the best way to get a smooth, professional finish on your slumped projects.
Precise slumping and annealing for COE96
Finding the right temperature for the slumping phase is key to a good result. Experts at Fuse Muse note that the best temperature to slump COE96 glass is about 732 degrees Celsius, which is 1350 degrees Fahrenheit. At this point, the glass is soft enough to take the shape of your mold without melting into a pool. If you go much higher, you may lose the surface texture of the glass. You should watch your kiln closely during this phase to make sure the glass sits perfectly in the mold.
Once the shape is set, you must move into the annealing phase to remove internal stress. The glass transition temperature is the point where the material shifts back toward a solid state. For COE96, a common annealing hold is 60 minutes at 900 degrees Fahrenheit. This long pause allows the molecules in the glass to settle into a stable pattern. If you cool the glass too quickly after this point, it could shatter later due to hidden stress points. A slow, controlled cool-down is the final step to a strong and safe glass piece.
| Firing Stage | COE96 Target (F) | COE90 Target (F) | Purpose |
|---|---|---|---|
| Initial Ramp | 400F / hr | 300F / hr | Avoid thermal shock |
| Bubble Soak | 1225F | 1225F | Remove trapped air |
| Slump Temp | 1350F | 1300F | Shape to mold |
| Anneal Hold | 900F | 960F | Relieve stress |
| Cool Down | Controlled | Controlled | Prevent breakage |
Ready to stock your studio? Shop Skutt and Olympic glass kilns with next-day shipping available.
How Mold Material Affects Your Slumping Temperature
The type of mold you use changes how heat moves through the kiln. This makes the mold material a key part of your glass slumping temperature guide. You can find glass slumping molds made of ceramic or stainless steel. Each one needs its own firing plan to get the best results.
Ceramic versus stainless steel molds
Ceramic molds are thick and hold a lot of heat. They act as a heat sink and take a long time to warm up. So, you often need a longer soak time at the target heat. This helps the glass reach the right state across the whole piece. If you go too fast, the edges might slump while the middle stays flat.
Stainless steel molds work in other ways. Metal moves heat very fast. The glass on a steel mold will reach its slumping point much sooner than on a clay mold. You must be wise with your ramp rate here. A fast heat rise can cause the glass to slump too quickly and lose its shape. Watch the kiln closely when using metal to avoid flaws.
- Ceramic molds: Use longer soak times at target temperature. Expect slower heat penetration. Ideal for deep, complex shapes.
- Stainless steel molds: Use moderate ramp rates. Glass slumps faster. Best for shallow bowls and simple forms.
Using mold release and shelf paper
Glass will stick to a mold if you do not use a release agent. This is a key step for any project. You can use products like SilkeMat or shelf paper to keep the glass free. These items create a thin gap between the glass and the mold. This gap stops the glass from sticking to the surface as it gets soft. Some artists like wash-based release agents. You paint these onto ceramic molds in thin layers. Make sure the mold is dry before you put it in the kiln. If the mold is still wet, the steam can crack the clay or leave marks on your glass. Always aim for a smooth and even coat for the best finish.
Prepping your kiln shelf for slumping
Your kiln shelf must be ready before you start. Use Bullseye Thinfire or Fiberfrax to protect the shelf surface. These items stop the glass or the mold from sticking to the shelf. Proper shelf prep is a core part of kiln safety and success. It keeps your tools in good shape for many years. The mold must also sit level on the shelf. If the mold is tilted, the glass will slide to one side as it melts. This results in an uneven piece that may not sit flat. Use a small level to check your setup before you close the lid. Proper annealing helps remove the stress that builds up during these shape changes.
Why Annealing Is Critical in Slumping
Annealing is the most vital stage of any kiln firing project. This process removes the internal stress that builds up as glass cools. Without a proper soak and slow cool, your slumped piece may crack or shatter later. Stress occurs because different parts of the glass cool at different rates. If the surface cools faster than the core, the tension can lead to instant or delayed breaks. Following a strict glass slumping temperature guide ensures your work survives the trip from the kiln to the shelf.
Avoiding thermal stress and shock
Glass is a poor conductor of heat, so temperature changes must be slow and steady. Internal stress starts the moment the glass begins to stiffen. If you cool the piece too fast, the glass becomes unstable. This instability is often called thermal shock, and it can happen at temperatures up to 1000 degrees Fahrenheit. Proper annealing protects the glass slumping molds and the glass itself by letting every layer reach a safe state at the same time.
-
Open the kiln vent during the first cooling phase to drop the heat fast. You want to move from the slumping peak down to the annealing range quickly to stop devitrification. This common defect creates a cloudy, dull surface on the glass that ruins its look. Rapid cooling at this stage stops the crystal growth that causes the haze. Keep an eye on your kiln controller to ensure you stop the drop once you hit the top of the anneal range.
-
Hold the temperature at the annealing point to let the glass stabilize. For most soda-lime glass, the annealing range sits between 700 and 1000 degrees Fahrenheit. A good rule for glass thickness is to soak for 30 minutes for every 6mm of glass. This hold time ensures the core of the piece is as warm as the surface. Skipping this step leaves hidden stress inside the piece that could cause a break weeks after the firing ends.
-
Cool the glass slowly through the strain point at a rate of 100 degrees per hour or less. As the glass passes through the annealing range, it moves from a soft state to a solid one. This is the most dangerous time for stress to form. Slower cooling is often needed for pieces with varied thickness or deep curves. Keeping the rate under 100F per hour gives the molecules time to settle without pulling apart.
-
Keep the kiln door or lid closed until the temperature falls below 150 degrees Fahrenheit. Opening the kiln too early exposes the hot glass to cool room air, which causes a draft. Even a small draft can cause a thin piece to snap from the sudden chill. Protection from drafts is just as important as the cooling rate itself.
Protecting surface texture and strength
A slow and controlled cool does more than just stop cracks. It also helps keep the fine details and textures you worked hard to create. If the glass stays too hot for too long, it can continue to melt and lose its shape. Proper glass transition management allows the piece to set while it is still in contact with the mold. This creates a perfect fit and a professional finish for every bowl, plate, or tray you make.
What Factors Change Your Firing Schedule?
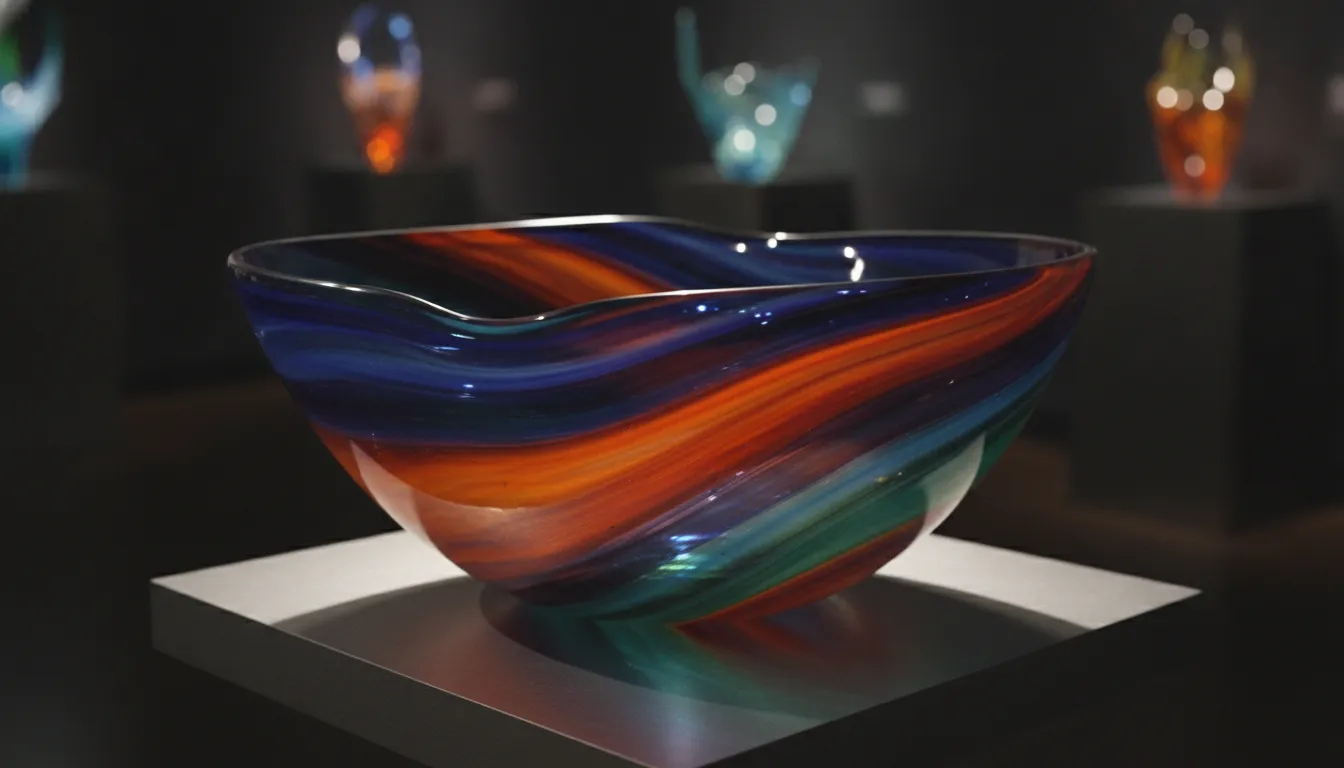
No single guide for glass slumping works for every kiln. While a glass slumping temperature guide gives a good start, you must adjust the rate of heat based on your specific project. Small changes in size, thickness, or placement can lead to cracks or lost texture if you do not account for them.
Kiln size and heat mass
The size of your kiln plays a big role in how fast it heats and cools. Larger kilns have more thermal mass. This means they often heat more slowly and hold heat longer than small table-top models. Your shelf position also matters because heat is rarely perfectly even. Upper shelves often fire hotter than lower shelves. You should monitor your kiln closely to see how these factors change the flow of heat around your glass.
Glass thickness and project size
Standard 6mm glass is the base for most schedules, but thicker pieces need more care. If your work is 9mm thick or more, you must slow down the ramp rates to avoid stress. Larger pieces also require more time at mid-range temperatures. According to industry experts at Wissmach, larger objects need longer bubble soaks to ensure the heat reaches the center of the piece. This hold time helps the glass layers bond and reduces the risk of trapped air.
Surface texture and heat control
If your design has fine detail, you must watch the top temperature. Too much heat at the slump stage can destroy surface texture. To keep sharp lines, use the lowest heat that lets the glass take the shape of the mold.
- Thin glass (3mm): Reduce ramp rate by 50 percent to prevent warping
- Thick glass (9mm+): Double soak times and slow the final cooling rate
- Large projects (12 inch+): Add 15 minutes to each hold for even heat distribution
Mastering these variables separates a good glass artist from a great one. The more you fire, the better you will understand how your kiln responds to different loads.
Frequently Asked Questions
What is the ideal temperature for glass slumping?
Most glass artists slump sheet glass at heat levels between 1200 and 1300 degrees Fahrenheit. The exact heat you need depends on the glass type and the depth of the mold. As shown by The Crucible. The goal is to soften the glass just enough to let it take the shape of the mold while keeping the top texture intact. If the kiln gets too hot, the glass may stick or melt too much.
What temperature range should I use for slumping a 6mm glass plate?
For a 6mm plate, you should slump at 1225 to 1250 degrees Fahrenheit. This thickness is two layers of 3mm glass. Thicker pieces need a slower heat rate and a longer soak time to help the heat move all the way through the glass. Research from Wissmach Glass notes that large objects must hold at a set heat level to avoid air bubbles.
Do I need a specific firing schedule for different types of glass?
Yes, you must use a unique plan for each glass type. COE90 and COE96 glass have distinct softening points. You should only fire glass that has matching COE values to prevent stress cracks. A plan that works for one brand may not work for another. Always test a small piece in your kiln first.
Can I slump stained glass in a microwave kiln?
Microwave kilns can reach slumping temperatures quickly, but they lack the precise temperature control needed for proper annealing. Without controlled cooling, the glass builds up internal stress that causes delayed breakage. For best results, use a programmable kiln that can hold annealing temperatures for the required duration.
How long should I hold the annealing temperature?
The standard rule is 30 minutes of annealing hold for every 6mm of glass thickness. A 12mm thick piece needs at least 60 minutes at the annealing temperature. Thicker pieces and projects with large temperature differentials benefit from longer holds to eliminate internal stress.
What causes devitrification during slumping?
Devitrification appears as a cloudy, hazy surface on the glass. It occurs when the glass stays too long at slumping temperatures or when the kiln cools too slowly through the crystallization range. Opening the kiln vent during the initial cooling phase helps skip past this danger zone quickly. Using compatible glass and keeping a clean kiln also reduces the risk of this defect.
Can I slump multiple pieces in a single firing?
Yes, but each piece must use the same glass type and similar thickness. Place pieces at least one inch apart to allow even heat circulation. Pieces on upper shelves will fire hotter than those on lower shelves, so rotate positions between firings for consistent results. Always use the same mold material for all pieces in the same firing to prevent uneven heating.
Ready to start your next glass slumping project?
Waiting for the right molds or a quality kiln can lead to cracked glass and wasted materials that cost you time and money. Every day you delay is more time without the steady firing results you need to grow your art. By starting now, you can get the parts you need shipped quickly so you can make fine glass art with ease and pride.
Ready to create? Call (888) 213-8588 to explore our complete range of glass slumping molds and top Skutt and Olympic glass kilns today.