
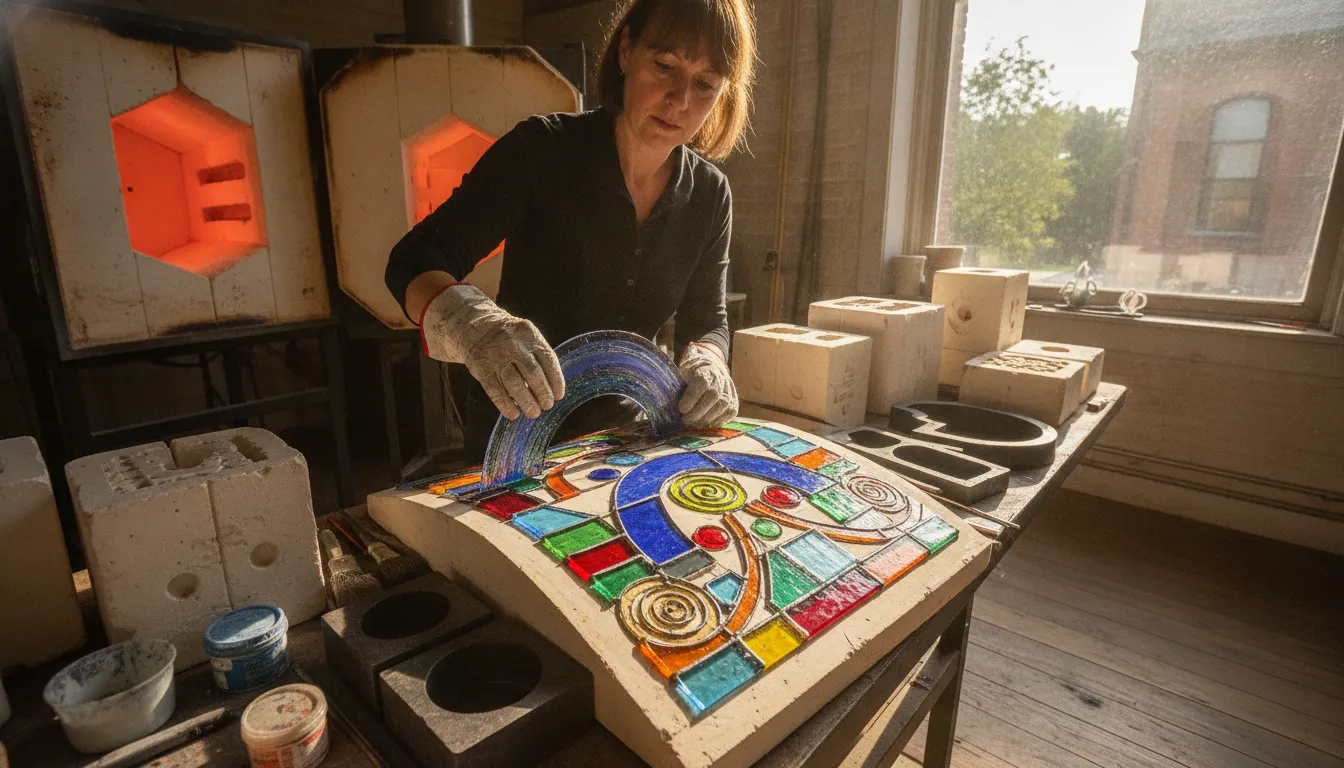
A cracked glass vessel after hours of slow cooling often points to an overlooked mold mismatch. Fusing, slumping, and casting require specific tools to shape hot glass safely inside the kiln. Choosing the right support is just as important as setting the correct firing schedule.
This complete glass fusing molds guide provides the detailed technical and practical knowledge needed to select, prepare, and use molds for slumping, casting, and draping techniques. To achieve real success, artists must understand the essential role of glass fusing molds and match each design to the correct kiln temperatures. You must also verify that the glass Coefficient of Expansion, or COE, matches perfectly to prevent stress fractures and apply kiln wash coatings. Proper mold preparation creates a strong barrier that ensures a clean release when the fired piece cools inside the studio kiln. Managing these thermal and mold factors prevents glass from sticking and allows artists to create beautiful glass art with sure, safe results.
Which mold materials and techniques will work best for your next studio project? To help you find the right tools, this guide walks through every technique step by step. Understanding these options will help you avoid costly mistakes and choose the right mold for your goals.
A Complete Glass Fusing Molds Guide for Every Technique
Glass artists use a wide range of tools to shape glass in a kiln. To make custom shapes, you must know the essential role of glass fusing molds in your studio work. These special molds are vital for three primary warm glass methods: slumping, casting, and draping.
Each method has its own steps, tools, and heat needs. Having a clear glass fusing molds guide can help you plan your work, select the right types, and prevent common errors in the kiln.
Three Primary Warm Glass Techniques
In warm glass art, some styles need other heat levels and tools. For example, glass fusing means joining pieces of glass at lower heat levels than casting. In fusing, you heat the glass just enough to join the pieces together.
Slumping, on the other hand, means heating sheet glass over a mold to shape it. Draping lets you bend hot glass over a form to create soft curves.
Why Glass Compatibility and COE Matter
When you work with molds, you must check the glass you use. The Coefficient of Expansion (COE) must match perfectly between glass pieces used in molds to prevent stress and cracks. If you mix glass with different COE numbers, your finished piece will likely crack as it cools. Always use glass from the same maker and line to ensure they have the same expansion rate.
Here are three basic rules for glass matching in a mold:
- Always use glass pieces with matching COE ratings.
- Do not mix bottle glass with art glass in the same mold.
- Test new glass brands before you fire a large project.
Choosing the Best Mold Materials
Molds come in different types like ceramic, metal, and sand. Your choice depends on the shape you want to make and the heat of your kiln. When you select a mold, you must think about how the mold material expands under heat.
A careful choice of mold types with expansion rates that match your glass is needed to keep precise shapes in molded glass parts. You can read about heat response in this study on molded glass components. When the mold and glass expand at rates that do not match, the glass can pinch, bind, or crack during cooling. For this reason, many artists use porous ceramic molds for their strength and smooth heat transfer.
What Are Glass Fusing Molds Used For?
Glass fusing molds are special tools used to shape glass inside a hot kiln. Warm glass artists use them to make forms that flat glass cannot achieve on its own. In warm glass work, these molds are used to create bowls, plates, and sculptures. By using different mold types, you can slump, cast, or drape glass to get the exact look you want. Learning about the essential role of glass fusing molds helps you plan your next kiln project.
How Slumping Differs from Fusing
Many new artists confuse glass fusing with glass slumping. While both methods use a kiln, they serve different goals. Fusing joins multiple pieces of glass together with high heat to form a single flat sheet. In contrast, slumping takes a flat piece of glass and heats it over a mold to bend it. The glass softens and sinks into the mold to take its shape.
Fusing acts as the first step in most projects. You join your glass pieces into a single design on a kiln shelf. Once that is done, you place the fused design on a mold for a second firing to slump it into a 3D shape.
The Importance of Matching COE
When you work with glass fusing molds, you must check how your glass pieces fit together. The Coefficient of Expansion, or COE, must match exactly between glass pieces to avoid stress and breakage. If you mix glass with different COE numbers, your project will break as it cools down in the kiln. This rule is crucial for any glass art piece.
Selecting the right molds is also part of this process. Research from the National Institutes of Health shows that mold types must have matching expansion rates. This match is needed to keep precise shapes during heat cycles. If the mold and the glass do not expand at the same rates, the final piece can warp or crack.
Three Main Kiln Forming Methods
Molds are key to the three main warm glass methods: slumping, casting, and draping. Each method uses a different style of mold to achieve unique shapes. You can choose the method that fits your goal:
- Slumping uses a concave mold where the glass sinks into the shape.
- Draping uses a convex mold where the glass bends over the outside edges.
- Kiln casting melts glass chunks or powder into a deep mold to create solid three-dimensional pieces.
Regardless of the method you choose, molds give you the power to change how you work with glass. They turn a flat sheet into a piece of art with height, depth, and detail.
How Do You Choose the Right Slumping Molds?
In warm glass art, slumping is a key way to shape your work. Glass slumping involves heating flat sheet glass over a mold. The glass conforms to the mold’s shape. This often happens at temperatures around 1300 degrees Fahrenheit. This process lets you make bowls, plates, and trays from flat glass. A guide on slumping and draping molds helps you pick the right tools for each project.
Popular shapes and sizes
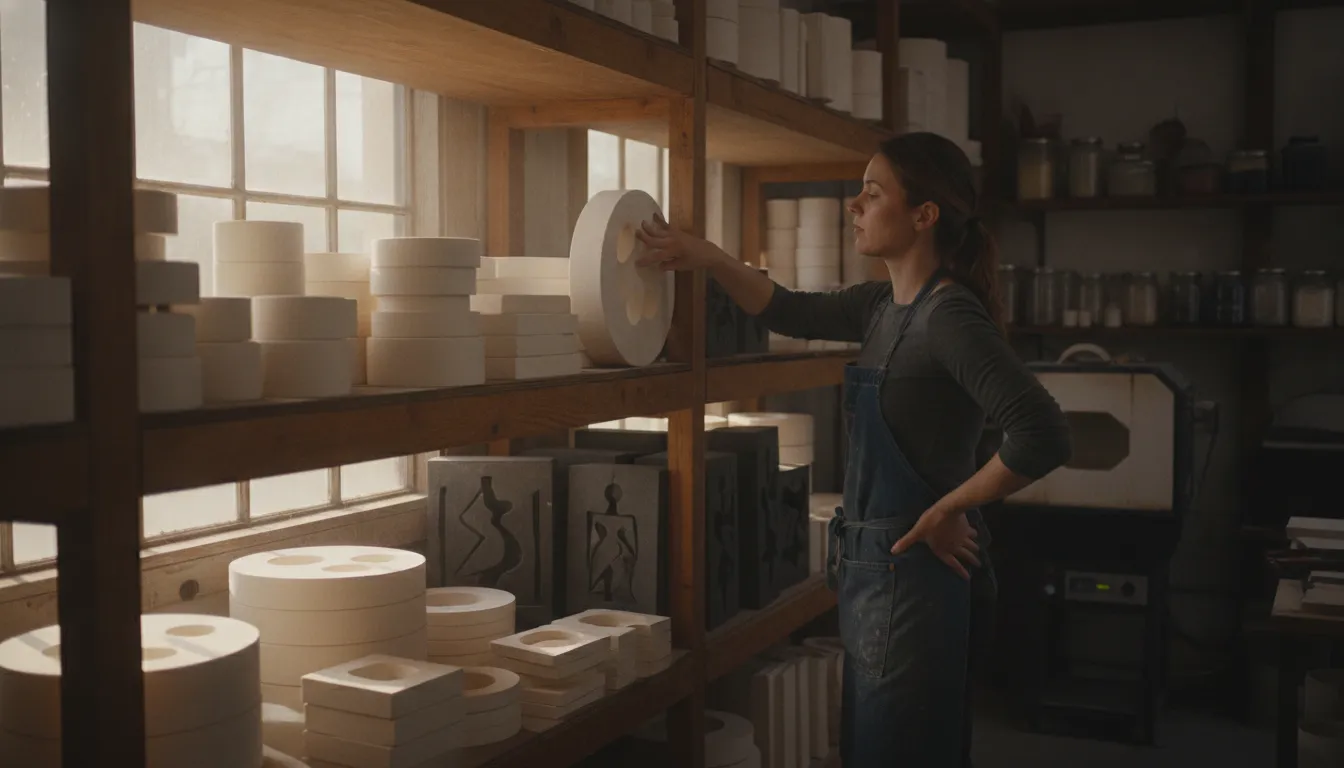
Molds come in many shapes, including circles, squares, and freeform curves. The size of the mold dictates the size of the glass sheet you must cut. For a good fit, your glass should be slightly smaller than the outer edge of the mold. If your glass is too big, it can slide or catch on the kiln shelf. Deep shapes require a mold with a gentle slope. This slope prevents the glass from thinning as it sinks. Molds with a deep well need thicker glass so the edges do not pull inward too much.
Depth and project selection
When selecting the correct mold for your project, you must consider the mold type. Porous ceramic molds are commonly used for detailed slumping, while stainless steel molds are better suited for simple draping techniques. Ceramic is a great choice because it holds heat well and allows for smooth air release. Steel molds are strong and last a long time, but they can cool too fast. For complex shapes like soap dishes or deep plates, ceramic is the top choice.
Mold preparation and temperature control
Before you place your glass in the kiln, proper mold prep is key. Kiln wash should be applied in 2-3 even coats to ceramic molds to create a protective barrier that ensures a clean glass release. Applying the wash too thick can cause it to flake off during the firing. This wash prevents the hot glass from sticking and bonding to the mold. You must let each coat dry fully before you put on the next one.
Managing kiln heat and firing schedules is key to minimizing the risk of devitrification, which can make glass look cloudy. Once the glass has slumped, you must cool it slowly. Annealing glass, which is the slow cooling process that relieves stress, typically occurs between 700 degrees Fahrenheit and 1000 degrees Fahrenheit. Controlled, even cooling through this annealing range is what relieves internal stress and keeps the finished glass structurally sound.
Casting Molds: Pate de Verre and Kiln Casting Techniques
Glass casting is a technique where you melt glass inside a mold to create a solid, three-dimensional object. Unlike slumping, which only shapes sheet glass, casting fills the entire volume of a mold to capture fine details. This process lets artists build thick, sculptural forms with unique depth and texture. To achieve these results, you must choose the right casting molds for your kiln.
Understanding Kiln Casting
Kiln casting requires much higher heat than standard glass fusing. The kiln must reach temperatures between 1,525 degrees and 1,700 degrees Fahrenheit, depending on the type of glass you use.
At this heat, glass turns liquid and flows into every corner of the mold. Precise heat control is needed during both the heating and cooling stages.
Managing these temperatures helps prevent devitrification, which can make the glass look cloudy. Precise control at every stage keeps the surface clear and the finished piece structurally sound.
Artists choose mold materials based on their project needs. You must select the material that fits your design:
- Clay or ceramic molds: Good for multiple firings and simple shapes.
- Plaster-silica molds: Best for one-time custom shapes and high detail.
- Graphite molds: Great for clean release and repeated studio use.
The Pate de Verre Technique
Pate de verre is a French term that means paste of glass. In this technique, you mix fine glass powder or small frit with a binder to create a paste. You then paint or pack this paste into the walls of a mold. This method gives you precise control over color placement.
It is ideal for making thin, hollow vessels with delicate color blends. Because pate de verre pieces are often thin, they require careful firing. You must heat the kiln slowly so the frit particles fuse without melting completely. This preserves the sugared texture that makes this style unique.
After firing, the glass must be cooled slowly to relieve stress, which is a process known as annealing. Under-annealed glass is weak and can crack easily.
Lost-Wax Casting Methods
Lost-wax casting is the best method for capturing complex, three-dimensional details. You begin by carving your design in wax, then you encase the wax model in a plaster-based mold material. Once the mold sets, you steam or melt the wax out, leaving a hollow cavity.
In the kiln, glass melts and flows down a reservoir to fill this void. This technique is perfect for making custom glass sculptures and complex jewelry pieces.
No matter which casting technique you choose, preparing the mold is key. You must apply several coats of high-quality kiln wash to any reusable mold. This prevents the hot glass from sticking to the mold and ruining your work.
When casting large or deep pieces, you must also allow plenty of time for the annealing phase. Thick glass takes much longer to cool safely, but the reward is a beautiful, heavy piece of art.
Draping Molds: Organic Shapes and Freeform Work
Draping is a warm-glass method that lets you make elegant, flowing shapes like bowls and deep vessels. To begin, you must understand the essential role of glass fusing molds when planning your project. In this process, the glass sheet sits on top of a convex, or positive, mold. As the kiln heats up, gravity pulls the hot glass down around the mold. This setup differs from slumping, which shapes glass by letting it fall into a concave mold.
How Draping Differs from Slumping
Slumping and draping have opposite starting points that lead to very different finished styles. When you slump glass, the outer edge of the sheet stays flat on the rim of the mold. The center of the glass sinks down, which keeps the outer rim neat and round. With draping, the center of the glass rests on the highest point of the mold while the edges hang free. As the glass heats, these edges fold and wave as they fall. This action produces organic curves and natural folds that resemble fabric. This makes draping a great choice for making deep bowls and tall vases with organic edges.
Stainless Steel and Ceramic Mold Choices
You can choose from several mold types when you buy slumping and draping molds for your studio. Porous ceramic molds work well for detailed slumping, but stainless steel molds are better suited for simple draping techniques. Using metal molds offers several distinct benefits for your workflow:
- They do not crack or chip during rapid heat changes.
- They do not need long drying times after you apply kiln wash.
- They come in simple shapes that are easy to find.
Steel forms heat up quickly and hold their shape through many kiln firings. You can use steel bowls, cups, or pipes as positive molds to drape glass into deep, freeform shapes. Before you use any mold, you must apply a coating like kiln wash to keep the hot glass from sticking.
Firing Schedules and COE Safety
Safety in warm glass work requires careful planning of temperatures and materials. You must match the Coefficient of Expansion (COE) of every glass piece to avoid stress and cracking. Mixing different COEs will cause the cooled glass to break, even if the piece looks fine at first. Controlling kiln temperatures is also key to prevent devitrification, which can leave a hazy film on your glass surface.
How Should You Care for Ceramic and Graphite Molds?
Proper care extends the life of your glass fusing molds and ensures high-quality results. If you do not maintain your molds, the glass can stick and cause cracks or breaks during firing.
Ceramic Mold Prep
To start, proper mold prep is needed to stop glass from sticking and to ensure a clean release. Using kiln wash creates a barrier of kaolin and silica that stops glass from bonding to the clay. Apply two to three even coats of kiln wash. Follow the maker’s guide for the best results. Allow each coat to dry completely before you apply the next one.
Keeping the shape of your mold is key because any change can affect how glass behaves under heat. Research from the National Institutes of Health shows that glass and molds must expand at the same rate during heating. When you take care of this barrier, you prevent chips and keep your glass pieces safe.
Actionable Maintenance Steps
Routine care keeps your ceramic molds in top shape. Use these simple steps to care for your molds after each firing:
- Inspect for chips: Check the surface for small cracks or chips before you apply any new kiln wash.
- Clean old coats: Use a soft brush or sandpaper to brush off old, flaky layers of kiln wash.
- Re-coat the surface: Apply fresh layers of wash to any bare spots to stop the glass from sticking.
- Store with care: Keep your molds in a dry, safe space where they will not get bumped or damaged.
These quick checks are a key part of your studio routine when choosing the right glass fusing molds for your work.
Graphite Mold Care
Graphite molds have other traits than ceramic ones and need a distinct care routine. Unlike ceramic, graphite does not need kiln wash. This substance has a smooth surface that resists glass bonding. But you must handle graphite molds with care because they can scratch easily.
Do not use sharp metal tools or harsh cleaners on graphite. If the mold gets dirty, wipe it with a soft cloth or a dry paper towel. You should also store graphite molds in a dry area to protect them from moisture and dust. With proper care, these strong tools will give you clean results for many years.
Top Mold Picks for Beginners vs. Advanced Artists
Choosing the right tool depends on your goals and skill level. Glass fusing molds are essential tools for three primary warm glass techniques: slumping, casting, and draping. When starting, simple shapes and materials make learning easier. Advanced artists can use complex materials to get fine detail. In all cases, matching thermal expansion is key to good results. Under high heat, choosing the right glass fusing molds will help you avoid cracks and stress.
Ceramic Bowls for Beginners
Ceramic molds are the most common choice for new glass artists. They are cheap, easy to prep, and hold heat well. Ceramic slumping bowls let you make useful pieces with simple firing schedules. You can apply kiln wash easily to their porous surfaces. This wash creates a safe barrier so the glass does not stick.
Stainless Steel Draping Forms
Draping is a warm glass method where glass melts over a convex mold. Stainless steel molds are best for simple draping techniques. These metal forms are tough and do not crack under fast heat changes. Unlike ceramic, you do not need thick coats of kiln wash. A thin layer of separator spray works best on steel.
Graphite and Refractory Casting Molds
Advanced artists often turn to kiln casting and pate de verre techniques. These methods require materials that hold fine details at high heats. Graphite and refractory molds are perfect for this level of work. Graphite is easy to carve and gives glass a smooth, glossy face. Refractory molds allow for complex, one-of-a-kind shapes.
The Science of Mold Choice
Science shows why mold choice matters for high precision. Studies on precision glass molding show that both glass and mold materials exhibit isotropic properties, meaning their expansion rate is the same in all directions. Selecting mold materials with matching expansion rates is needed to maintain precise shapes in your glass art.
The table below compares these top choices to help you choose the best option for your next kiln project.
| Mold Type | Technique | Skill | Best For |
|---|---|---|---|
| Ceramic Bowl | Slumping | Beginner | Bowls, plates |
| Steel Form | Draping | All levels | Vases, bowls |
| Graphite | Kiln Casting | Advanced | Fine detail |
| Refractory Mold | Casting | Advanced | Pate de verre |
Shop slumping and draping molds
Frequently Asked Questions
What is the difference between glass slumping and glass fusing?
Glass fusing joins separate pieces of glass together with high heat in a kiln. In contrast, glass slumping heats a single sheet of glass until it bends over or into a mold. According to this glass fusing guide, fusing makes a flat sheet while slumping shapes that sheet into a bowl or platter.
How do you prepare a glass mold for slumping?
To prepare a ceramic mold, you must apply a protective barrier. You should apply two to three thin, even coats of kiln wash to the surface. This step prevents the hot glass from sticking to the mold. It also ensures a clean release of your finished art from the kiln.
What are the best types of molds for different glass art techniques?
Your choice depends on the specific project. Porous ceramic molds are the best option for detailed slumping because they allow air to escape. For simple draping projects, durable stainless steel molds work well. If you want to do custom kiln casting, look for carvable mold materials that can handle very high temperatures.
At what temperature does glass slump over a mold?
Glass typically slumps over a mold at temperatures around 1300 degrees Fahrenheit. The exact heat you need depends on the thickness of your glass and the shape of your mold. According to a guide by The Crucible, you must also cool the glass slowly between 700 and 1000 degrees Fahrenheit to prevent cracks.
Is it necessary to use kiln wash on all glass fusing molds?
Yes, using kiln wash is necessary for ceramic and stainless steel molds. This primer creates a vital barrier between the glass and the mold. Without it, the hot glass will fuse and stick to the surface as it melts. That bond can ruin your glass art piece and destroy your mold when it cools.
Ready to Choose the Right Glass Fusing Molds
Selecting the right mold is the difference between a frustrating firing and a clean, beautiful piece. Whether you are slumping your first bowl, draping an organic vase, or casting a detailed sculpture, the right support makes every technique more reliable. At Art Glass Supplies, you can compare slumping, casting, and draping mold options built for studio use and backed by clear product guidance.
Browse the casting mold collection at Art Glass Supplies to find the right glass fusing molds guide pick for your next project and get back to making art.