
Artists searching for glassline paints how to use need a bench sequence, not another color chart. Start with one small test tile and one technique. Glassline is a water-thinnable lining and shading paint for fused glass. You can draw a line, brush a wash, scratch a highlight, draw through powdered frit, or place a dry design between compatible sheets. Dependable results come from a clean surface, a controlled coat, and a test made with the same glass and color as the project.
Shop Glassline paints and supplies when you are ready to match a bottle, a tip, or a related material to the test you just planned.
What to set up before you use Glassline paints
Clear a flat area first. Set out the glass, the bottle, water, a soft brush, scrap, and a wooden point. A metal tip set helps when you want more than one line width. The Glassline manufacturer guide describes fine, medium, and bold tips that fit the applicator bottle.
Wash the sheet before you open the bottle. Fingerprints, cutting oil, and dust can make a line crawl or break. Dry the glass completely, then keep your fingers off the area you plan to paint. The guide to cleaning glass before fusing or painting covers the full wash if a first line will not sit still.
Choose the glass family before you choose a color. The manufacturer describes Glassline pens and chalks as compatible with most glass, from float through COE 90 and COE 96. That compatibility statement applies to the paint as a decorating material. It does not make unrelated glass families safe to fuse together. If you are still deciding which system fits the project, compare COE 90 and COE 96 fusing options, then keep every component inside one compatible family.
Decide where the paint will live. A line on the top surface reads as a drawing. Paint between sheets can add depth, but it also changes how the stack fires. Sketch the orientation on paper so you do not flip a sheet after the design is dry.
Glassline paints how to use at the bench
Follow this order on the first tile, because each step uses the same bottle and you can stop once the technique matches the project.
- Clean and dry the glass, then label a scrap tile with a pencil note you can throw away.
- Shake or stir the bottle, then test the flow on scrap before you touch the project.
- Draw, brush, scratch, or layer one technique only.
- Let that pass dry before you add a second color, a wash, or another sheet.
- Fire the test tile on the schedule you plan to use for the real piece.
Draw a line
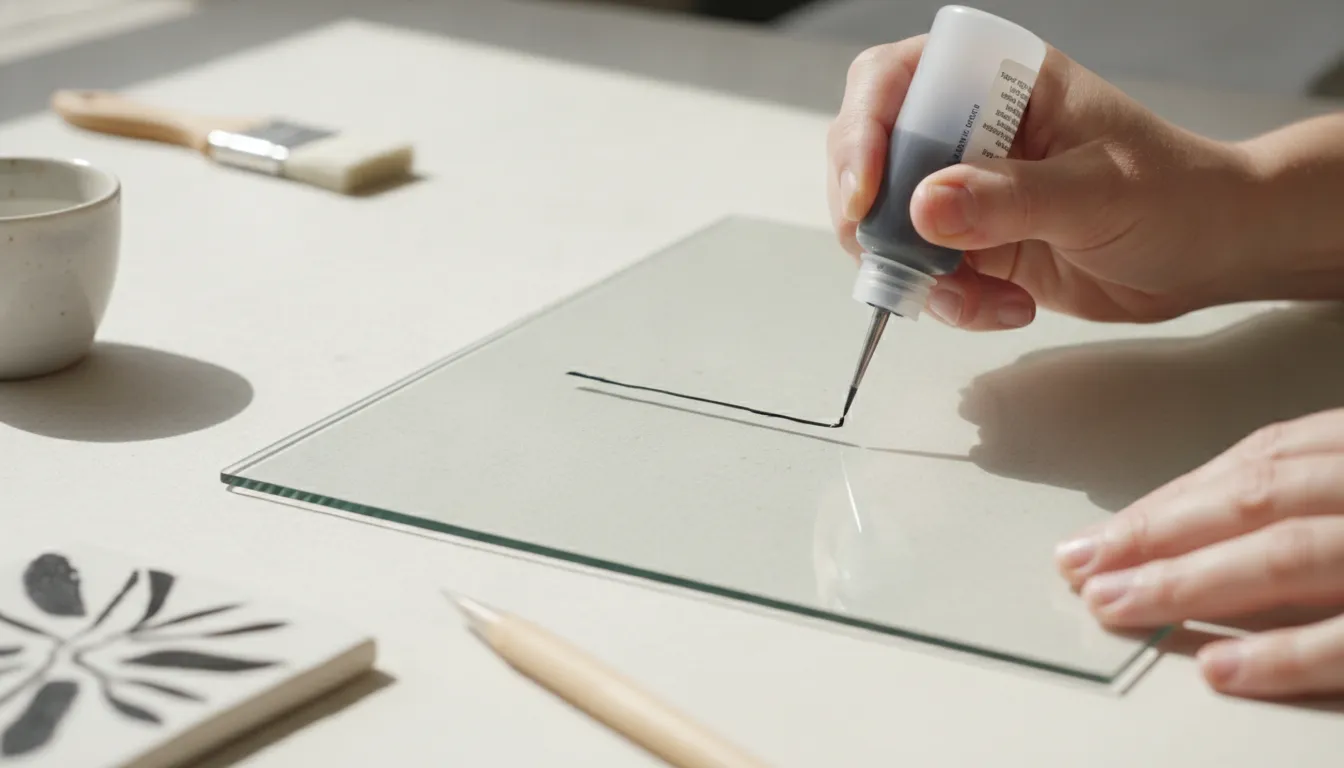
Place the metal tip on the bottle and begin moving your hand before you increase pressure. A light, continuous pass is more predictable than a hard squeeze that stays in one place. Use a fine tip for delicate marks, a medium tip for general outlines, and a bold tip for a contour that will enclose a fill.
Do not trace a wet line a second time, because the extra pass usually turns a clean mark into a blob. If the tip skips, stop squeezing and check the opening for dried paint. Clear it, test the flow on scrap, and only then return to the project sheet.
Brush a wash
Put a small amount of paint on a palette and add water a little at a time. A soft brush spreads the thinned mix into a watercolor or sumi effect. The wet color often looks darker than the fired color, so make three ratios on one tile and write the mix beside each stripe.
Keep a clean brush for each color when the areas should stay separate. Too much water can leave a pale film that almost disappears after firing. If that happens, test a stronger mix instead of flooding the same spot again.
Scratch a highlight
Let the coat dry, then lift narrow lines with the end of a brush or another wooden tool. The manufacturer guide describes this scratch step, then adding pen highlights on top. The combination gives you a broad shaded area and a crisp line on the same sheet.
Scratch only the dried paint, because a tool that digs into the sheet leaves a gouge that will still be there after firing. A test tile shows how firmly the dried coat holds and how much pressure that particular tool needs.
Draw through frit
Sprinkle a light layer of powdered frit, then draw through it with the pen. The tip pushes frit aside and leaves a thin painted line with a small halo. Keep the frit light enough that the tip still touches the glass. A heavy pile makes the tip drag and dump material.
Match the frit to the same glass family as the sheet. The glass frit guide explains grain sizes if you are choosing powder for the first time. Test that exact frit with the paint color before you cover a large sheet.
Stack a dry design
Paint one sheet, let the design dry, and then place the next compatible sheet in the orientation you planned. The manufacturer guide says a tack fuse of individual sheets before a full fuse is a reliable way to build a stack. Leave the glass room to move, and use a schedule written for the full thickness.
Metallic colors can act differently from standard colors. The same guide says Bronze Patina, sandwiched between layers, forms tiny bubbles along the line if you do not tack fuse before stacking. Treat that as a color-specific choice. Read the Bronze Patina product page and fire a small stack before you change a whole schedule. For a dependable dark line on the surface, start with something simple such as Glassline black fusing paint.
How thick should the paint be?
On the top surface, keep the application thin unless a raised texture is intentional. The manufacturer guide says a rough fired surface usually means the Glassline was applied too thickly or was under-fired. That texture can be an attractive design choice, but it should be a result you already saw on a test tile.
One even pass is enough for most outlines. For a filled shape, let the outline dry, then add a thinned wash or a light frit fill. If the test fires rough and you did not want that, reduce the bead or the wash. Do not assume a second firing will smooth an overbuilt line.
| Goal | What to do | Watch for | First test |
|---|---|---|---|
| Small lettering | Use a fine or medium tip for one moving pass. | Hard pressure makes blobs. | Try three pressures on one line. |
| Bold outline | Use a bold tip, then let it dry. | A heavy bead can fire rough. | Place a bold line beside a thin line. |
| Soft shade | Thin the paint with water and brush it. | Wet color looks darker than fired color. | Test three water mixes on one tile. |
| Frit halo | Draw through a light powder layer. | Too much frit makes the tip drag. | Test two frit depths in the same color. |
| Layered look | Dry the design, then stack compatible glass. | Metallics can bubble between sheets. | Fire a small stack on the real schedule. |
Drying, storage, and the next color
Let each pass dry before you brush beside it, scratch it, or set another sheet on it. Wet colors bleed into a muddy edge, and a wet line can transfer to the glass above. Thickness, water, and room humidity all change the wait, so touch the edge of a test mark instead of trusting a clock.
Close the bottle when you stop. If a metal tip is on the bottle, clear the opening before you put it away, then test the flow on scrap at the start of the next session. A skip is often dried water-based paint in the tip, not a bad bottle. Begin the hand moving, then squeeze lightly, so the first drop does not land as a blob.
Keep the fired test with a short note. Record the tip size, whether you used one pass or a wash, the glass family, and the schedule name. A note such as medium tip, one pass, COE 96, full fuse is more useful later than a photo with no settings.
Pens and chalks can share a piece. The manufacturer says chalk works on a rough or sandblasted surface, and pen lines can go on after that. Treat chalk as a second technique. It does not replace the clean, dry, test order above.
When the test tile is ready to fire
The manufacturer guide says Glassline is best fired to about 1500 degrees Fahrenheit. It may also be fired lower or higher for a different look. The glass still needs its own schedule. Thickness, size, and the number of layers decide annealing. The paint does not.
Write the schedule name on the test before it goes in the kiln. When the piece comes out, you should be able to match the look to that note without guessing which firing it was.
Change one thing at a time. If the line fires rough, test a thinner coat before you raise the top temperature. If a pale wash seems to vanish, test a stronger mix on a new tile instead of repainting the failed one. Vent the kiln as the load requires so moisture can leave.
Use the Glassline firing schedule guide for holds, venting, and adjustments. The glass fusing temperature guide covers the rest of the kiln process. Fire the test before you commit a large sheet, then compare the fired line with the unfired drawing.
A first test tile you can repeat
Cut or break a small scrap from the same sheet as the project. One tile should be large enough for five short marks and a pencil note on the back that you can discard. You are not making a finished sample for sale. You are learning how this bottle behaves on this glass.
Make the five marks in a row. Use a fine line, a medium line, a bold line, one brushed wash, and one line drawn through a light dusting of frit. Leave space between them so the wet paint cannot run together. Let the tile dry fully before it goes near the kiln.
Fire that tile on the schedule you expect to use for the real piece. After it cools, look at each mark under the same light you use at the bench. Note which line stayed smooth, which one went pale, and which one fired rough. The next project should copy the mark that worked, not the mark that merely looked strong while it was wet.
If none of the five marks is acceptable, change only one variable on the next tile. Try less paint, less water, or a cleaner sheet. Changing the tip, the water, and the schedule at once makes the second test just as hard to read as the first.
Fix the result you actually see
The line skips
Clean the glass again and clear the tip before you add pressure. Forcing a clog through the opening usually turns the next mark into a blob, and a fine tip blocks sooner than a bold tip. Prove the flow on scrap before you go back to the design.
The paint crawls
Residue is the usual cause, so wash and dry the sheet, then apply a lighter line. On textured glass, expect the paint to follow the surface rather than behave like a mark on smooth glass. That difference is a surface effect, not evidence that the bottle has failed.
The fired line is rough
Check thickness first, then the firing. The manufacturer names a heavy coat and an under-fired result as the common causes. If the texture is not part of the design, make a thinner test before you refire the finished piece.
A stacked line bubbles
Look at the color, the amount of paint, and whether you tack fused before the full fuse. Bronze Patina has a documented bubble effect between layers. Do not treat that result as normal for every color. Fire a small stack of the color you actually used.
Frequently asked questions
Can you use Glassline paint on any glass?
The manufacturer says the pens and chalks are compatible with most glass from float through COE 90 and COE 96. The paint being compatible does not make two glass families compatible with each other. Keep the sheet, frit, and stringers in one system, and test the color on that glass.
Do you thin Glassline paint with water?
Yes. Water is how you make a watercolor or sumi wash and how you soften a color for brushing. Add it slowly, test the mix, and write down the ratio if you need to repeat it. A thin coat can fade in the fire, so the test tile matters more than the wet look.
How do you keep Glassline lines smooth?
Start on clean, dry glass. Move the tip before you squeeze, and make one controlled pass. If the fired line is rough, test a thinner bead before you change the kiln. A wider tip still needs a light application.
How long should Glassline dry before firing?
There is no single time. Wait until the design is dry to the touch and will not transfer to a finger, a brush, or the next sheet. A thick bead and a watery wash dry at different speeds, so use the test tile to learn your own room.
Read the full Glassline colors and use guide for palette choices, then browse Glassline paints for the bottle that matches your test.