
When it comes to fusing, slumping, polishing, molding or melting a glass, the first thing that comes to your mind is “kiln”. There is a wide range of art glass kilns available in the market.
An artist can use different types of kiln to make glass from a scratch. Some of the most common yet popular types of kilns include microwave glass kilns, ceramic kilns, craft kilns, traditional kilns, professional glass fusing kilns, electric kilns and stainless steel kilns.
Each type of kiln allows the user to fuse the glass under high temperatures. If you’re looking to use the kiln to fuse glass, here are the simple steps you need to follow. Keep reading!
-
Step 1- Clean Your Kiln
No matter which type of kiln you’re using, it’s vital to clean it inside out before using. This is one of the best ways to keep the debris away from the glass fusing process. For effective cleaning, be sure you choose a dust brush or a small vacuum.
In case you’re looking to fuse the glass pieces with the help of mold, you need to go further and clean every glass art supplies you’re going to use in the task.
-
Step 2 – Set Kiln Paper
Once you’ve thoroughly cleaned the kiln, your next step is to set the kiln paper.
Take the paper out and give tracing to the base using a pencil. Then, you need to cut down the base as per the tracing marks. Lastly, you need to adjust the filter paper so that it fits the base perfectly.
-
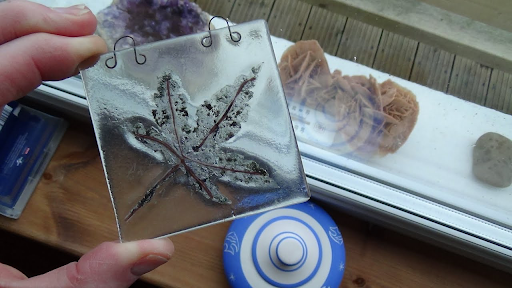
Step 3- Cut The Glass
Now it’s time to give your glass a perfect marking.
Glass cutters are one of the best ways to cut your glass in the perfect shape. However, using the glass cutter requires knowledge and practice. Be sure you wear proper safety gear like protective gloves to keep yourself protected.
Finally, set pieces or layers that you’re looking to fuse together. Note:- Avoid cutting more than 2-3 glass layers.
-
Step 4- Place Glass Pieces In The Kiln
Once you have perfectly cut the glass pieces, you can place them in the kiln.
Be sure the distance between the glass pieces is ideal. This is because firing usually leads to expansion of glass pieces. Maintaining an adequate distance between them will help you to get the best out of your glass making process.
-
Step 5- Set The Timer
Now set the time depending on the glass material you’re fusing and the kiln type you’re using. Approximately, three to five minutes would be enough for the starter whereas the time would be only three minutes if you’re using a preheated oven.
-
Step 6- Keep An Eye Out On The Firing Process
This is the most important step of making glass from scratch using a kiln.
You need to check the firing process to ensure that there are no mistakes or errors in the complete process. You can open the lid of the kiln to check the firing process.
Note:- Do not open the lid for extra time as it may lead to cooling of the heated glass.
-
Step 7- Turn Off The Dial
Once the whole process is completed, you can turn off the dial to zero. In case you feel the glass pieces require time, feel free to turn it on (only for a few seconds). Keep the temperature the same without increasing or decreasing it.
-
Step 8- Cool The Kiln
Now that the complete firing process is done, you need to let the kiln cool before you open the lid. Let xJit sit for at least half an hour before opening.
Final Words
Now that you’ve got an idea about how to make a glass from scratch using an art glass kiln, it’s time to start the process. But before you pick the glass and start cutting it, it’s vital to stay protected with the help of safety gloves as well as eye protectors.
This will help you to stay safe while using the kiln and making a perfect art piece. If you’re looking to purchase other art supplies for your project, be sure you choose art glass supplies. We offer a wide range of art supplies including fused glass art supplies, protective equipment and much more.