
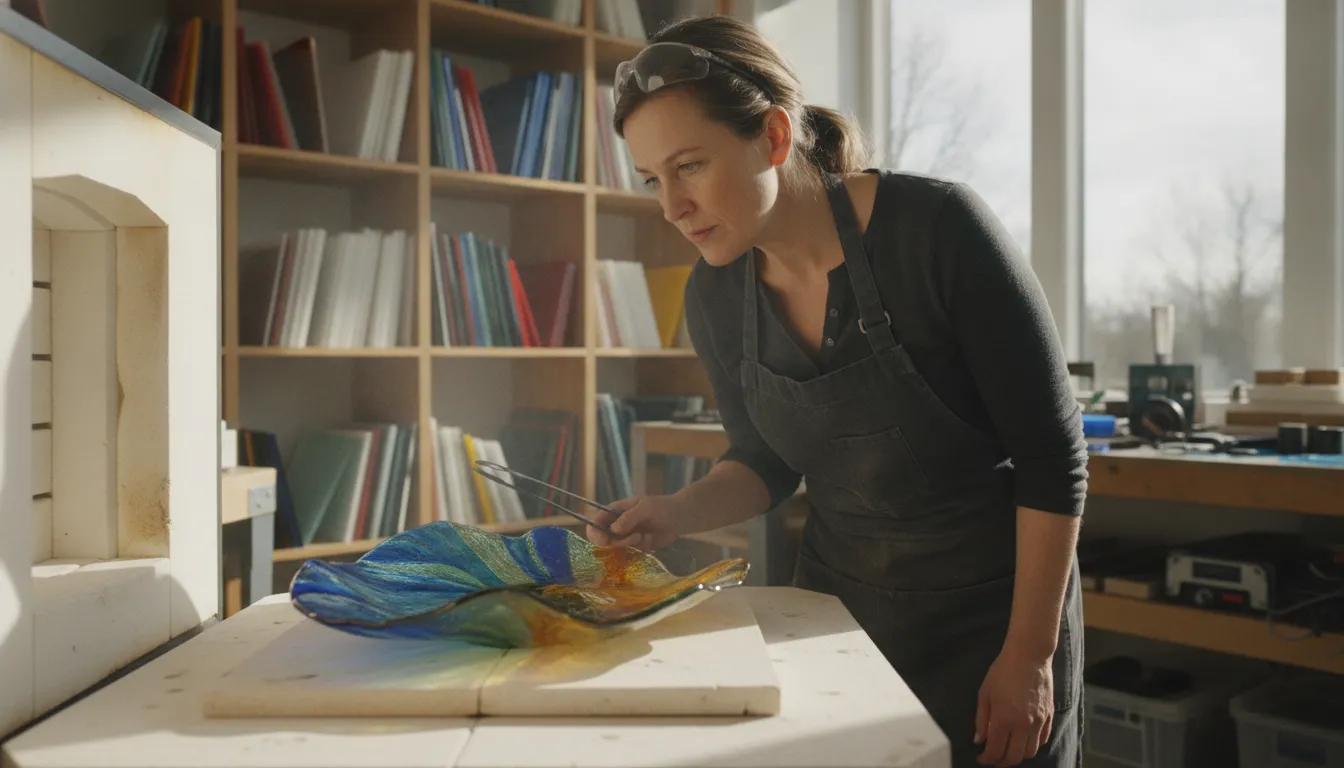
A kiln is not simply a heated box; it is the control center for your glass practice. The right choice must match your project dimensions, firing schedule, available electrical service, and plans for growth. A small home setup may prioritize a compact chamber and standard household power, while production work can require greater depth, faster recovery, and 240V service.
This glass fusing kiln selection guide helps you compare chamber size, temperature capability, programmable controls. Power requirements, and venting so your kiln supports reliable tack fusing, full fusing, slumping, and controlled annealing.
Starter models commonly offer about 6 inches of chamber depth and reach approximately 1700F, but those specifications are useful only when they fit the work you actually produce. Begin by defining your artist type, project scale, and firing demands before comparing individual kiln models.
Glass Fusing Kiln Selection Guide: What Type of Glass Artist Are You? Matching Kiln Capabilities to Your Work
The right kiln begins with your workflow, not a model number. Consider what you make most often, how large those projects are, how frequently you fire, and what your studio can support electrically. A kiln that suits occasional jewelry work may become restrictive for a teacher or production artist, while a large production unit can be unnecessary for a hobbyist.
Home hobbyists and beginning fusers
If you are learning basic fusing, making small tiles, or testing compatible COE glass, prioritize a manageable footprint, simple operation, and a controller that supports repeatable programs. Most starter glass kilns have a chamber depth of approximately 6 inches and reach about 1700 degrees Fahrenheit. Which covers common fusing work but may limit deeper forms or specialized processes (source). Confirm that the kiln fits your available surface, ventilation plan, and outlet before comparing features. Our guide to Glass Fusing Kiln 101 provides a useful home-studio starting point, while the article on essential glass fusing tools covers the equipment around the kiln.
Serious studio artists and jewelry makers
Frequent studio work demands more than maximum temperature. Jewelry makers should evaluate interior dimensions against their largest pendants, cabochons, and small batches. Then look for programmable ramp-hold control so heating, holds, and controlled cooling can be repeated accurately. Serious hobbyists who are moving from experiments to slumping, tack fusing. Or larger panels should choose enough chamber depth and shelf area to avoid replacing the kiln after one season.
For every artist, project size and available power supply are linked decisions. Selecting a kiln without checking the workspace circuit can eliminate otherwise suitable options, so verify voltage, amperage, and installation requirements before ordering (power and project-size guidance).
Educators and production artists
Educators need dependable programming, clear safety procedures, and capacity that supports class schedules without crowding work. Production artists should prioritize durable construction, consistent temperature control, and a chamber sized for their repeatable batch dimensions. If your work includes thick castings, large slumped forms, or continuous order fulfillment, document those requirements before shopping. The best glass fusing kiln selection guide is ultimately a record of your materials, project dimensions, firing frequency, power supply, and future processes.
How Kiln Size, Depth, and Firing Chamber Shape Affect Your Projects
Kiln size determines more than how much glass fits on a shelf. It also sets the usable working area, the clearance available above a project, and the types of molds you can safely fire. A beginner kiln commonly accommodates a 13- to 15-inch shelf, which is enough for jewelry, small tiles, ornaments, and modest fused panels. The shelf size should match the largest flat project you expect to make, not only the projects on your bench today.
Match shelf dimensions to your project footprint
Small kilns are efficient when your work is small. They heat less space, fit more easily into a home studio, and suit earrings, pendants, cabochons, and test tiles. The limitation appears when you begin making plates, trays, or coordinated sets. A 12-inch plate may technically fit on a small shelf, but you still need room around the glass for even heating and safe handling. Measure the finished piece, including any edge margin required by your firing setup.
Larger shelves offer flexibility for plates, bowls, panels, and multiple small pieces in one firing. They also require more floor space, stronger electrical planning, and a larger budget. Choose the largest chamber your workspace and power supply can support without buying capacity that your projects will not use.
Check chamber depth before planning slumping work
Many starter glass kilns are top-fired, with heating elements in the lid, and have a chamber depth of approximately 6 inches. They commonly reach about 1700 degrees Fahrenheit, which covers standard fusing work when the firing schedule is properly programmed. Review the starter-kiln dimensions and temperature limits before purchasing.
Depth becomes critical for slumping. The mold, glass, and any supports must fit inside the chamber with adequate clearance above the highest point. If your molds are taller than 4 inches, a shallow chamber may restrict the shapes you can form or create an unsafe proximity to the lid elements. Measure the mold’s full height, not just the depth of the finished bowl.
Understand top-fired and side-fired designs
Top-fired kilns concentrate elements above the shelf and are common for small, flat fusing projects. Side-fired designs place elements in the walls, which can support more uniform heating around taller or deeper loads. Neither design replaces a compatible firing schedule, careful loading, and annealing. The right chamber shape depends on whether you primarily fuse flat layers, slump over deep molds, or work with thicker forms that need controlled heat penetration.
For jewelry and small flat pieces, a compact top-fired kiln may be the practical choice. For large plates and bowls, prioritize shelf area and chamber clearance over the lowest purchase price.
What to Look for in a Kiln Controller: From Manual Dials to Programmable Digital
The controller determines how accurately a kiln can execute the heating and cooling profile your glass requires. A dial may be adequate for occasional, simple work, but fusing becomes more repeatable when you can set temperature changes, hold times, and controlled cooling as separate segments. In a practical firing schedule for glass fusing, those details protect both the surface quality of the project and the glass itself.
| Controller Type | Precision Level | Best For | Example Price Impact |
|---|---|---|---|
| Manual dial | Low. The operator adjusts heat by time and approximate temperature. | Simple introductory projects, demonstrations, and artists comfortable monitoring the kiln closely. | Usually the lowest initial equipment cost, but requires more hands-on supervision and offers less repeatability. |
| Basic digital | Moderate. Digital temperature settings improve consistency, but programming options may be limited. | Hobbyists making straightforward tack, medium, or full-fuse projects with uncomplicated profiles. | Typically a mid-range investment that adds convenience without the full flexibility of multi-segment control. |
| Programmable digital | High. Electronic controls provide precise firing segments, ramp rates, target temperatures, and hold times. | Artists producing repeatable work, teaching studios, and anyone working with fusing, slumping, or casting schedules. | Usually the highest controller cost, offset by greater repeatability, less monitoring, and more process capability. |
Why temperature precision matters for fused glass
Fusing does not have one universal target temperature. Tack fusing commonly falls between 1,350 and 1,370 degrees Fahrenheit, medium fusing between 1,400 and 1,450 degrees, and full fusing between 1,460 and 1,470 degrees. These ranges produce meaningfully different results, from retained texture and edges to a smooth, glossy surface. A controller that cannot hold a stable, appropriate profile makes those distinctions harder to reproduce.
Look beyond the peak temperature
Ramp-hold programming lets you specify how quickly the kiln reaches a target temperature and how long it remains there. That control matters during the heat-up phase, but the cooling phase is equally important. Annealing requires controlled cooling to relieve internal stress, and thicker or more complex work may need additional segments. Electronic controllers offer more precise segment control than manual controls, giving you a safer foundation for repeatable schedules as your projects become more ambitious.
Understanding Power Requirements: 120V vs 240V Glass Kilns
Electrical capacity is a practical constraint that should be evaluated before comparing kiln brands or chamber dimensions. A sound glass fusing kiln selection guide starts with the power available in your studio. Because the outlet and circuit can determine which kiln sizes are realistic for your workspace.
When a 120V kiln is the practical choice
Entry-level tabletop kilns, including models in the Skutt FireBox series, are designed to operate on standard 120V household outlets. This makes them convenient for a home studio, classroom, or artist beginning with smaller projects. They can support common fusing work without requiring an electrical upgrade, provided the outlet and circuit meet the kiln manufacturer’s requirements.
Many starter kilns have a chamber depth of approximately 6 inches and reach a maximum temperature of about 1700 degrees Fahrenheit. That range covers typical fusing applications, but the kiln’s physical capacity and electrical limitations still matter. A 120V model may be a strong fit for small jewelry components, tiles. And test pieces, while becoming restrictive when your projects grow in size, thickness, or production volume. Project size and available power supply should be considered together.
Why larger studio kilns often require 240V
Production-oriented kilns from manufacturers such as Olympic, along with larger Skutt GM models, generally require a 240V dedicated circuit. This higher-capacity electrical setup supports larger heating systems and more substantial chambers, which are useful for artists firing larger work. Running regular production cycles, or working with schools and studios that need greater throughput.
A 240V kiln is not simply a plug-in upgrade. The circuit, outlet, wiring, breaker, and installation location must be appropriate for the specific model. Have a qualified electrician assess the workspace and confirm the requirements listed on the kiln’s installation documentation. Do not assume that an unused outlet, dryer circuit, or existing appliance connection is suitable.
Assess your workspace before ordering
- Identify whether the intended location has a suitable 120V outlet or a dedicated 240V circuit.
- Check the kiln’s voltage and electrical specifications, not only its exterior dimensions and temperature rating.
- Consider future project growth. Replacing a small kiln later may cost more than planning the electrical capacity you need now.
- Leave adequate clearance and follow the manufacturer’s installation and ventilation requirements.
Choosing the correct voltage protects your investment and helps the kiln perform consistently. If your workspace cannot support the model you want, select a kiln that matches the existing electrical capacity or plan the required professional installation before purchase.
Built-In vs Manual Kiln Venting: When Each Makes Sense
Venting is part of responsible kiln operation, not an optional accessory. During an early firing, glass and kiln materials release moisture, organic binders, and other vapors. Removing those compounds helps protect the kiln interior and keeps the studio air more comfortable and controlled. The right approach depends on your workspace, firing frequency, and willingness to monitor each cycle.
When built-in venting is the better choice
A built-in venting system is usually the strongest choice for a kiln installed in a small room, basement, classroom, or other space with limited air exchange. It provides a consistent path for vapors to leave the chamber, which is especially useful when you fire frequently or run long schedules. Regular venting can also reduce the accumulation of contaminants on kiln components and nearby surfaces.
Built-in systems are valuable when several people share the studio. A teacher or studio owner cannot always stand beside the kiln during the early stage of every firing. So a dedicated vent reduces reliance on a manually propped lid. Follow the kiln manufacturer’s installation requirements, including the correct clearance and exhaust route. Never vent into an enclosed cabinet or an occupied room without adequate air movement.
When manual venting can be practical
Manual venting typically means opening the lid slightly during the initial portion of a firing, using the kiln manufacturer’s recommended method. It can be acceptable for an occasional hobbyist working in a spacious, well-ventilated studio who can monitor the kiln closely. The lid must be closed before the kiln reaches the temperature specified by the manufacturer, and the firing schedule should not be improvised around the venting step.
Manual venting demands consistency. Leaving the lid open too long can interfere with heat-up performance, while opening it incorrectly can stress the lid or expose the operator to hot surfaces. Keep combustible materials clear, use appropriate heat protection, and make sure the kiln remains on a stable, noncombustible surface.
Consider maintenance as part of the decision
Whichever system you choose, inspect the lid, elements, and vent components regularly. Fibre lids can last approximately ten years with proper care, according to kiln selection and maintenance guidance. Frequent firing, poor handling, or contamination can shorten that lifespan. If you fire often or work in a compact studio, the additional control of built-in venting is generally worth prioritizing during kiln selection.
Creating a Kiln Selection Scorecard for Your Home Studio
A useful scorecard turns a long list of kiln specifications into a decision based on how you actually work. Score each factor from 1 to 3, where 1 means your entry-level needs are covered. 2 indicates room to grow, and 3 signals that you need production-level capacity or control. The highest pattern, not one isolated specification, should determine your kiln tier.
-
Identify your artist type and firing goals
Choose the description that best matches your next two years of work: occasional hobbyist, serious hobbyist, educator, studio artist, or production artist. Record whether you mainly plan to tack fuse, full fuse, slump, or cast. Simple small projects may fit an entry kiln, while regular slumping, thick work, or casting requires more control and usable chamber depth. A beginner kiln commonly accommodates a 13- to 15-inch shelf, so score higher if your work routinely exceeds that footprint. For foundational equipment planning, review these essential glass fusing tools.
-
Measure the projects, shelf, and chamber you truly need
Measure the largest finished piece, mold, and shelf you expect to fire, then add clearance for loading and heat circulation. Flat fusing and slumping are not interchangeable: a mold can require additional vertical clearance, while casting needs space for thicker glass and a slower, more complex schedule. Do not choose a kiln solely by exterior dimensions. Compare usable interior width, depth, lid or door configuration, and the shelf size that the chamber can safely support.
-
Score controller precision against your firing schedule
If you only fire occasional, repeatable projects, a basic controller may be adequate. Score higher when you need programmable ramp-hold segments, repeatable annealing, controlled cooling, or separate schedules for tack fuse, full fuse, slumping, and casting. Electronic controllers provide more precise segment control than manual controls. A controller that stores and edits schedules also reduces setup errors as your work becomes more complex. Compare your needs with these detailed firing schedules for glass fusing.
-
Confirm power, venting, and installation constraints
Inspect the circuit, outlet, amperage, available clearance, and ventilation in the proposed location before shopping. Many starter kilns operate on standard 120V household current, while larger production kilns commonly require 240V service. Your score rises if an electrician or dedicated circuit is needed, because installation becomes part of the kiln budget. Also account for safe venting and access for maintenance, not just the purchase price.
-
Set the complete budget and choose your tier
Include the kiln, shelves, posts, furniture, venting, electrical work, delivery, and future replacement parts. A low score across size, controller, power, and production frequency points toward a compact entry kiln. Several middle scores suggest a flexible studio kiln with programmable control and growth capacity. High scores in chamber size, schedule complexity, electrical demand, and firing frequency point toward a production model. Art Glass Supplies carries more than 103 Skutt and Olympic kiln models, so use your scorecard to narrow the field before comparing individual units. For that model-by-model comparison, read the companion kiln buying guide.
Frequently Asked Questions
What size glass fusing kiln do I need for a home studio?
Choose a chamber that fits your largest planned project, not only your current practice. A beginner kiln commonly accommodates a 13- to 15-inch shelf and has a chamber depth of about 6 inches. If you plan to slump over taller molds, make sure the chamber provides adequate clearance. Source: Glasshoppa.
How do I determine the right voltage for my glass fusing kiln?
Start with the electrical service available in your studio, then confirm the kiln’s voltage and amperage requirements with the manufacturer or a qualified electrician. Entry-level kilns may run on a standard 120V outlet, while larger production kilns often require 240V service. Do not use an adapter or extension cord as a substitute for correctly rated wiring.
What is the difference between manual and digital kiln controllers?
Manual controls require you to adjust heat settings during the firing. A digital controller can store and execute ramp-hold segments, giving you more precise control over heating rates, target temperatures, holds, and annealing. That repeatability matters when you move between tack fusing, full fusing, slumping, or casting schedules. Source: Stanford firing schedules.
What safety features should I look for in a glass fusing kiln?
Prioritize a properly insulated chamber, a secure lid, reliable temperature control, and a setup that allows safe ventilation and clearance from combustible materials. The kiln should be installed according to its electrical and operating requirements. Never open a hot kiln unnecessarily, and use appropriate heat-resistant protection when handling equipment.
How do I maintain my glass fusing kiln for longevity?
Keep kiln shelves level, remove loose glass and debris, inspect elements and insulation regularly, and avoid placing projects directly against the chamber walls. Follow the manufacturer’s care instructions for the lid and firing chamber. With proper care, fibre kiln lids can last approximately ten years. Source: Catherine Dunstan Glass.
Ready to Choose Your Glass Fusing Kiln?
The right kiln should match your project dimensions, firing schedule, available power, and long-term studio goals. Reviewing models with those requirements in mind makes it easier to compare features without overlooking an important limitation. Browse the full selection of Skutt and Olympic glass fusing kilns at Art Glass Supplies to get started.