
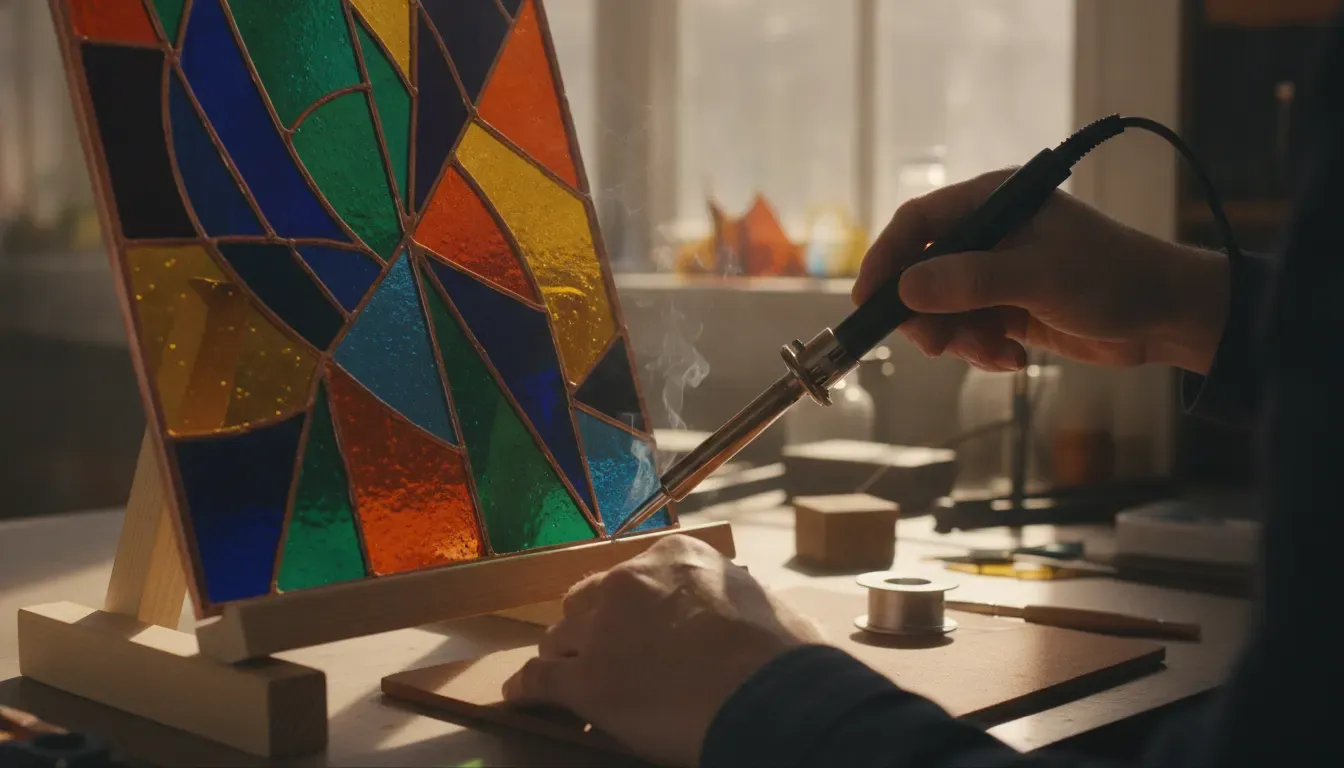
Finding the right stained glass solder temperature is less about chasing one magic number and more about controlling heat at the joint. For most copper foil work with common 60/40 tin-lead solder, a temperature-controlled iron set around 700 to 800 degrees F (370 to 425 degrees C) gives you a useful starting range. Begin near the lower-middle of that range, then let the solder, foil, tip, and glass tell you what to change.
The important distinction is that the iron setting is much hotter than the alloy’s melting range. The tip must transfer enough heat into a cold copper foil seam to melt and move solder without sitting in one place long enough to stress the glass. This guide explains how to establish a working setting, recognize too much or too little heat, and make one controlled adjustment at a time.
Shop stained glass tools, solder, flux, and heat-control essentials at Art Glass Supplies.
What temperature should a stained glass soldering iron be?
For a typical 60/40 solder and copper foil seam, start the iron at approximately 725 to 750 degrees F (385 to 399 degrees C). A practical working range for many studios is about 700 to 800 degrees F (370 to 425 degrees C), but the correct setting depends on the iron, tip size, foil, solder, panel temperature, and how quickly you move.
Use the dial as a starting point, not as a guarantee. Two irons set to the same number can deliver different results because their sensors, heaters, tips, and thermal recovery differ. A cold panel, a wide seam, or a long pass can pull more heat from the tip than a short tack point. If you have changed any one of those variables, test the setting on scrap before changing the whole project.
| Task | Useful starting approach | What to watch for |
|---|---|---|
| Brief tack points | Use the low end of the iron’s controlled range and short contact | Pieces should stay aligned without overheating a small area |
| Flat tinning pass | Begin around 700 to 750 degrees F and keep the tip moving | Solder should wet the foil and leave continuous coverage |
| Raised bead | Use a stable setting around 725 to 775 degrees F if the alloy and iron respond well | The bead should build smoothly instead of spreading flat |
| Large or heat-hungry seam | Prioritize heat recovery and a properly tinned tip before raising the dial | Do not compensate for a damaged tip or dirty foil by adding excessive heat |
These are starting points, not universal specifications. Follow the iron and solder manufacturer’s instructions, and make small changes rather than jumping to the highest setting.
Why the iron setting is hotter than the solder melting point
Common 60/40 solder is approximately 60 percent tin and 40 percent lead. A Lincoln Electric technical sheet lists a solidus of about 361 degrees F (183 degrees C) and a liquidus of about 374 degrees F (190 degrees C) for its 60/40 tin-lead solder. In other words, the alloy transitions through a relatively narrow melting range. You can review the 60/40 tin-lead technical information sheet from Lincoln Electric for those material values.
That melting range is not the same thing as the iron dial setting. Heat is lost as the tip touches solder, copper foil, the surrounding panel, and the air. A stained glass bead also contains more metal than the tiny amount used for many electronics joints. The iron must have enough reserve heat to keep the joint in a workable state while you move along the seam.
This is why turning an iron up does not automatically improve flow. A higher setting can make the solder melt quickly, but it can also burn flux, overheat the foil adhesive, flatten the bead, and send too much heat into the glass. The goal is controlled heat transfer, not the highest possible tip temperature.
How to establish a working temperature on scrap
Before soldering a finished panel, make a short test seam from similar scrap. Use the same solder, foil width, glass thickness, tip, and flux that you plan to use on the project. A test made with a narrow foil strip does not fully predict how a wide seam or a cold, heavy panel will behave.
- Warm the iron fully. Give a temperature-controlled iron time to reach its set point. Keep the tip clean and lightly tinned.
- Prepare the scrap. Make sure the foil is firmly attached, clean, and free of oil or heavy oxidation. Apply a thin film of glass-specific flux.
- Start below the middle of the range. Try roughly 700 to 725 degrees F for 60/40 solder, unless the manufacturer gives different guidance.
- Feed a small amount of solder. Bring the tinned tip to the joint and let the solder melt onto the heated foil. Avoid piling up solder before the foil is wet.
- Observe the line. The solder should respond promptly, travel with the tip, and leave a continuous joint without requiring force or a long pause.
- Change one variable. If the result is poor, first check tip condition, foil cleanliness, flux, and movement. Then make a modest temperature adjustment and repeat.
This test is more useful than copying another artist’s dial setting because it measures the complete system on your bench. Record the solder alloy, tip shape, approximate setting, and result in a studio note so you can reproduce the setup later.
Signs your soldering iron is too cold
A cold joint is not always caused by a low dial setting. A dark, oxidized tip, inadequate flux, dirty foil, or a low-power iron that cannot recover under load can create the same symptoms. Check those causes before increasing temperature.
- Solder drags instead of flowing. The iron seems to push a soft ridge along the seam rather than moving a liquid bead.
- The surface looks grainy or lumpy. The solder freezes before it can level out, leaving ripples or a dull texture.
- The joint has skips or exposed foil. The tip may be moving too quickly for the seam to wet, or heat may be leaving the tip faster than it can recover.
- You need pressure or repeated passes. Pressing harder does not replace heat transfer. It can disturb the foil or scratch the glass.
- Solder balls up. This can indicate low heat, but it more often points to oxidation, missing flux, contaminated foil, or a tip that is not properly tinned.
Start by cleaning and retinning the tip, cleaning a short foil section, and applying a small amount of fresh flux. If the solder still drags, raise the setting slightly or slow your movement. Recheck the seam after each change.
Signs your soldering iron is too hot
Excess heat can look productive because the solder melts instantly. In practice, it often reduces control and increases the chance of damage.
- The solder turns thin and watery. Instead of following the tip, it spreads widely or runs through gaps.
- The bead becomes flat or concave. Too much heat or too much dwell time can melt a raised line back down.
- Flux smokes or disappears immediately. Some sizzling is expected, but rapid burning leaves the metal surface unprotected before the joint is wet.
- The foil adhesive lifts or bubbles. Prolonged heat can soften the adhesive and allow the foil to move.
- The glass develops a crack. A concentrated hot spot or repeated reheating can create thermal stress, especially in cold, thin, or already stressed glass.
When a seam is too hot, lower the temperature modestly and shorten the time the tip stays in one place. Move the heat across the panel rather than repeatedly reflowing the same small area. Let the work cool before attempting a repair.
Heat control depends on more than the dial
Temperature is only one part of the heat equation. The following variables can make the same iron setting feel hot in one pass and cold in another.
Tip condition and shape
A clean, evenly tinned tip transfers heat more efficiently than a dark or pitted tip. A small pointed tip may work for a detail, while a chisel tip generally gives better contact across a longer foil seam. Keep the working face coated with a thin layer of solder, and retin it when it begins to look dry.
Wattage and thermal recovery
For stained glass, wattage is mainly about recovery, not simply maximum temperature. The glass and copper foil pull heat away as you work. An iron that reaches a high number but drops sharply under load can produce a rough seam. Choose an iron designed for stained glass and follow its rated use instead of relying on a household or low-power electronics iron.
Movement speed and tip angle
Move at a steady speed with the tip held close to parallel with the seam. Moving too quickly leaves incomplete wetting. Moving too slowly concentrates heat and can flatten the bead or damage the foil adhesive. Use light pressure. Let the heated tip and fresh solder do the work.
Panel temperature and support
A cold panel absorbs heat rapidly. A large piece can therefore require a slightly different approach than a small practice scrap. Support the panel so it does not shift while you work, and distribute heat across sections instead of repeatedly cooking one intersection. A stable work surface also makes it easier to maintain a consistent angle and speed.
Compare stained glass solder, copper foil, and related metal supplies for your next test seam.
How solder alloy changes heat control
60/40 and 50/50 describe the relative amounts of tin and lead in the alloy. They do not describe glass compatibility, and neither one can correct dirty foil or poor heat transfer.
60/40 is commonly chosen for copper foil because it flows readily and gives the artist useful working time for a rounded bead. A common 60/40 solder has the narrow approximate melting range described above. 50/50 has a broader transition and can feel less fluid during a bead-building pass. If you change alloys, start over on scrap rather than assuming the old dial setting will behave the same way.
Lead-free solder may require different heat and technique again. Do not increase the temperature indefinitely when a product refuses to flow. Confirm the alloy’s instructions, use the recommended tip and flux, and test it on prepared scrap. The material’s actual formulation matters more than a generic temperature chart.
Does COE affect stained glass solder temperature?
COE, or coefficient of expansion, is primarily a glass compatibility concept. It describes how a glass changes size with temperature over a stated range. In kiln fusing, you also need to consider the glass’s viscosity and softening behavior, because two glasses can respond differently as they move through the heating and cooling cycle. Matching a COE label alone is not a complete compatibility test.
Copper foil stained glass is different from fusing. The solder creates a metal-to-metal joint over the foil; it does not fuse the glass pieces together. Therefore, COE does not tell you to set a soldering iron to a particular temperature. Heat still matters because it can stress or crack the glass, soften foil adhesive, or damage nearby work, but the dial should be established from the soldering system and the manufacturer’s instructions.
If you are moving from a copper foil project to kiln fusing, keep those jobs separate. Use glass that is tested or labeled for compatibility within the same system, and use the manufacturer’s firing and annealing guidance. Do not assume that a stained glass sheet can be fused safely just because its COE number resembles another sheet.
How to troubleshoot a rough or weak solder line
Use a short diagnostic sequence instead of immediately turning up the heat.
- Inspect the foil fit. Large gaps, uneven edges, and loose foil create problems that heat cannot solve.
- Clean the surface. Remove dirt, oil, and visible oxidation from the section you will rework.
- Check flux. Apply a thin layer of appropriate stained glass flux immediately before soldering. Do not flood the panel.
- Check the tip. Clean and retin it. A tip that will not accept solder is not transferring heat predictably.
- Check movement. Keep the iron at a low angle and travel steadily. Feed solder to the heated joint instead of dropping a large amount onto cold foil.
- Adjust temperature last. Make a small change, test again, and stop when the solder flows continuously without excessive dwell time.
For flux that is made for stained glass metal preparation, see the GlassPro solder flux product information. Follow the product label and Safety Data Sheet, and remove flux residue after soldering according to the manufacturer’s instructions.
Safe heat and lead-handling habits
Temperature control protects the project, but it is also part of a safe studio routine. A lead-bearing soldering process can involve hot metal, flux vapors, and lead contamination on hands or work surfaces. Read the solder and flux labels and Safety Data Sheets before use.
- Keep your head out of the smoke and use ventilation that moves fumes away from your breathing zone.
- Wear appropriate eye protection and keep the hot iron in a stable stand when it is not in your hand.
- Keep food, drinks, cosmetics, and personal items away from the soldering area.
- Wash your hands and clean the work surface after handling lead-bearing solder.
- Store solder, flux, and contaminated waste according to the product instructions and local requirements.
The UK Health and Safety Executive identifies soldering among activities that can involve exposure to lead and recommends controls, hygiene, and keeping food areas free from contamination. Read its Lead and you: working safely with lead guidance alongside the requirements that apply where you live and work.
These precautions are especially important in shared studios, classrooms, and homes where children, pets, or other people may enter the workspace.
Choose the stained glass tools and consumables that support steadier heat control.
Frequently asked questions
What is the best stained glass solder temperature for 60/40 solder?
Start a temperature-controlled iron around 725 to 750 degrees F (385 to 399 degrees C), then adjust within an approximate 700 to 800 degrees F working range based on the tip, foil, panel, solder, and movement. The solder should flow continuously without becoming watery or requiring long dwell time.
Why is my stained glass solder not flowing?
Check the tip, foil, and flux before raising the temperature. A dark or untinned tip, oxidized foil, missing flux, contaminated metal, or an iron that loses heat under load can all prevent wetting. Clean a short section, apply fresh flux, retin the tip, and test on scrap.
Can a soldering iron be too hot for stained glass?
Yes. Excess heat can burn flux, flatten the bead, soften foil adhesive, and increase thermal stress in the glass. If solder becomes thin and runny or the surface overheats quickly, lower the setting and shorten dwell time instead of continuing to add solder.
Does COE determine my stained glass soldering temperature?
No. COE describes glass expansion and is relevant to compatibility when glass is fused. Solder temperature is chosen from the alloy, iron, tip, foil, flux, panel, and technique. Use the glass manufacturer’s compatibility and firing guidance for kiln work.
Build a more controlled soldering setup
The best setting is the one that gives you a continuous, well-wetted seam while keeping the tip moving and the glass protected. Start with a controlled iron, a clean tinned tip, suitable flux, prepared foil, and a scrap test. Then make small, evidence-based adjustments rather than treating temperature as the only solution.