

Choosing stained glass patterns for beginners is less about finding the prettiest design and more about finding one that teaches the workflow without creating unnecessary frustration. A good first pattern has manageable shapes, clear lines, and enough room to cut, fit, foil, and solder each piece accurately.
Shop stained glass tools and supplies for your first project
What Makes a Stained Glass Pattern Beginner-Friendly?
A beginner-friendly stained glass pattern uses a small number of clearly defined pieces, broad shapes, and gentle curves. It avoids narrow points, tight inside corners, and long sections that are difficult to support. The design should be large enough to handle comfortably and simple enough that you can focus on accurate cutting and fitting.
Pattern difficulty is determined by more than the number of colors. A design with six large pieces may be easier than one with four pieces that include narrow tips and tight inside curves. Before printing or purchasing a pattern, look for these characteristics:
- Broad sections: Larger pieces are easier to score, break, label, and fit.
- Gentle curves: Sweeping curves are more forgiving than sharp changes of direction.
- Visible construction lines: Each line should show where two finished pieces will meet.
- Room for a border: A simple outside frame makes the panel easier to assemble.
- A practical finished size: Choose a size that fits your work surface and the glass you can handle safely.
Simple geometric designs, small suncatchers, leaves, flowers, and uncomplicated silhouettes often work well for a first panel. Avoid a design with a very thin strip surrounded by large pieces. That narrow section can be difficult to cut and may become fragile during grinding or foiling.
Keep your first project focused on learning. You can add more elaborate curves, layered details, and intricate borders after you can consistently transfer a pattern, cut close to the line, and make a clean fit.
How Should You Prepare a Stained Glass Pattern Before Cutting?
Prepare a stained glass pattern by printing it at the intended scale, making a full master copy, labeling every section, and creating a separate working copy for cutting. Mark color, orientation, and any construction notes before separating the pieces. This preparation keeps the design organized and prevents misplaced or reversed glass.
Start by deciding the finished width and height. Print the pattern at 100 percent scale rather than allowing the printer to fit it automatically to the page. Measure a known dimension on the printout with a ruler. A small scaling error becomes more noticeable when several pieces are assembled.
Make at least two copies:
- Keep one master copy intact. This is your reference for the overall design and final placement.
- Use the second copy for templates. Cut this copy into individual pattern pieces only after the design is checked.
Label both the master and working copy with matching numbers or letters. Add the glass color, surface direction, and any grain or texture orientation. If a piece is symmetrical, mark a simple orientation arrow anyway. Transparent and textured glass can look different when turned, and a small mark helps you return every piece to its intended position.
Pattern lines represent the finished joint, not extra glass that should remain between the pieces. The joining method affects the space removed between templates. Pattern shears or another reliable seam allowance method can remove a narrow strip from the paper pattern, but the amount should suit the foil or came system you are using. If the pattern does not explain the allowance, confirm the method before cutting valuable glass.
Which Methods Transfer Patterns to Glass?
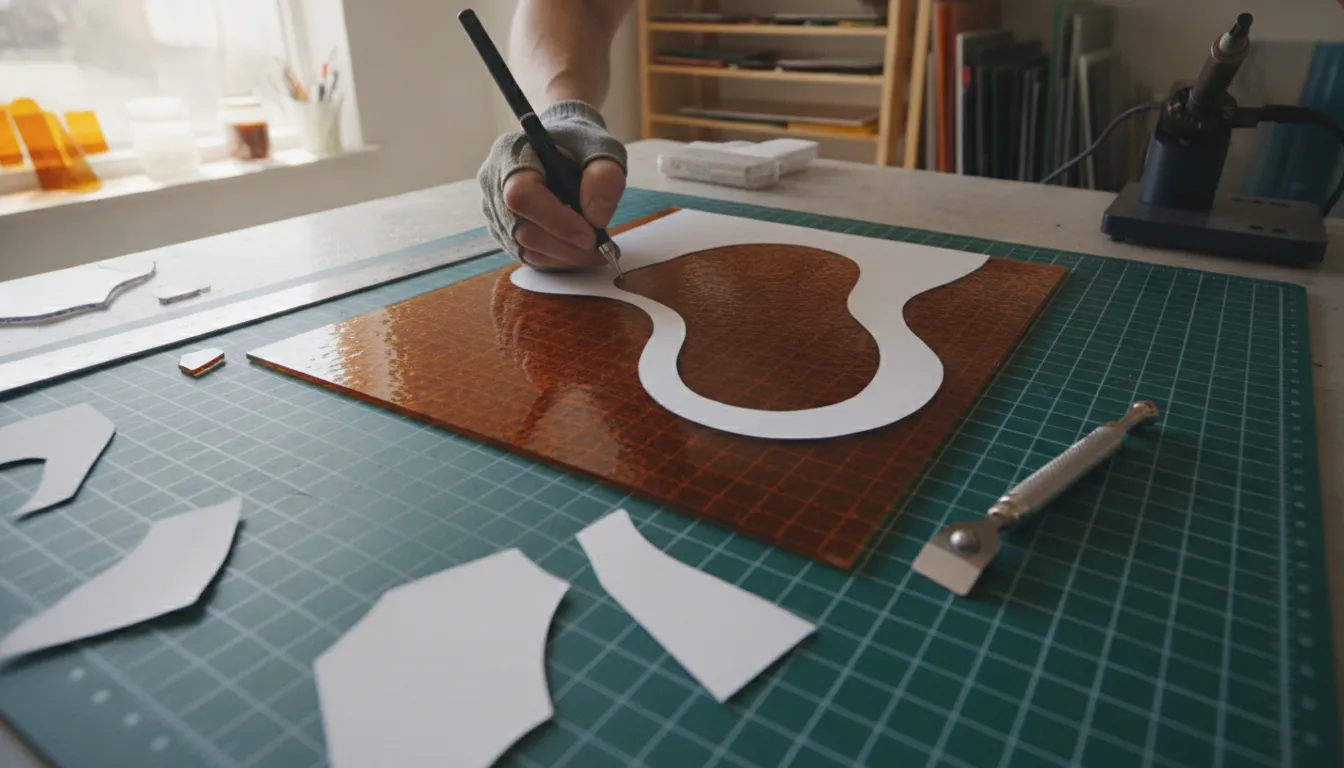
The most useful pattern-transfer methods are tracing around paper templates, tracing through transparent glass on a light table, gluing paper pieces to the glass, and transferring pieces from tracing or watercolor paper. Choose the method that keeps the line visible, preserves the pattern, and lets you cut without confusing the joint line.
There is no single correct transfer method. The best choice depends on the glass surface, the complexity of the pattern, and whether you want to reuse the design. A practical overview of these four approaches is also described by The Glass Creative’s pattern-transfer guide.
Cut and trace paper templates
Cut the working copy into pieces and use each piece as a stencil. Place the template on the correct side of the glass, trace around it with a suitable marker, and keep the piece with the matching label. This method works well when the glass is opaque or heavily textured and the pattern needs to be stored for another project.
Trace through transparent glass
For transparent glass, place the pattern beneath the sheet or use a light table. Trace the relevant lines directly onto the glass, then check that the marks remain visible as you score. This approach can help when the pattern has many pieces or when you need to see the design while considering color and texture.
Glue paper pieces to the glass
Cut the paper pieces and attach them to the glass with a removable stick adhesive that is appropriate for the material. The paper becomes a visual cutting guide. Keep the adhesive layer thin and avoid placing it where it will interfere with the cutter or leave a residue on the finished edge.
Make reusable pieces with tracing paper
Trace the design onto tracing or watercolor paper, cut out the pieces, and attach them to the glass. This takes more preparation but can make a sturdy, repeatable set of templates. Store the labeled pieces with the intact master copy so you can recreate the design without starting over.
Test your marker or adhesive on a scrap of similar glass first. Some surfaces are difficult to mark, and some adhesives leave residue. A five-minute test is cheaper than discovering the problem after the complete pattern has been transferred.
Find stained glass sheets and materials for your selected pattern
How Do You Transfer Curves, Corners, and Small Details Accurately?
Transfer curves and small details by keeping the template flat, marking a clear reference point, and dividing difficult shapes into manageable sections. Do not stretch paper around a curve or guess where a corner lands. Compare the transferred line with the master pattern before scoring, especially at points and inside corners.
Curves are easier to transfer when the paper template is stable. Use a small amount of removable adhesive or hold the piece with your free hand while tracing. Work from a broad section toward a point instead of twisting the paper around the design.
For a narrow tip, mark the point first and then connect it to the wider sides. For an inside corner, check that the corner is not so tight that the glass cutter cannot follow it safely. A pattern can look simple on paper but become difficult when a cutter must turn sharply inside a small space.
Use a ruler for straight boundaries and a flexible curve or a smooth template edge for gradual arcs. Avoid adding a second line to correct a first line without checking the master. Two close marks create uncertainty about which line to follow.
If a design includes a repeated motif, make one accurate template and use it as the model for the others. Do not assume that similar shapes are interchangeable. Number every piece and keep the orientation mark visible through cutting and fitting.
How Do You Cut Glass to Match a Pattern?
Cut glass to a pattern by placing the mark where you can see it, scoring one continuous line with even pressure, and breaking the glass with the appropriate tool. Leave a small amount for fitting when needed, then refine the edge with a wet grinder. Cut conservatively and let grinding establish the final fit.
Before cutting, confirm that the glass is the right type for the project and that the surface is clean. Put on eye protection and clear loose shards from the work area. Keep the master pattern and the labeled template beside the glass so you can check orientation before every score.
- Plan the score. Identify where the score will start and end. Avoid stopping in the middle of a curve or retracing a score line.
- Score once. Use a glass cutter with firm, consistent pressure. A score should create a controlled fracture, not a deep groove. Repeated scoring over the same line can make the break unpredictable.
- Break with control. Use running pliers or another suitable breaking tool aligned with the score. For a curved shape, remove excess glass with relief cuts rather than forcing one large break.
- Refine the edge. Use grozers for small controlled nibbling and a wet glass grinder for smoothing and fitting. Remove only what is needed to bring the edge to the pattern.
- Check the fit. Place the piece on the master or a layout board. Look for gaps, rocking, overhang, and a curve that no longer matches its neighbor.
Do not chase the line aggressively with the cutter. If the shape requires several relief cuts, plan them before the main score. Small offcuts are easier to control than a large unsupported section. A grinder can improve an edge, but it cannot replace a sound score and break.
For a broader overview of cutting, grinding, and joining, link this workflow to the stained glass techniques reference guide. If you are purchasing equipment, the beginner stained glass supplies guide covers the larger tool setup without replacing the pattern-specific decisions in this article.
What Should You Check Before Foiling or Using Came?
Before foiling or using came, confirm that every piece is labeled, oriented correctly, and fitted against its neighbors. Check the finished outline, joint spacing, and edge condition. A clean, accurate fit gives copper foil or came a reliable foundation; neither joining method should be used to hide a major gap or incorrect cut.
Lay the cut pieces over the intact master copy before applying any metal. Start at a recognizable corner and place each piece in sequence. Compare color, texture, and orientation marks, then look at the entire outline from a short distance.
Correct these problems now:
- A piece that rocks instead of lying flat.
- A gap that is wider than the pattern joint allows.
- An edge that extends beyond the finished outline.
- A point that is too fragile to survive handling.
- A reversed texture, color direction, or orientation mark.
For copper foil construction, smooth and clean edges help the tape sit evenly. The foil should wrap the edge and leave a consistent soldering surface on the front and back. For lead came construction, the glass must fit the channel without being forced. The pattern transfer stage is where these requirements become visible, before the panel is committed to assembly.
If the project uses fusible glass instead of non-fusible stained glass, compatibility becomes a separate technical decision. The Coefficient of Expansion, or COE, describes how a glass changes size as temperature changes. Use glass from a compatible system rather than mixing pieces because they look similar. In a kiln, viscosity and softening points also affect when glass begins to move, round, or deform. A stained glass pattern can guide layout, but it is not a firing schedule.
When your cut pieces are ready for joining, review the copper foil, solder, and metal supplies that match your construction method.
Prepare the foil and solder supplies for your finished panel
Frequently Asked Questions
What are the easiest stained glass patterns for beginners?
Choose a small design with broad sections, gentle curves, and a clear border. Simple geometrics, leaves, flowers, and uncomplicated suncatchers are often easier to cut and fit than patterns with narrow points or tight inside corners.
How do I transfer a stained glass pattern to glass?
You can trace around paper templates, trace through transparent glass on a light table, glue paper pieces to the glass, or create reusable pieces from tracing paper. Test your marker or adhesive on scrap glass before transferring the full design.
Should I cut directly on the pattern line?
The pattern line represents the finished joint, so the template must account for the space used by foil or came. Follow the pattern’s seam allowance method, then cut conservatively and use fitting and grinding to refine the edge.
How many copies of a stained glass pattern do I need?
Keep one full master copy and use a second copy for the individual templates. Label both copies with matching numbers, colors, and orientation marks so the pieces stay organized throughout cutting and assembly.
Can I use a stained glass pattern for glass fusing?
A pattern can guide the layout of a fused-glass design, but firing requires compatible glass and a suitable kiln schedule. Confirm the COE system and consider viscosity and softening behavior before firing. Do not treat a stained glass pattern as a firing schedule.
Build Confidence With Your First Pattern
Successful first projects come from a repeatable sequence: choose a manageable design, preserve a master copy, label every piece, transfer the lines clearly, cut conservatively, and check the fit before joining. Each careful pattern decision makes the later glasswork easier to control.
Patterns are planning tools, not shortcuts around careful technique. Take time to verify scale and orientation, and keep a scrap piece nearby for testing marks, adhesives, and cuts. Browse Art Glass Supplies tools and materials for your next stained glass project.