
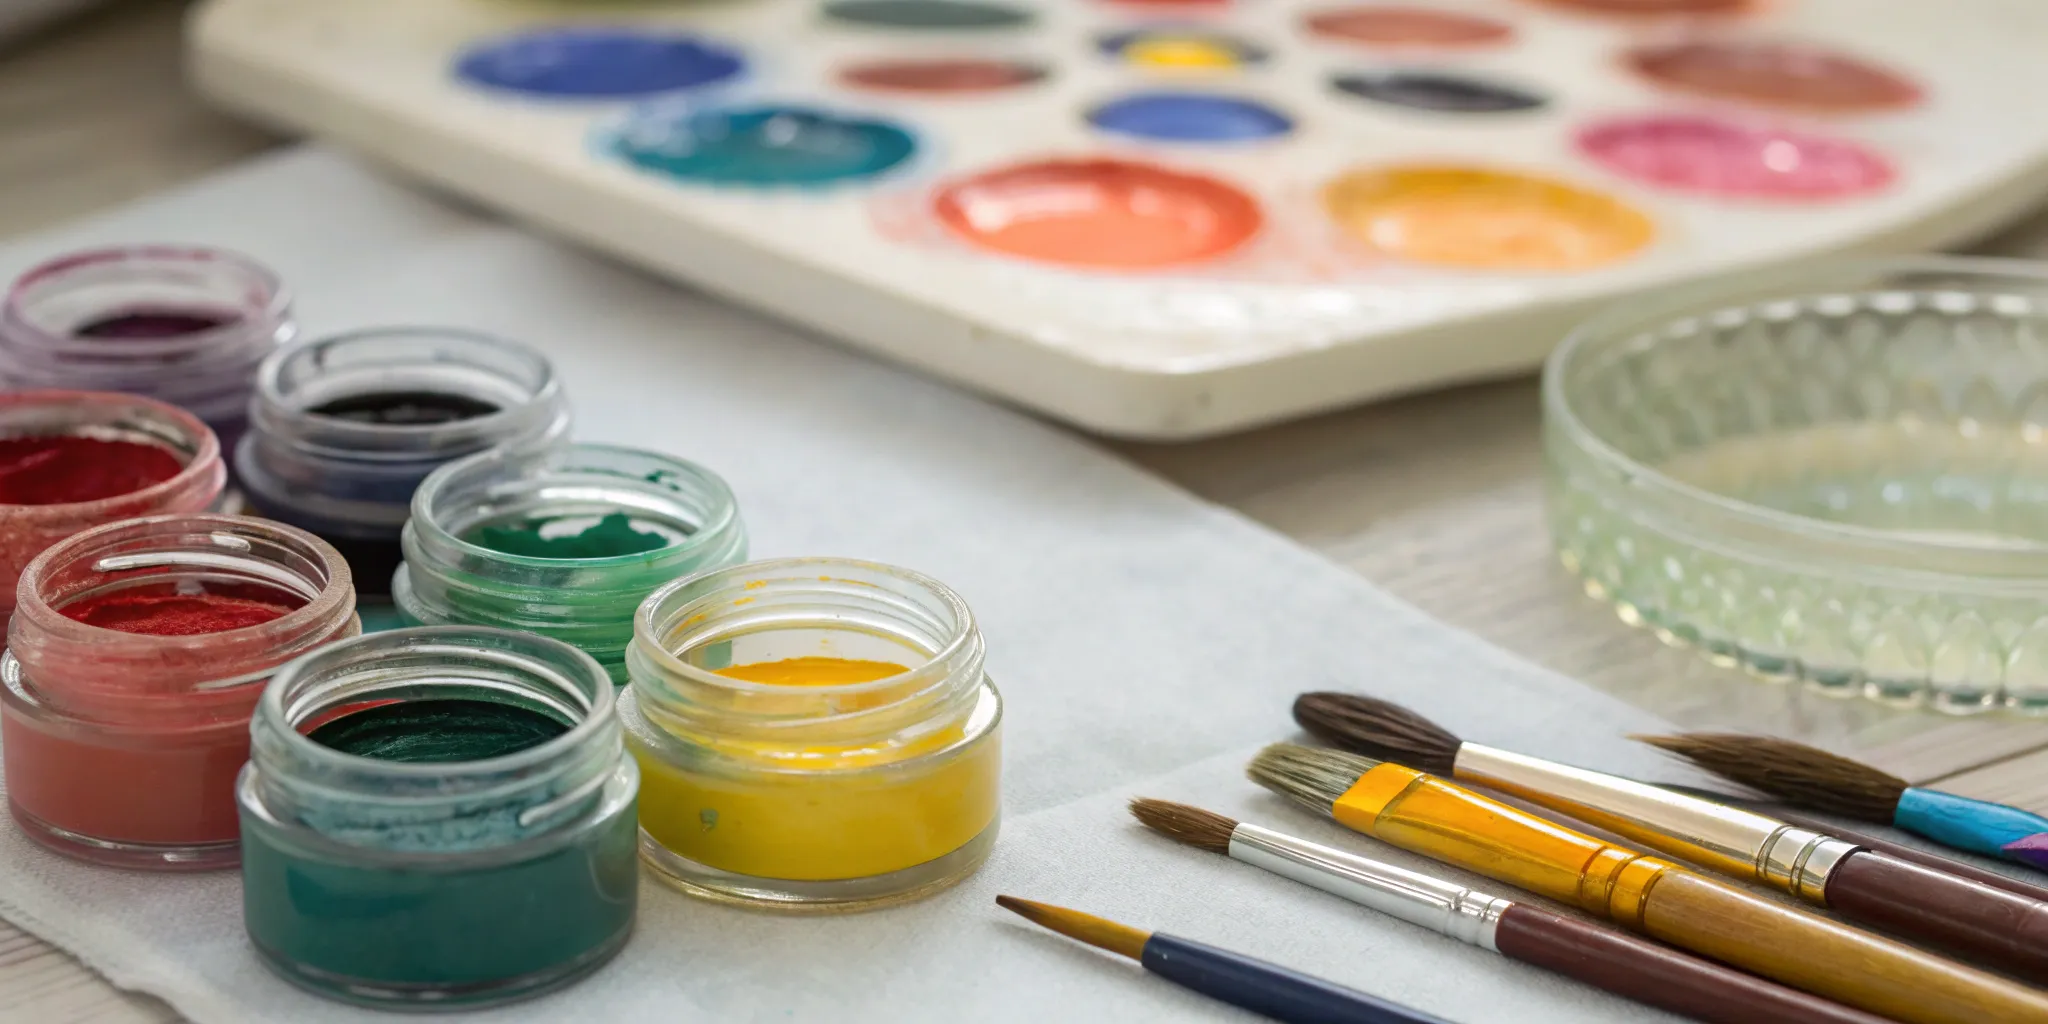
You’ve mastered the basics of cutting and fusing glass, and now you’re looking for ways to add more detail and personality to your work. Glass enamels are the perfect next step. They give you the artistic freedom to move beyond geometric shapes and into the world of illustration, lettering, and intricate patterns. Using enamel paint for glass fusing allows you to treat glass like a canvas, creating unique pieces that truly stand out. In this guide, we’ll cover everything you need to know to incorporate this amazing fused glass paint into your work, from choosing the right brand to mastering advanced techniques.
Key Takeaways
- COE Compatibility is Non-Negotiable: Think of this as the golden rule of glass fusing. Your enamel and your glass must have the same COE (like COE90 or COE96) to expand and shrink together in the kiln. Mismatching them will cause stress and lead to cracks, so always double-check before you start.
- Decide if Your Art is Functional or Decorative First: This single decision helps narrow down your choices. If you’re making something that will touch food, like a plate, you must use a food-safe enamel. For decorative pieces, you have more freedom to prioritize color vibrancy and unique textures.
- Control Your Finish in the Kiln: Your application technique creates the design, but your firing schedule determines the final look. Firing at a higher temperature typically creates a glossy, smooth surface, while lower temperatures can result in a matte finish. Always start with the manufacturer’s guidelines to get the exact texture you want.
What Are Glass Fusing Enamels & How Do They Work?
If you’ve ever wanted to add fine lines, intricate patterns, or painterly effects to your glasswork, fusing enamels are what you’re looking for. Think of them as special paints made from finely ground glass particles mixed with a medium or binder. This allows you to apply them just like traditional paint—with a brush, a pen, or even by sifting the powdered form.
But here’s where the magic happens: unlike regular paint that just dries on the surface, enamels are designed to become a permanent part of your glass art. When you heat your project in a kiln, the enamel melts and fuses directly into the surface of the base glass. This process creates a durable, permanent design that won’t chip, fade, or wash away. It’s the perfect way to add detailed illustrations, signatures, or vibrant layers of color that truly become one with your piece. Whether you’re creating jewelry, decorative plates, or detailed art panels, enamels give you a level of artistic control that’s hard to achieve with cut glass alone.
The History and Science Behind Glass Enamels
Glass enamels might seem like a modern innovation, but their roots go back centuries. Understanding where they came from and how they work chemically not only makes the process more interesting but also helps you troubleshoot issues and get better results. At its core, enamel is simply a form of glass designed to melt at a lower temperature than the glass it’s applied to. This simple principle opened up a whole new world of artistic expression, allowing creators to add painterly details that were previously impossible. Let’s look at how this technique evolved and the science that makes it all possible.
From Oil Painting to Glass Art
The use of enamels on glass really took off in the 18th century. Before then, traditional stained glass was the dominant art form, relying on colored glass pieces held together by lead came. As artistic tastes changed, there was a growing desire to make glass art look more like oil paintings, which were considered a more sophisticated medium. Artists wanted the ability to blend colors, create soft gradients, and paint fine details directly onto the glass surface. Enamels were the perfect solution, allowing them to treat a sheet of glass like a canvas and replicate the nuanced, illustrative styles of painting, forever changing the possibilities of glass art.
The Chemistry of Color
So, what’s actually in these paints? Glass enamels are essentially finely ground glass powders mixed with a liquid medium that allows you to paint with them. The vibrant colors come from adding different metal oxides to the glass powder—for example, cobalt oxide creates deep blues, while iron oxide can produce greens and browns. When you paint your design onto a piece of glass and fire it in a kiln, the magic happens. The heat burns away the liquid medium and melts the enamel powder, causing it to permanently fuse into the surface of the base glass. This creates a smooth, glassy layer of color that becomes one with your project.
Understanding the Durability of Enamels
When fired correctly, enamels become a permanent and durable part of your glass art. One of their most useful properties is that they are not dependent on the Coefficient of Expansion (COE) of the glass you’re using. This means you can use the same enamel on COE90 or COE96 glass without worrying about compatibility issues causing cracks. However, their durability is directly tied to proper application and firing. If the enamel is applied too thickly or fired at the wrong temperature, it may not fuse correctly and could flake off over time. Following the manufacturer’s instructions is key to ensuring your beautiful, detailed work lasts a lifetime.
Glass Enamel vs. Glass Paint: What’s the Real Difference?
It’s easy to get confused by all the “glass paint” options out there, but the difference between enamels and regular craft store glass paint is huge. Regular glass paints are typically acrylic-based and are designed to air-dry or cure at very low temperatures. They essentially form a colored film that sits on top of the glass. While great for some crafts, they aren’t permanent and can often be scratched off.
Fusing enamels, on the other hand, are made of actual glass. They are specifically formulated to melt and bond with your base glass at high temperatures inside a kiln. This fusion process makes the design incredibly durable and a true part of the glass itself, not just a layer on top.
What Happens in the Kiln? How Enamels Fuse to Glass
When you place your enameled glass piece into the kiln, a two-stage transformation begins. First, as the temperature rises, the binder that makes the enamel paint-like simply burns away, leaving only the fine glass particles of your design behind. Then, as the kiln reaches its target temperature (typically between 1300-1500°F), these particles melt and flow into the surface of the base glass.
This molecular bond is what makes the result so strong and long-lasting. The enamel doesn’t just stick to the glass; it becomes part of its chemical structure. This is why enameled pieces are so durable and, when using food-safe enamels, can be used for functional items like bowls and platters that will see daily use.
Why COE and Firing Temperature Matter
Two of the most important factors for success with enamels are COE and firing temperature. COE, or Coefficient of Expansion, measures how much glass expands and contracts when heated and cooled. For a successful fuse, your enamel and your glass must have a compatible COE. If you use an enamel meant for COE 90 glass on a COE 96 base, the different expansion rates will create stress and cause your piece to crack.
Firing temperature is just as critical. Each enamel line has an ideal temperature range for maturing. Firing too low might result in a dull, un-fused finish, while firing too high can burn out the colors. The temperature you choose will also affect the final texture, from a matte, sugary look to a glossy, smooth finish.
Types and Characteristics of Glass Enamels
Now that you know the basics, let’s get into the different types of enamels you’ll find. Choosing the right one depends entirely on your project’s goals, from the firing temperature you plan to use to whether the final piece needs to be food-safe. Understanding these distinctions will help you pick the perfect enamel for your vision, ensuring your finished piece looks exactly how you imagined it. Think about the final texture you want—glossy or matte?—and the function of your piece before you make a selection.
High-Fire vs. Low-Fire Enamels
One of the first choices you’ll make is between high-fire and low-fire enamels, and the decision comes down to your firing schedule and desired finish. High-fire enamels, like those from Color Line, mature at higher temperatures, typically between 1300-1500°F. This higher heat allows the enamel to sink into the glass and become incredibly durable, resulting in a smooth, glossy finish that’s perfect for a full fuse. In contrast, low-fire enamels fuse at lower temperatures, usually around 1200-1300°F. This makes them ideal for tack fusing or projects where you want to preserve fine details and surface textures without the base glass moving too much in the kiln.
Lead-Based vs. Lead-Free Enamels
Safety is the most important consideration here, especially if you’re creating functional art. While traditional enamels often contained lead to achieve rich, vibrant colors, today’s market is filled with excellent high-quality, lead-free options. If you are making anything that will come into contact with food—such as plates, bowls, or serving platters—you must use an enamel that is certified as lead-free and food-safe. Brands like Reusche and Bullseye’s Color Line offer fantastic lead-free choices that don’t compromise on color brilliance. Always check the product description to confirm its food-safe status before you begin working on a functional piece.
Related Materials for Glass Decoration
Beyond the enamel itself, you’ll need a few other supplies to bring your designs to life. Most enamels come in a powder form that you must mix with a medium to create a paintable liquid. You can use distilled water or a specialized medium like A-14; the goal is to achieve a smooth, honey-like consistency that’s easy to apply without being too runny. For application, you can use fine-tip bottles for precise line work, brushes for painterly strokes, or even sifters for a more abstract, textured effect. These techniques work beautifully on all types of fusing glass, whether you’re using COE90 or COE96 sheets as your canvas.
How to Choose the Right Glass Fusing Enamels
Picking the right enamel can feel like a big decision, but it really comes down to understanding your project and your materials. With so many options available, from powders to paints, knowing what to look for will help you get the exact result you want. Think of it less as a test and more as matching the perfect ingredient to your recipe. By considering a few key factors like firing temperature, color, and the type of glass you’re using, you can confidently choose an enamel that will bring your creative vision to life. Let’s walk through the simple checks you can make to find the perfect enamel for your next piece.
Confirm Your Kiln’s Firing Temperature
Before you fall in love with a color, the first thing to check is its firing temperature. Different enamels mature at different heat levels, and you need to make sure that temperature range is compatible with both your glass and your kiln’s capabilities. Some enamels require a full fuse to become glossy and durable, while others might be designed for lower tack-fusing temperatures. Always read the manufacturer’s instructions carefully. Matching the enamel’s firing schedule to your project’s needs ensures the color sets properly and the glass remains stable, preventing any unwelcome surprises when you open the kiln.
Choose Your Desired Color Vibrancy and Opacity
The final look of your piece heavily depends on the enamel’s color properties. Are you aiming for bold, opaque lines or a soft, watercolor-like wash? Some brands are known for their incredibly bright and saturated colors that stay true after firing, while others offer more subtle, transparent hues. Opacity is also a key factor. Opaque enamels are great for creating solid designs that stand out, whereas transparent enamels can be layered to create depth and new color combinations. Think about the effect you want to achieve and check the product descriptions for information on color strength and transparency.
Prioritize Food-Safe and Non-Toxic Enamels
If you’re creating anything that will come into contact with food—like a plate, platter, or bowl—it’s essential to use food-safe materials. Not all glass enamels are formulated to be food-safe. Some are perfectly safe on their own, while others become safe only after being capped with a layer of clear, food-safe glass. A few are never safe for functional ware. Always check the product details for “food-safe” information. Choosing a non-toxic, food-grade enamel ensures your beautiful and functional art is also safe for everyday use.
COE90 or COE96? Match the Enamel to Your Glass
One of the most important rules in glass fusing is matching your Coefficient of Expansion (COE). Using glass and enamels with incompatible COEs will cause stress and cracking as the piece cools. Luckily, most modern enamels are formulated to be compatible with the most common art glass, including both COE90 glass and COE96. However, you should never assume. Double-check the enamel’s specifications to confirm it works with your specific type of glass. This simple step is key to creating a strong, durable piece that will last for years.
The Exception: “Non-COE Specific” Enamels
While matching your COE is a critical rule, you might come across enamels marketed as “non-COE specific.” These are designed with a more forgiving formula, allowing them to work with a broader range of glass types, including both COE90 and COE96. This can be a huge advantage if you work with different kinds of glass and want the flexibility of a single enamel set. It simplifies your supply list and lets you experiment more freely without worrying about buying separate products for each glass type.
However, this flexibility doesn’t mean you can throw caution to the wind. The golden rule of glass fusing is to always test first. Before you commit to a large project, apply the enamel to a small scrap of your intended glass and run it through a full firing cycle in your kiln. This quick test will confirm that the enamel fuses properly without causing stress or cracking. It’s a simple step that ensures your final piece comes out exactly as you planned, strong and beautiful.
Plan Your Application Method and Final Texture
How do you plan to apply the enamel? Your technique will influence which type you should choose. Fine powders are perfect for sifting and stenciling, while pre-mixed paints are ideal for detailed brushwork. The final texture is also shaped by your application and firing temperature. A thick application might create a raised, textured feel, while a thinner layer will be smoother. Firing to a higher temperature will typically result in a glossier finish, whereas a lower temperature might leave the enamel with a more matte or satin look.
Functional or Decorative? Pick Enamels for Your Project
Finally, consider the purpose of your finished piece. Is it a decorative panel that will hang in a window, or is it a set of coasters that will see daily use? For functional items that need to withstand wear and tear, you’ll want a highly durable enamel that bonds permanently with the glass. Brands like Reusche are known for their toughness, making them a great choice for functional art. For purely decorative pieces, you might have more flexibility to experiment with specialty enamels that create unique textures or visual effects but may not be as resilient.
Considering the Cost of Enamels
Budget is a practical part of any creative project, and it’s helpful to know what to expect with enamels. The cost can vary quite a bit depending on the brand, color, and the amount you buy. You can find small pots of basic colors for under ten dollars, making it easy to experiment. However, specialty colors, especially reds, pinks, and purples that often contain more expensive materials, can cost significantly more. As you start using certain colors frequently, you’ll find that buying in larger quantities, like an 8-ounce jar instead of a 1-ounce one, is much more cost-effective. While you’re budgeting, always remember to factor in the compatibility with your base material, like COE90 glass, to ensure your investment pays off in the final piece.
Top Glass Enamel Brands for Any Project
With so many enamel brands on the market, picking the right one can feel like a big decision. But it doesn’t have to be complicated. The best choice really just depends on what you’re making. Are you creating a set of food-safe dinner plates, a decorative suncatcher with intricate details, or are you just starting out and want something user-friendly? Each brand has its own unique strengths, from vibrant color palettes to beginner-friendly formulas.
Think of this list as your guide to finding the perfect match for your specific project. We’ll look at five of the most popular and reliable brands used by glass artists today. We’ll cover what makes each one special, what kinds of projects they’re best suited for, and any important details you need to know, like whether they’re food-safe or need to be capped with clear glass. This will help you confidently select the right paints and enamels to bring your creative vision to life in the kiln.
Rogue Enamels: Go Food-Safe Without a Cap
If you’re making functional pieces like plates, bowls, or platters, Rogue Enamels should be at the top of your list. Their biggest advantage is that they are formulated to be food-safe without needing a clear cap. This is a huge time-saver, as you can skip the step of adding a final layer of clear glass over your design before firing. The enamels fire to a smooth, glossy finish that is durable and safe for everyday use. They offer a beautiful palette of colors that remain stable and true through the firing process, giving you reliable and professional results for any functional art project.
Thompson Enamel: The Pro’s Choice for Functional Art
Thompson Enamel is a classic in the art world, and for good reason. It’s a professional-grade material known for its incredible durability and vast range of colors and forms. While it’s a go-to for industrial applications, artists love it for its reliability and high-quality finish. Thompson is an excellent choice for functional art that needs to withstand wear and tear. Because it’s such a versatile and established brand, you can find a wealth of information and technical support to help you achieve the exact results you’re looking for. It’s a brand you can grow with as your skills develop.
Thompson Firing Temperatures and Milestones
Working with Thompson Enamels requires a good understanding of your kiln and firing schedules. The temperature you choose does more than just melt the enamel; it determines the final finish and durability of your design. Firing too low can leave you with a dull, under-fused surface that lacks strength, while firing too high can cause the vibrant colors to burn out. Each color has an ideal maturing range, so it’s important to follow the manufacturer’s guidelines as your starting point. Think of your kiln as a tool for controlling texture—a full fuse will give you a sleek, glossy finish, while a lower-temperature tack fuse can create a more matte or sugary look.
Surface Versatility Beyond Glass
One of the best things about Thompson Enamels is their incredible versatility. While they are a fantastic choice for fusing with COE90 and COE96 art glass, their use isn’t limited to just that. These enamels are formulated to bond with a wide variety of materials, including metals like copper, silver, and steel, as well as other types of glass like window glass and even pottery. This opens up a whole new world of creative possibilities, allowing you to apply your glass art skills to jewelry making, metalwork, and mixed-media projects. The enamel chemically bonds to the surface during firing, becoming a permanent and durable part of the piece, not just a layer on top.
Reusche Enamels: Timeless Quality for Decorative Pieces
When your project is all about color and fine detail, Reusche Enamels are a fantastic choice. This brand is a long-standing favorite in the stained glass and decorative arts communities. Reusche is known for its rich, vibrant pigments and finely ground powders that are perfect for painting, screen printing, and creating delicate line work. While not typically used for food-bearing surfaces, they are ideal for decorative pieces like wall art, jewelry, and ornamental dishes where brilliant, consistent color is the main goal. Their traditional quality ensures that your decorative work will have a timeless, professional appearance.
EZ Fire Enamels: Bright Colors, Perfect for Beginners
Just as the name suggests, EZ Fire Enamels are incredibly easy to use, making them a perfect entry point for anyone new to glass enameling. They come in a range of bright, bold colors that are simple to mix and apply, allowing you to experiment freely without a steep learning curve. You can paint them, sift them, or even create a paste to use for detailed designs. It’s important to know that EZ Fire enamels are only considered food-safe when capped with a layer of clear glass, so be sure to add that step for any functional pieces.
EZ Fire Temperature Range and Coverage
One of the best things about EZ Fire is its versatility. These enamels perform beautifully across a wide temperature range, from 1380°F to 1650°F, giving you the freedom to achieve different finishes for your project. They’re also incredibly efficient—a single one-ounce jar can cover about 3.7 square feet, so a little goes a long way on larger panels or multiple smaller pieces. The most important rule for functional art is that EZ Fire enamels are only considered food-safe once you cap them with a layer of clear glass. This final step is non-negotiable for plates or bowls, ensuring your work is both beautiful and safe to use.
Glassline Paints: For Fine Details in Food-Safe Designs
Glassline Paints are a unique option that act more like a pen than a traditional powder enamel. They come in squeeze bottles with fine tips, allowing you to draw, write, and add intricate details to your glass with incredible control. This makes them perfect for personalizing pieces or creating complex patterns. Better yet, Glassline paints are food-safe, so you can use them on functional items like plates and mugs without needing to cap them. Their versatility and ease of use make them a valuable tool for any glass artist looking to combine detailed linework with functional design.
Color Line: For Versatile High-Fire Results
If you primarily work with Bullseye glass, then Color Line enamels are a natural fit for your studio. As a lead-free, high-fire enamel, it’s designed to mature at higher temperatures, which helps you achieve a beautiful, glossy finish that integrates seamlessly with your glass. This makes it an excellent choice for projects where you want a smooth, polished surface. Because it’s formulated by Bullseye, you can trust its compatibility with COE90 glass, taking the guesswork out of your fusing process. Its versatility allows for a range of application techniques, from painting to screen printing, giving you consistent and reliable results for your high-fire projects.
Sunshine Enamels: For Bold, Lead-Based Colors
When your artwork demands the most intense, vibrant colors possible, Sunshine Enamels are a popular choice. These enamels are known for their exceptionally bold and rich hues, which comes from their lead-based formula. It’s important to note that because they contain lead, they are not food-safe and require proper safety precautions during handling and firing, including good ventilation. For decorative pieces where color saturation is the top priority, the visual payoff can be stunning. Artists often turn to Sunshine Enamels for projects that need to make a strong visual impact with colors that remain true and brilliant after firing.
Fuse Master: Low-Fire Enamels for Tack Fusing
Fuse Master offers a line of low-fire enamels that are perfect for adding intricate designs without subjecting your piece to a full fuse. These enamels mature at lower temperatures, making them ideal for tack-fusing techniques where you want to maintain some surface texture. Despite being “low-fire,” they are quite durable and can handle temperatures up to 1650°F, giving you a wide working range. Their ease of use makes them great for detailed brushwork, lettering, and adding fine lines. This flexibility is especially useful when working with complex shapes or slumping glass over molds where precise temperature control is key.
Applying Fused Glass Paint for a Flawless Finish
Once you’ve chosen the perfect enamel, the real fun begins. Applying enamels is where your creativity takes center stage, but a few key techniques can make the difference between a good piece and a great one. From preparing your workspace to firing your project in the kiln, following a clear process will help you achieve clean, vibrant, and professional-looking results every time. It’s all about combining your artistic vision with a solid understanding of how the materials work. Let’s walk through the essential steps to bring your enameled glass art to life.
Safety First: Your Essential Gear and Ventilation
Before you even open a jar of enamel, let’s talk about safety. Enamels are essentially finely ground glass powders, and you don’t want to inhale them. Always work in a well-ventilated area to keep the air clear. An open window with a fan is a good start, but a dedicated ventilation system is even better. When working with any powders, including enamels, it’s smart to wear a NIOSH-approved respirator or dust mask. This simple step protects your lungs from fine particles. Safety glasses are also a must to protect your eyes from any stray powder. Taking these precautions ensures your studio remains a safe and healthy place to create.
Mixing Enamels for a Perfect Consistency
Getting your enamel to the right consistency is the secret to a clean application. Most enamels come as a fine powder, which you’ll need to mix into a smooth, workable paint. The goal is to create a mixture that’s free of clumps and has a consistency similar to craft paint or heavy cream—thick enough to control but thin enough to flow smoothly from your brush or pen. Taking a few minutes to mix your enamels properly is a non-negotiable step. It ensures your lines are crisp, your colors are even, and your final design looks polished and professional. Rushing this part can lead to a gritty texture and an uneven finish after firing.
Choosing Your Mixing Medium
Enamel powders can’t be mixed with just anything. They require a special mixing medium or binder that helps the powder stick to the glass and then burns off cleanly in the kiln, leaving only the fused glass design behind. Different brands often recommend their own specific products; for example, Thompson Enamel suggests using their A-14 Water Miscible medium for their painting powders. While some artists use pine oil or other specialized binders, sticking with the manufacturer’s recommendation is always the safest bet, especially when you’re starting out. This ensures chemical compatibility and predictable results when you fire your piece.
The Right Tools and Technique
You don’t need a lot of fancy equipment for this step. A simple, flat, non-porous surface like a small sheet of glass or a ceramic tile works perfectly as a palette. You’ll also want a palette knife for mixing. Start by placing a small amount of enamel powder onto your palette. Use the knife to create a small well in the center of the pile, then add just a few drops of your mixing medium. Slowly begin folding the powder into the liquid. The key is to use the flat side of the palette knife to press and smear the mixture against the palette. This grinding motion breaks down any clumps and ensures every particle of glass is fully incorporated, resulting in a perfectly smooth, paint-like consistency.
What Not to Do When Mixing
The number one rule when mixing enamels is to never use plain water. While some mediums are water-miscible, meaning you can use a little water to thin them, using water alone will cause the glass particles to separate from the binder. This results in a clumpy, unworkable mess that won’t apply evenly or fire correctly. Another common mistake is adding too much medium at once. It’s much easier to thin a thick paste than to thicken a runny one. Always start with just a few drops and add more as needed until you reach that ideal, creamy consistency. Rushing the process or using the wrong liquid is a shortcut to a frustrating experience and a disappointing result.
Mastering Application: From Brushing to Pouring
There are so many ways to apply enamels, and each method creates a different effect. For adding fine lines and details, mixing enamels with a medium to create a paint-like consistency is your best bet. You can then use a fine brush to paint directly onto the glass. For broader coverage, sifting the dry powder over the glass using a sifter or a fine mesh screen gives a smooth, even layer. You can also use stencils with this method to create sharp designs. Another technique is pouring, where you mix the enamel with a medium and pour it over the glass for a fluid, organic look. Experiment with different tools—brushes, sponges, and even your fingers (with gloves!)—to find what works for your style.
Exploring Other Application Methods
Beyond the basics of brushing and sifting, you can get really creative with how you apply enamels. Stenciling is a fantastic way to achieve clean lines and repeatable patterns; you can use pre-made stencils or cut your own from adhesive vinyl for a custom design. For more organic textures, try dabbing the enamel on with a sponge or using a palette knife to create raised, dimensional effects. You can also mix your enamel powder with a medium until it reaches a smooth, honey-like consistency, making it perfect for screen printing highly detailed images onto your COE90 glass. Ultimately, experimenting with different tools and techniques is the best way to discover what suits your artistic style.
Get Creative with Sgraffito and Layering
Ready to try something more advanced? Sgraffito is a fantastic technique for creating intricate designs. Start by sifting a layer of enamel onto your glass, then use a pointed tool like a scribe or even a toothpick to scratch a design through the powder, revealing the glass underneath. Because most fusing enamels are finely ground, they are perfect for this technique, allowing for crisp, clean lines. You can also layer different colors of enamel on top of each other. When fired, the colors can blend and interact in beautiful, unexpected ways. Just be mindful of how thick you apply the layers, as too much enamel can cause issues during firing.
Perfecting Your Firing Schedule and Temperature
Your work in the kiln is just as important as your work at the bench. The right firing schedule is crucial for turning your powdered design into a permanent, glossy piece of art. The temperature you fire at directly affects the final look—a lower temperature might result in a matte finish, while a higher temperature will create a glossier, more vibrant appearance. Always start with the manufacturer’s recommended firing schedule for the specific enamel you’re using. It’s a good idea to run a few small test tiles to see how your enamels and glass behave in your specific kiln before firing a large project. This helps you avoid surprises and perfect your desired finish.
The Importance of Kiln Venting
While your firing schedule controls the temperature, managing the atmosphere inside your kiln is just as critical for achieving clean, vibrant colors. As the enamels heat up, the organic binders that make them easy to apply begin to burn off, creating fumes. If these fumes have nowhere to go, they can get trapped within the glass, potentially muddying your colors or causing a hazy finish. This is especially true for sensitive colors like reds and oranges. To prevent this, it’s essential to vent your kiln during the initial phase of firing. Simply propping the lid open a crack until the temperature reaches around 1000–1200°F allows these fumes to escape, ensuring your enamel colors fire cleanly and come out as bright and true as you intended.
Keep Your Enamels Fresh: Storage and Handling Tips
To keep your enamels in top condition, proper storage is key. Store them in airtight containers to protect them from moisture, which can cause clumping and make application difficult. Label every container clearly with the color and brand—you don’t want to mix them up! When you’re working, it’s good practice to avoid eating, drinking, or smoking to prevent accidental ingestion. Always wash your hands thoroughly after a session in the studio. These simple habits not only preserve your materials but also contribute to a safe workspace, which is something every artist can appreciate.
Storing Leftover Mixed Enamel
It’s easy to mix up a little more enamel than you need for a project, but there’s no reason to let it go to waste. You can save any leftover mixed paint in a small jar with a tight-fitting lid for future use, which is perfect for touch-ups or small details later on. The key is to use an airtight container to prevent the mixing medium from evaporating and causing the enamel to dry out. If it does thicken over time, you can often revive it by stirring in a few more drops of your medium. Just be sure to label the container clearly with the enamel color and brand so you know exactly what you have when you reach for it next time. This simple habit saves you money and keeps your materials ready to go.
Common Pitfalls (And How to Avoid Them)
Even experienced artists make mistakes, but knowing what to look out for can save you a lot of frustration. One of the most common issues is applying the enamel too thickly, which can lead to cracking or bubbling in the kiln. A thin, even coat is usually best. Another pitfall is not cleaning your glass properly before application; oils and fingerprints can prevent the enamel from adhering correctly. Finally, always read the Material Safety Data Sheet (MSDS) for any new product you bring into your studio. This document contains vital safety information and handling recommendations that will help you work confidently and safely.
How to Correct Mistakes Before Firing
One of the best things about working with enamels is that mistakes are easy to fix before you fire your piece. If you smudge a line or don’t like a design, don’t worry—it’s not permanent yet. You can simply use a small tool, like a scribe or even a toothpick, to gently scrape the mistake away. For larger areas, a soft, dry brush can be used to sweep the powder off. This is also a good time to check your application thickness. If you’ve applied the enamel too heavily, which can cause bubbling later, you can thin it out or remove the excess. Just remember that a clean surface is your best friend; any fingerprints or oils can prevent the enamel from adhering correctly, so make sure your glass is spotless before you even begin.
Related Articles
- A Complete Guide on, How to Prepare for Glass Fusing?
- How to Make Glass Jewellery in 7 Simple Steps – ArtGlassSupplies
- The Ultimate Glass Fusing Kiln Guide for Artists – ArtGlassSupplies
- The Complete Guide to COE 90 Fusing Glass Supplies – ArtGlassSupplies
- A Beginner’s Guide to Using Glass Decals – ArtGlassSupplies
Frequently Asked Questions
What’s the difference between glass enamels and frit? This is a great question because they can look similar in the jar. The main difference is particle size and purpose. Enamels are ground into an extremely fine, flour-like powder, which allows you to paint with them, create smooth washes of color, or sift them for even coverage. Frit consists of larger crushed glass granules, ranging from powder to small chunks, and is typically used to create texture, bold color fields, or speckled patterns. Think of enamels for fine detail and frit for texture and dimension.
Can I mix different enamel brands together? It’s generally best to stick with one brand per project, especially if you’re just starting out. Different brands can have slightly different chemical makeups and recommended firing temperatures. Mixing them could lead to unpredictable colors or compatibility issues in the kiln. If you do want to experiment, always run a small test fire with the specific mixture on a scrap piece of glass to see how the colors interact and fuse before committing to a larger piece.
What should I mix with enamel powders to turn them into paint? You have a few options for turning your enamel powders into a paintable liquid. The most common choice is a specialized mixing medium, often sold by the enamel manufacturers themselves, which is designed to burn off cleanly in the kiln. In a pinch, some artists use distilled water or even certain oils like clove or lavender oil. Each medium has a different consistency and drying time, so it’s worth trying a few to see which one works best for your painting style.
Why did my enamel color look dull or disappear after firing? This is a common issue that usually comes down to firing temperature. If you fire the enamel too high, some colors, especially reds and oranges, can “burn out” and lose their vibrancy or disappear completely. If you fire too low, the enamel may not mature properly, resulting in a dull, chalky, or un-fused finish. Always refer to the manufacturer’s recommended firing schedule and consider running a test tile to find the sweet spot for your specific kiln and colors.
Do I always need to cap my enamels with clear glass? Not always, but it depends on the brand and the purpose of your piece. Some enamels, like Rogue, are formulated to be food-safe and durable without a cap, which is perfect for functional items like plates. Other brands, such as EZ Fire, require a clear cap to be considered food-safe. Capping can also be an aesthetic choice, as it can give your design extra depth and a uniform, glossy surface. Always check the manufacturer’s guidelines to be sure.