
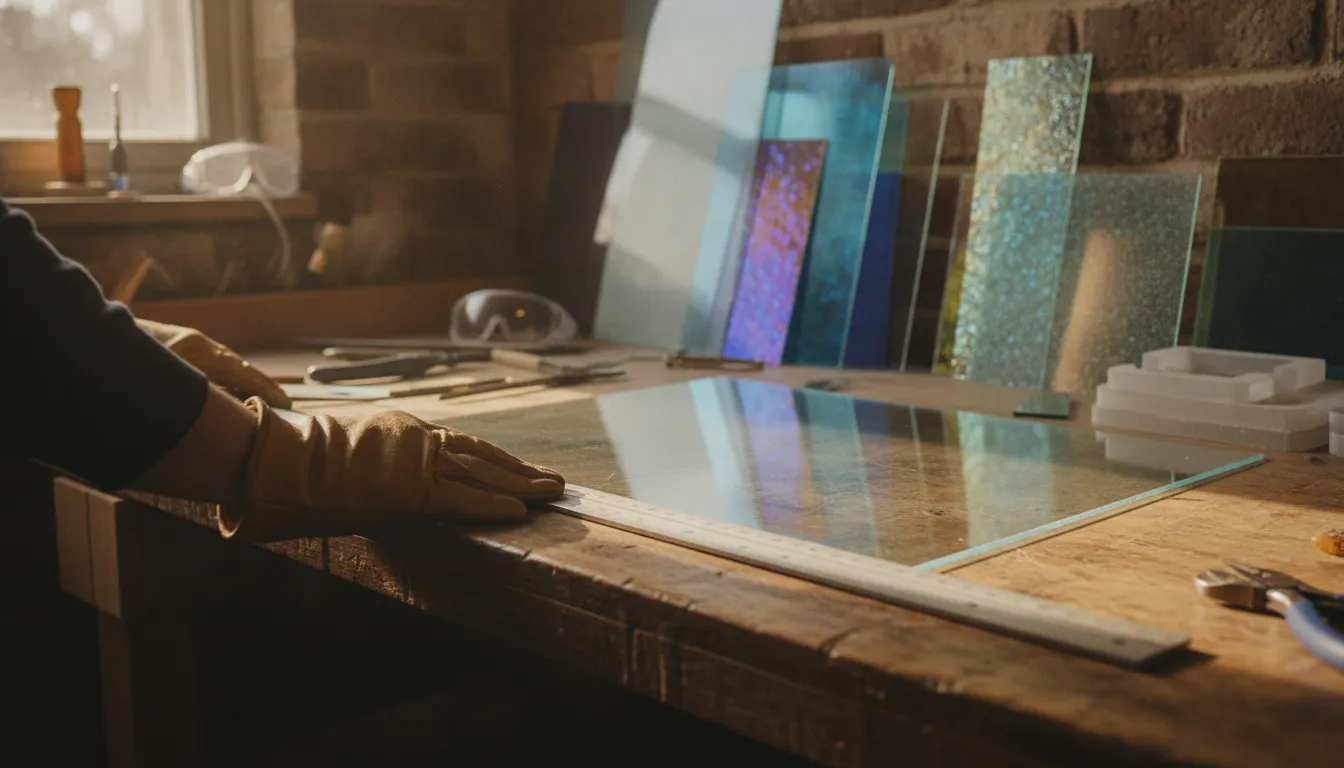
Clean cuts give fused-glass designs better shapes, safer edges, and fewer surprises in the kiln. The goal is not to force the cutter through the sheet, but to create one controlled fracture that follows a continuous score. With the right tool, light-to-moderate pressure, and a deliberate break, even a first-time fuser can build reliable cutting habits.
To learn how to cut glass for fusing, clean the sheet, cut its smoothest side, apply cutting oil, and make one steady score with consistent pressure. Break along that score with running pliers, then grind sharp or uneven edges when the shape needs cleanup or a closer fit.
These fundamentals fit into the broader process covered in our complete guide to glass fusing techniques. Before choosing a cutter or practicing curves, it helps to understand why fusing glass demands a different approach from stained glass.
Shop glass cutters, grinders, and fusing supplies
Why Cutting Glass for Fusing Is Different from Stained Glass
In stained glass, a cut edge is often framed by foil or lead came, so small imperfections may disappear inside the finished construction. Fusing offers no such visual cover. The pieces are arranged directly on one another and then heated, which makes compatibility, thickness, and edge quality part of the design itself.
Compatibility starts before the first score
Every piece in a fused project must be compatible with the others. The most important starting point is the Coefficient of Expansion, or COE, which describes how glass expands and contracts as temperature changes. Use a consistent compatible system, such as all COE 90 or all COE 96 glass, rather than combining materials simply because their colors look good together. Mismatched COE can leave internal stress in the project and cause pieces to break in the kiln.
Compatibility also involves how the glass behaves as it heats. Different glasses can have different viscosity and softening points, so they may not flow or settle in the same way during a firing. Follow the manufacturer’s compatibility guidance and keep test tiles in your process when combining products. A careful approach to the differences between stained glass and fused glass helps prevent expensive surprises later.
Edges remain part of the finished design
When learning how to cut glass for fusing, aim for clean, controlled edges rather than simply separating the sheet. A precise score and a predictable break help pieces nest together without large gaps or awkward overlaps. Grinding can smooth sharp points and refine irregular shapes, but it should support a good cut, not replace one. Any edge that remains visible after firing can affect the outline, texture, and fit of the finished piece.
Plan for the fired thickness
Many fused projects are designed around a finished thickness of about 6 mm, or 1/4 inch. Starting with thin 3 mm sheet alone can allow the piece to shrink or deform at the edges during firing. That does not mean every project uses the same layering plan. But it does mean your cuts should account for how pieces will stack and settle in the kiln. Clean, compatible components that nest well give the finished glass a more intentional shape.
Essential Glass Cutting Tools for Fusionists
A dependable tool setup makes cutting more controlled and less frustrating. The right cutter creates a clean score, while the supporting tools help you separate the glass, refine the shape, and prepare edges for the kiln. Glass cutters are consumable tools, so plan to replace a worn wheel rather than compensating with excessive pressure. Cutting oil also matters: lubrication helps the wheel make a smooth, deep score and can extend its useful life.
| Tool | Best use | Buying or handling note |
|---|---|---|
| Pistol-grip glass cutter | Longer cutting sessions and artists who prefer a larger, supported handle | The shaped grip can reduce hand strain and provides a stable hold for consistent scoring. |
| Pencil-style glass cutter | General-purpose scoring, detail work, and artists who want a familiar lightweight tool | Its slim profile offers direct control, but comfort depends on your hand position and pressure. |
| Running pliers | Opening a score and breaking larger pieces along the intended line | Align the jaws with the score and apply controlled pressure instead of twisting the glass. |
| Grozing pliers | Nibbling small unwanted areas and refining irregular edges | Use small bites. They are for controlled cleanup, not for forcing a major break. |
| Steel straightedge or ruler | Guiding straight scores and marking repeatable cuts | Choose a rigid edge that stays stable on the glass, and keep fingers clear of the cutter path. |
| Cutting oil | Lubricating the cutter wheel during scoring | A small, even amount supports a smooth, deep score. Wipe excess oil before handling the piece. |
| Wet glass grinder | Smoothing sharp edges, removing points, and improving the fit of irregular shapes | Use water-assisted grinding to control glass dust. Review the glass grinder buying guide before choosing a model. |
A pistol-grip or pencil-style cutter can both produce excellent results. The best choice is the one you can hold comfortably while maintaining light, even pressure. For a deeper look at cutter styles and features, see our guide to professional glass cutter tools. Pair either cutter with running pliers, a stable straightedge, and oil. Add grozing pliers and a wet grinder when your projects include curves, fitted shapes, or edges that will remain visible after fusing.
How to Cut Glass for Fusing Cleanly, Step by Step
Good cuts begin with a controlled fracture, not force. These steps help you create a continuous score and separate fusible glass cleanly, whether you are preparing simple strips or detailed pieces for a kiln project.
-
Clean the glass and choose the smoothest side
Remove dust, grit, and fingerprints from the surface before cutting. Even a small particle can interrupt the cutter wheel and make the score wander. Inspect both sides, then cut on the smoothest side. If you are working with coated or dichroic glass, score from the uncoated glass side so the coating is less likely to chip.
-
Mark the cut line and position the cutter
Use a removable marker or a straightedge to establish the line. Hold the cutter perpendicular to the glass rather than leaning it toward or away from the direction of travel. Check your hand position before touching the wheel to the surface, because stopping and restarting can create an uneven score.
-
Lubricate the wheel and make one steady score
Apply cutting oil to the wheel or use the lubrication system built into your cutter. Roll the wheel along the marked line in one continuous pass with light, even pressure. A good score does not require a heavy hand. For a straight cut, keep your wrist, elbow, and shoulder moving as one rigid tool. You should hear a consistent, controlled sound rather than a series of skips. Do not retrace the line, since a second pass can create competing fracture paths.
-
Break the glass along the score
Place running pliers over the score with the plier mark aligned to the line, then apply gradual pressure. The glass should open along the controlled fracture. Keep your fingers away from the edge and let the tool do the work. If the break resists, do not add a sudden burst of force. Recheck the score and your plier alignment instead.
-
Use two pairs of pliers for thin strips
Narrow strips can be difficult to break with one pair of running pliers. Position two pairs on opposite sides of the score, then apply balanced pressure so the fracture travels between them. This approach gives you more control and reduces the chance of twisting the strip or sending the break away from the score.
-
Grind edges when the fit or finish requires it
Inspect every piece for sharp points, flakes, or a rough edge that prevents a clean fit. Grinding is not required for every cut, but a wet glass grinder can smooth hazards and refine irregular shapes before fusing. Clean the glass thoroughly after grinding so abrasive residue does not enter the kiln. Set the finished pieces aside by project and keep all components within the same compatible glass system.
With practice, the process becomes quiet and deliberate: prepare the surface, score once, and break only along the line. That consistency gives your fused shapes cleaner edges and makes later assembly much easier. To see how these cutting skills fit into the whole workflow, refer to our complete guide to glass fusing techniques.
Cutting Dichroic Glass Without Chipping the Coating
Dichroic glass has a thin metal-oxide coating applied to one surface. That coating creates its characteristic color shifts, but it also needs different handling from plain fusible glass. The safest approach is to make the score from the uncoated glass side. This lets the cutter wheel travel directly on the glass instead of dragging across or disturbing the coating.
Score from the uncoated side
Before marking the cut, identify which surface is smoothest and which side carries the coating. Place the piece coating-side down, with the plain glass side facing up. If both surfaces feel smooth, confirm the coated side by checking the material notes or viewing the piece under good light. Always cut the smoothest workable side, but for dichroic material, the uncoated glass surface takes priority whenever the surfaces differ.
Clean the glass and mark the intended line on the exposed surface. Apply a small amount of cutting oil to the wheel or score line, then use light, consistent pressure. A heavy hand does not create a better score. It can increase the chance of an uneven fracture, especially when the piece is thin or the coating is close to the cut edge. Keep the cutter moving in one continuous pass rather than stopping and starting.
Break the score without stressing the coating
Once the score is complete, separate the piece with controlled pressure along that line. Running pliers can help open a standard score. For a narrow strip, use two pairs of pliers on opposite sides of the score so the force stays balanced. Do not recut over the coating to deepen a missed line. A second pass can chip or scratch the surface, and it rarely improves a score that was made with poor alignment or pressure. If the line is not usable, move to a fresh cut plan instead.
After breaking, inspect the edge and lightly grind sharp points or irregular sections as needed. Grinding is especially useful when a shaped piece must fit closely against another piece before firing. Keep the coating protected during cleanup, and avoid treating the coated surface as a cutting surface.
For a broader look at materials, finishes, and working methods, see our complete guide to dichroic glass types and techniques. A simple side-view illustration of the coated layer, uncoated glass, and cutter path can also help new fusers remember the key orientation: coating down, wheel on glass.
Curved Cuts and Detailed Shapes: Tips and Tools
Curves and small details give fused-glass projects their personality, but they also demand more control than a long straight cut. When learning how to cut glass for fusing, resist the urge to force one sweeping score around a tight curve. Short, deliberate scores are easier to guide and less likely to send the fracture away from your intended shape.
Choose the right cutter for the curve
A small-wheel cutter or specialty cutter can give you better access when working around a compact design. Hold the tool comfortably and use light, consistent pressure. Scoring creates a controlled fracture, not a deep groove that must be forced open. If the wheel begins to drag, check that the glass is clean and that the cutter has suitable lubricating oil.
For a detailed outline, score manageable sections rather than trying to complete every bend in one motion. Leave enough glass around narrow projections to support the piece while you break it. This approach is especially helpful for leaves, petals, lettering-shaped silhouettes, and other designs with inside curves. Plan the score path before touching the glass, and remember that the smoothest side is usually the best side to cut.
Break curves in small, controlled pieces
Running pliers are useful for opening a clean score, but grozing pliers are often the better choice for tricky curves and small irregular sections. Use them to nibble away unwanted glass gradually instead of twisting the entire piece. Small bites reduce the chance of transferring a crack into a delicate point.
Narrow strips require particular care. Place one pair of pliers on each side of the score and apply controlled pressure so the strip breaks along the line. Trying to grip a thin strip from only one end can cause it to snap unpredictably. Wear eye protection and keep your hands clear of the expected break path.
Refine the shape on a wet grinder
Do not spend excessive time trying to make a complex outline perfect with pliers alone. A wet grinder can smooth sharp edges, remove small points, and improve the fit of irregular pieces before they go into the kiln. Work slowly, keeping the glass moving against the bit so you do not create a flat spot or remove more material than intended.
For a practical overview of cutters, pliers, and other essentials, see this glass cutting tools kit guide. With the right tools and a patient sequence of scoring, breaking, and grinding, detailed shapes become much more manageable.
Common Cutting Mistakes to Avoid in the Kiln
Many fused-glass failures begin at the cutting table, long before the kiln is turned on. A piece may look acceptable when it is assembled, then crack, distort, or refuse to fit cleanly after firing. The good news is that these problems are usually preventable. Slow down during preparation, and treat every cut as part of the finished design rather than as a rough preliminary step.
Mixing glass with different COE values
Compatibility is non-negotiable in a fused piece. COE, or Coefficient of Expansion, describes how glass expands and contracts as temperature changes. Use glass from the same compatible system, such as all COE 90 or all COE 96. Combining COE 90 with COE 96 can leave internal stress in the piece, leading to cracks or breakage during firing or cooling.
Compatibility also involves how the glass softens and flows as it heats. Glasses with different viscosity or softening-point behavior may move differently in the kiln, even when the finished layers appear firmly stacked. Check the manufacturer’s compatibility guidance before combining colors, stringers, powders, or sheet glass.
Using too much pressure when scoring
A good score does not require a heavy hand. Excessive pressure can create chips, a wandering fracture, or a score that is difficult to break cleanly. Hold the cutter steadily and use light, consistent pressure to create one continuous line. For a straight score, let your wrist, elbow, and shoulder move together as one controlled tool. If the score is faint or incomplete, do not repeatedly drag the wheel over it. Reposition the glass and make a fresh attempt instead.
Cutting the coated side of dichroic glass
Dichroic glass needs an extra moment of attention before you score. The coating can chip when the cutter runs directly across it, so score from the smooth, uncoated glass side whenever possible. Keep the pressure even and avoid recutting over the same line. For more guidance on selecting and working with this material, see our guide to dichroic glass types and techniques.
Skipping edge grinding
Freshly cut edges can have sharp points, small chips, or irregularities that prevent layers from sitting together properly. A wet grinder smooths those problem areas and helps irregular shapes fit their neighboring pieces. Grinding is especially valuable when an edge will remain visible after firing. Remove only what is needed, then rinse and dry the glass before assembling it.
Firing pieces that are too thin
Thin sheet may seem convenient for a small design, but a 3 mm piece can shrink or deform in the kiln. A common fusing target is approximately 6 mm, or 1/4 inch, for the finished piece. Plan the stack and firing schedule around the intended thickness rather than assuming every cut shape will hold its original dimensions. For a practical overview of the equipment and materials that support reliable preparation, review this first-studio glass fusing supplies list.
Careful cutting, compatible materials, clean edges, and a suitable thickness give your kiln a much better starting point. These habits make learning how to cut glass for fusing more predictable and help your finished work match the design you built on the table.
Shop glass cutters, grinders, and fusing supplies before you plan your next fused-glass project.
Frequently Asked Questions
What tools are needed to cut glass for fusing?
Start with a glass cutter, cutting oil, running pliers, and grozing pliers. Add a straightedge for measured cuts and a wet glass grinder for smoothing edges and refining irregular shapes. Choose tools that feel controlled in your hand rather than relying on force.
How do you score glass correctly?
Clean the surface, place the cutter perpendicular to the glass, and follow the marked line with light, even pressure. A good score is continuous and deep enough to guide a controlled fracture. Keep your wrist, elbow, and shoulder aligned as one steady tool, and do not retrace the score.
How do you break glass after scoring?
Position running pliers over the score and apply controlled pressure so the glass breaks along that line. For a narrow strip, use two pairs of pliers on opposite sides of the score. Wear eye protection, keep fingers away from the break, and handle the separated pieces carefully.
Do I need to grind glass edges before fusing?
Grinding is not required for every straight cut, but it is useful for removing sharp points, smoothing handling edges, and improving the fit of irregular pieces. Clean the glass after wet grinding so residue does not interfere with arranging or firing your project.
Ready to Cut Glass for Your Next Fusing Project?
The right cutter, grinder bits, and studio supplies can make scoring and shaping fusible glass feel more controlled. Browse the full range at Art Glass Supplies, then get started with fusing supplies for your next project.