
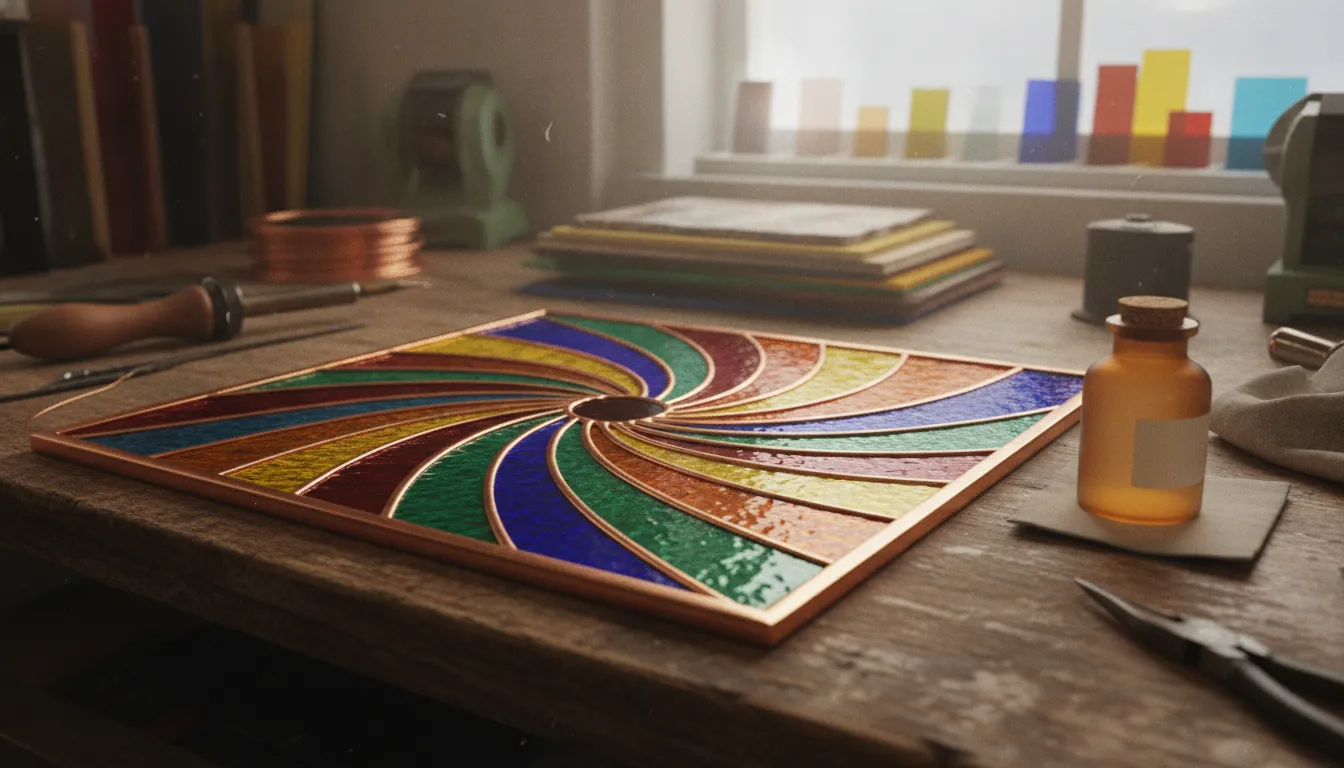
Freshly soldered lines are bright, but that metallic look is not always the best match for a finished panel. Patina gives those lines a deliberate surface color. This helps the solder relate more closely to the glass, foil, and frame. For the broader stained glass workflow, read the Stained Glass Techniques, Tools, and Supplies: The Complete Reference.
This stained glass patina guide explains how black and copper finishes change solder-line appearance. It also covers surface preparation, even application, rinsing, and protection according to the product label.
Patina belongs on the metal finish, not in the compatibility plan. COE means Coefficient of Expansion. Patina does not make incompatible glass compatible or change its viscosity or softening point.
Browse stained glass supplies and finishing materials
The best results come from treating patina as a finishing step rather than a shortcut. Once you understand what the treatment changes, choosing a color becomes much easier. This applies whether you are finishing a first project or refining a studio workflow.
What a Stained Glass Patina Guide Should Explain
Patina is a finishing treatment used to change the appearance of exposed metal solder lines after a stained glass panel has been assembled. Instead of leaving the solder bright silver, an artist can create a black, copper, or other intentional surface color. Choose the color to suit the glass, foil, frame, or surrounding decor.
In practical terms, patina is about the visible finish of the metal. It does not change the glass itself.
The timing matters. Soldering creates the seams that hold copper-foiled pieces together. Patina is applied afterward as part of the finishing process. The solder lines need to be clean and free of flux residue, oil, wax, and other surface contamination before the finish can develop evenly. A clean surface also makes it easier to judge the final color and avoid patchy areas. Follow the specific product label for preparation, handling, application, and rinsing instructions.
Black and copper are design choices
Black patina gives solder lines a darker, more graphic appearance. It can make the leading look visually stronger and coordinate with dark framing or a high-contrast design. Copper patina keeps the finish warmer and can echo copper foil, earthy glass colors, or a softer traditional look. Neither option is automatically better.
The right choice depends on how much visual weight you want the solder lines to have. It also depends on whether the finished panel should feel bold, warm, or understated.
A patina may alter the color and reflectance of the metal surface. It does not repair an assembly or compatibility problem. COE means Coefficient of Expansion. It is an important part of understanding glass compatibility in processes where glass is heated together.
Applying patina to a solder line does not change a glass’s COE, viscosity, or softening point. It does not make incompatible glass compatible. Keep stained glass construction and solder-line finishing distinct from kiln-fusing work. Choose and handle glass according to the requirements of the technique.
For the materials and tools that support this finishing stage, browse the stained glass supplies category. Select the patina color as a deliberate design decision, then reserve application for the completed, properly cleaned solder work.
Black Patina vs Copper Patina: Which Finish Fits Your Panel?
Both finishes change the appearance of solder lines after construction. They create very different visual relationships with the glass. Black patina gives the leading lines a strong, graphic presence. Copper patina keeps the finish warmer and closer to the color family of copper foil.
The best choice depends on whether you want the solder to frame the glass boldly. Blend into a warm palette, or support the hardware and setting around the panel.
Before choosing, consider the panel as a whole. Look at the dominant glass colors, the foil backing, the frame or hanging hardware, and the style of the design.
A high-contrast geometric pattern may benefit from dark lines that emphasize its structure. A botanical, earth-toned, or traditional design may feel more cohesive with a copper-colored finish.
| Decision factor | Black patina | Copper patina |
|---|---|---|
| Overall effect | Creates dark, defined solder lines with a bold graphic contrast. | Creates a warm metallic relationship between the solder lines and copper-colored details. |
| Works well with | High-contrast glass, modern geometry, cool palettes, and dark framing. | Warm glass colors, botanical motifs, traditional designs, and copper-toned hardware. |
| Choose it when | You want the lead lines to read clearly from a distance or provide visual structure. | You want the solder to feel integrated rather than strongly outlined. |
| Before application | Clean away flux, oil, and other residue so the color can develop evenly. | Use the same careful preparation, then follow the product label for application and rinsing. |
Use the surrounding materials as your tie-breaker
Foil backing and visible hardware can help settle a close decision. If your design already includes copper-colored edges or accents, copper patina can reinforce that continuity. If the project uses black-backed foil or dark framing, black patina can make the solder lines look intentional rather than unfinished.
This is a design choice, not a compatibility fix. COE, or Coefficient of Expansion, describes a glass expansion system. Patina only finishes the metal solder lines. It does not change glass compatibility, viscosity, or softening-point properties.
For a dark finish, review the Novacan Black Patina for Lead Solder. For a warmer finish, compare the SuperBrite Copper Patina. Product formulas and directions vary. Read the label before use and prepare the solder lines thoroughly. Do not assume that a technique for one finish applies unchanged to the other. The broader stained glass techniques reference can help you place this finishing step in the full project workflow.
How to Apply Patina to Solder Lines
Patina is a finishing treatment for the exposed metal solder lines in a stained glass panel. The cleanest results come from treating it as a controlled surface-finishing process, not as a quick color wash. Work in good ventilation, protect your work area, and wear chemical-resistant gloves and safety glasses. Before you begin, review the patina label and the manufacturer’s directions. Product formulas vary, so there is no universal mixing ratio or dwell time.
-
Inspect the solder lines
Make sure the soldering is complete and the lines are reasonably smooth and continuous. Look for pinholes, sharp points, loose foil, or areas that need repair before applying a chemical finish. Patina will change the appearance of the solder, but it will not correct an uneven bead or structural problem. If you need to review the construction stage first, follow this guide to solder stained glass safely.
-
Remove flux and surface residue
Wash the panel to remove visible grime, oils, and leftover flux. Flux is used during soldering, but residue can interfere with an even patina and may contribute to cloudy or crusty results later. Use the cleaner or flux neutralizer specified for your product, along with the recommended water temperature and applicator. Clean the solder lines thoroughly without grinding aggressively against the glass or foil.
-
Rinse and check the surface
Rinse away the cleaning solution and loosened residue as directed. Examine the solder under good light. It should be free of visible flux, wax, polish, and oily film. If water beads heavily on some areas or the metal looks patchy before patina is applied, clean and rinse again rather than trying to compensate with more product.
-
Dry the panel and protect the glass
Dry the panel completely with clean, lint-free materials or allow it to air dry according to the product instructions. Keep patina off the glass as much as practical. Some patinas can stain certain glass if they remain on the surface after application, so have clean rinse water and suitable cloths ready before you start.
-
Apply a small amount evenly
Use the clean applicator named or permitted on the label, such as a cotton swab, cotton pad, gauze, soft cloth, or brush. Apply the patina evenly along the solder lines, working methodically so you do not miss joints or corners. Avoid reusing an applicator that has picked up dirt, wax, or another chemical. If you are testing a new product or finish, try it first on a spare solder sample or an inconspicuous area.
-
Stop when the desired color is reached
Watch the solder rather than following an invented time limit. Stop at the color and coverage you want, while staying within the label’s application guidance. Leaving product on longer is not automatically better and may increase the risk of affecting the glass or creating an uneven finish. Build color only when the manufacturer specifically allows additional applications.
-
Rinse or neutralize as directed
When the desired result is reached, remove the patina from the project according to the product label. This may involve rinsing, neutralizing, or both. Pay particular attention to glass faces, edges, corners, and joints where liquid can collect. Do not substitute a household neutralizer or improvised ratio unless the manufacturer explicitly recommends it.
-
Dry and inspect the finish
Dry the panel thoroughly, then inspect the solder in natural or bright neutral light. Look for missed sections, streaks, residue, or unwanted marks on the glass. Let the surface reach the condition specified by the label before using any polish, wax, or protective finish. If the color is uneven, avoid immediately adding more patina; first troubleshoot cleaning, residue, applicator, and product-direction issues.
Why Is My Patina Uneven or Not Sticking?
Uneven patina is usually a surface-preparation problem, not a sign that the whole panel is ruined. Patina needs clean, exposed solder or metal. Flux residue, polishing compound, oil, wax, fingerprints, and workshop grime can leave patches that resist color. Dampness can dilute the application or make the finish look cloudy, while oxidation on the solder may change how readily the surface responds.
Check the surface before applying more patina
Stop adding product and inspect the solder lines in good light. If some areas are bright, greasy, hazy, or visibly dirty, wash the panel according to the cleaner or flux-neutralizer instructions. Rinse thoroughly, then dry it completely with clean, lint-free cloths and air. Do not assume a quick wipe removed flux from narrow seams. White residue or cloudiness can also point to incomplete flux removal rather than a faulty patina.
Water quality may contribute to a dull or inconsistent finish. Minerals and other chemicals in tap water can interfere with uptake. If the problem repeats after careful cleaning, use the water and rinsing method specified for your product. Keep the glass clean as well. Some patinas can stain certain glass if they remain on it, so remove spills promptly and follow the label.
Correct small areas in a controlled way
Once the panel is clean and dry, gently abrade only the affected solder lines if the product instructions permit it. Use an appropriate fine abrasive and keep it away from the glass. The goal is to remove oxidation or residue, not to reshape the bead or overwork the surface. Wipe away all particles, apply a small amount of fresh patina with a clean applicator, and work in manageable sections. Use even coverage rather than repeatedly rubbing one spot while another section dries.
Rinse or neutralize the product when the desired color is reached, following the manufacturer’s directions. Leaving it on longer is not a reliable substitute for cleaning and coverage. Let the panel dry fully before any approved protective finish. If the color still will not develop, check that the product is intended for your solder or metal. Lead-free solder formulations can respond differently, and some patinas may not be suitable for them, so treat this as a material-compatibility check rather than a universal rule. If you need to choose stained glass solder, compare the alloy and the patina manufacturer’s instructions before starting the next panel.
Patina changes the appearance of solder lines. It does not change the glass system’s COE, or Coefficient of Expansion, and it cannot correct incompatible glass choices. For product-specific chemistry, coverage, and safety requirements, the label and manufacturer guidance take priority.
Sealing and Caring for a Patinated Panel
Once the solder lines reach the color you want, rinse the panel thoroughly according to the patina manufacturer’s directions. This removes remaining product from the solder and helps prevent it from sitting on the glass. Some glass can stain if patina is left on its surface, so work carefully around the seams and clean spills promptly. Pat the panel dry with a clean, soft cloth, then allow it to air dry fully before applying any optional polish or protective finish.
Drying is more than a cosmetic pause. A coating applied over moisture, residue, or an incompletely rinsed surface may not spread evenly. Do not rely on a universal waiting period, because products differ. Use the label or manufacturer guidance for instructions about rinsing, ventilation, handling, and whether a finish coat is appropriate for that specific patina.
Keep the final coating separate from the patina reaction
Patina changes the appearance of the metal solder line. A wax, polish, or other protective coating is a separate finishing step placed over that surface afterward. It does not create the patina color, correct poor coverage, or make an incompatible glass combination safe. The Getty Conservation Institute describes patina and applied coatings as distinct types of surface treatment. This distinction helps when planning the finish: first evaluate the color and coverage, then decide whether the product directions support an additional coating.
If you use polish, apply it gently and only as directed. Some polishes contain abrasive material, so avoid aggressive rubbing on the glass or on a delicate, uneven solder bead. Keep the applicator clean, use light pressure, and remove residue from the glass before it dries. If the label does not recommend a polish or wax for your product, leave it off rather than experimenting with a household substitute.
For routine care, handle the panel by its frame or edges instead of pressing on the glass. Inspect the solder lines occasionally for missed spots, dull patches, residue, or signs of physical damage. Clean dust with a soft, dry cloth first. If deeper cleaning is needed, follow the care guidance for the materials in your panel and avoid soaking a framed piece or forcing moisture into joints. For the construction foundation behind the finish, review this copper foil stained glass guide.
Finally, remember that a careful surface finish cannot replace sound construction. Patina belongs at the end of the solder-line workflow, after the panel has been cleaned and inspected, not as a treatment for weak joints or incompatible glass.
Shop stained glass patina and finishing supplies
Frequently Asked Questions
Should I clean or wax solder lines before applying patina?
Clean and fully rinse away flux residue first, then dry the solder lines. Apply patina before the final wax or protective polish. Oil or wax left on the solder can interfere with even color, so save that finishing step until the patina has reached the appearance you want.
Why is my black or copper patina uneven?
Uneven color usually points to residue, grime, oxidation, or incomplete coverage on the solder. Clean the lines thoroughly, use only an applicator and preparation method allowed by the product label, and apply the patina evenly. If the finish still looks dull, your rinse water may contain minerals that affect the result.
How long should patina stay on a stained glass panel?
Do not treat a general dwell time as universal. Watch the color and follow the specific product label, then rinse the patina from the glass and solder when the desired finish is reached. Leaving some products on too long can damage or stain glass without creating a better color.
Does patina change the glass COE or make glass compatible?
No. Patina colors the metal solder lines after construction. COE means Coefficient of Expansion, and it describes a glass expansion system. Patina does not change COE, viscosity, or softening-point properties, and it cannot make incompatible glass suitable for use together.
Ready to Finish Your Next Stained Glass Project?
The right patina and finishing materials can help you create clean, intentional solder lines that complement your glass and framing choices. Review the available options before beginning your next panel, and follow each product label for preparation and application guidance. Browse stained glass supplies and finishing materials for your next project.