
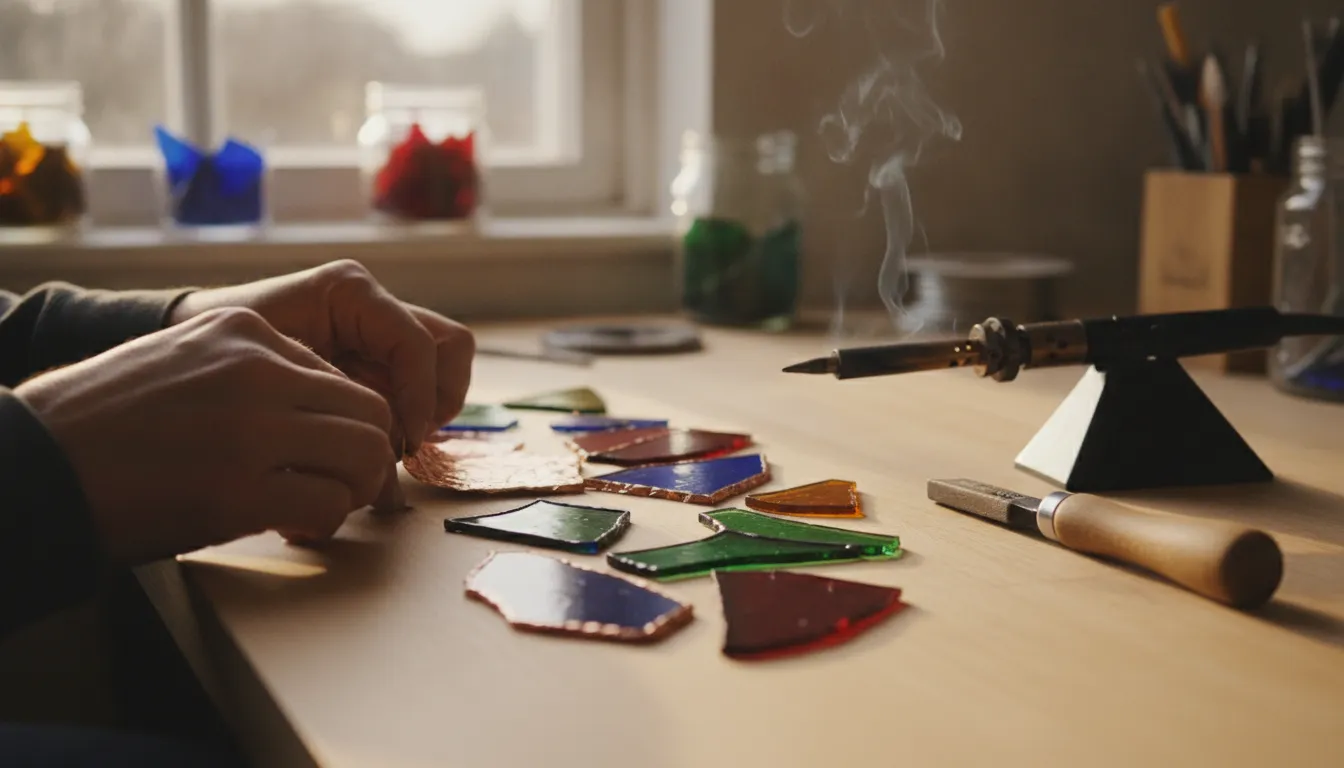
Copper Foil Stained Glass Technique: A Practical Guide
The copper foil stained glass technique turns cut glass pieces into a unified panel. Each edge is wrapped in adhesive-backed copper tape, then the covered seams are soldered. The finished panel depends on accurate fitting, clean glass, centered foil, careful burnishing, and controlled heat.
Browse stained glass tools and supplies
This guide focuses on the hands-on process rather than a buyer’s list. For broader project planning, see the stained glass techniques reference.
How the Copper Foil Stained Glass Technique Works
The copper foil stained glass technique wraps each glass edge in adhesive-backed metal tape. After the tape is centered, pressed, and burnished, the foiled edges are joined with solder. Accurate glass fitting, clean surfaces, even foil coverage, and controlled heat determine whether the finished seams are strong and visually consistent.
The copper foil method, often called the Tiffany method, uses adhesive-backed copper tape as the metal surface that solder can wet. Glass is nonmetallic and nonconductive. Solder does not form the intended joint by sitting directly on the glass edge. The foil wraps each perimeter and creates a continuous conductive path along the seams.
Each piece must fit the pattern before it is foiled. Cut, grind, clean, and dry the glass first. Center the foil over the edge so it folds onto both faces by a similar amount. Press and burnish the tape until it follows the contour without bubbles, wrinkles, or loose corners. Place the foiled pieces together, secure them with small tack-solder points, and solder along the seams.

The method suits detailed patterns, small pieces, and flowing curves because every glass edge can be wrapped independently. It does not make poor glass fitting disappear. A large gap usually produces a heavy, uneven solder line, while a forced fit can place stress on the glass. Neat foiling starts with a neat fit.
How this differs from kiln fusing
Copper foil stained glass is assembled at room temperature and joined with a soldering iron. Kiln fusing heats compatible glass until the pieces soften and bond. These processes use different materials and controls. If a project will later be fired, check the glass’s Coefficient of Expansion, or COE, and use compatible materials. COE describes how glass responds to temperature change. Viscosity and softening points describe how it moves as it heats. These factors matter for fired work, but they do not turn a soldered panel into kiln-fused glass.
How the Copper Foil Stained Glass Technique Compares With Lead Came
Copper foil and lead came join glass with different construction systems. Foil wraps each individual edge and creates a solderable surface, which supports small pieces and flowing curves. Lead came uses preformed channels to hold the glass and soldered intersections to connect sections, which can provide a stronger visual framework for broader divisions.
Copper foil and lead came both join separate pieces of glass, but they use different construction systems. Copper foil wraps each piece and creates a solderable edge. Came uses preformed metal channels that hold the glass, with soldered joints connecting sections of the channel. Neither method is automatically right for every design.
| Consideration | Copper foil | Lead came |
|---|---|---|
| Construction | Adhesive-backed foil wraps each glass edge before soldering. | Metal channel sections hold the glass and are joined at their intersections. |
| Visual line | Creates a relatively narrow, continuous solder line that can follow detailed shapes. | Creates a more substantial structural line that becomes part of the design. |
| Curves and detail | Often works well for small pieces, flowing curves, and intricate motifs. | Often suits broader divisions and designs with clearer geometric structure. |
| Main learning focus | Accurate fitting, centered foil, thorough burnishing, and steady soldering. | Measuring, cutting, shaping, aligning, and joining the came. |
| Safety focus | Hot solder, flux, sharp glass, fumes, and eye protection remain important. | Lead came and lead solder require careful exposure control, ventilation, and handwashing. |
Choose copper foil when the design depends on small, individually shaped pieces or when you want the solder line to follow each contour. Choose came when a stronger visual framework or a more architectural division is central to the design. Large panels also need suitable framing and reinforcement regardless of the joining method. The National Park Service explains the role of came in stained glass construction in its stained glass preservation overview.
How to Prepare Glass Before Applying Copper Foil
Prepare glass for foiling by checking the pattern fit, refining sharp or uneven edges, and removing dust, grease, fingerprints, and moisture. A clean, dry edge gives the adhesive a reliable surface. Inspect every piece before wrapping it, because foil cannot correct a poor fit or replace careful grinding.
Preparation determines whether the foil stays attached and whether the solder line is easy to control. Gather a pattern, cut and grind the glass, copper foil, scissors or a knife, and a burnishing tool. Add flux, solder, a suitable iron, a stable work surface, eye protection, and ventilation before starting.
- Confirm the pattern and fit. Place each cut piece over the pattern and check that neighboring edges meet closely. Make small adjustments with the grinder rather than trying to hide a wide gap with solder.
- Refine the edges. Remove sharp projections and glass dust while preserving the intended outline. Wear eye protection and keep loose particles away from the adhesive surface.
- Clean and dry the glass. Remove dust, tiny shards, grease, fingerprints, and moisture from every edge. Adhesive-backed foil needs a clean, dry surface. Handle prepared edges as little as possible.
- Plan the foil path. Look at the pattern and decide where seams will meet. On curves, avoid stretching the tape. Gentle repositioning is better than pulling the foil tight and creating lift later.
- Inspect before foiling. If an edge is visibly uneven or a piece rocks on the pattern, fix the fit first. Foil is not a replacement for grinding.
Set the clean pieces on a protected surface and keep the work area organized. A small shard beneath a piece can change its height and make the next seam difficult to align. If you are still building your workspace, review the stained glass supplies collection for compatible cutting, grinding, and safety equipment.
How to Apply Foil and Solder the Seams
Apply copper foil by centering the tape on each glass edge, pressing it into place without stretching, and burnishing every section. Tack the foiled pieces on the pattern before soldering long seams. Use controlled heat, a clean tinned tip, measured flux, ventilation, and steady movement for an even bead.
Start with a manageable piece and keep the foil centered on the glass edge. The tape should fold onto both faces evenly enough to provide a consistent landing area for solder. Press the first section in place, work around the edge, and use a burnishing tool to smooth the tape as you go. Pay special attention to corners, points, and inside curves where wrinkles tend to form.
- Wrap the edge. Apply the foil without stretching it. Overlap the end neatly, then trim excess tape so the joint does not create a bulky spot.
- Burnish every section. Press the foil firmly into the glass surface and along the edge. Work out air pockets before heating. A loose bubble can shift when solder is applied and may allow solder to bleed under the tape.
- Apply flux sparingly. Use enough flux to help the solder flow, but avoid flooding the panel. Excess flux creates more residue and can spread beyond the seam.
- Tack the assembly. Place the pieces together on the pattern and use small solder points to hold the arrangement. Check alignment before committing to long seams.
- Build the seam. Keep the iron moving and feed solder consistently. A smooth bead comes from balanced heat, a clean tinned tip, appropriate flux, and steady movement rather than lingering in one place.
- Check both faces. Turn the panel when practical and inspect for gaps, sharp projections, loose foil, or solder that has not joined the seam. Correct small defects while the panel is accessible.
Use ventilation and suitable protective practices when soldering. The CDC’s lead exposure control guidance supports careful hygiene and exposure control when lead-containing materials are used. Keep food and drinks out of the workspace, wash hands after work, and follow the instructions for the solder and flux you choose.
When you are ready to compare foil, solder, and related materials, review the stained glass copper foil supplies available from Art Glass Supplies.
How Do You Choose Foil Width for Different Glass Thicknesses?
Choose foil width by matching the tape to the glass thickness, edge shape, and intended solder line. The tape must cover the edge and leave enough metal on both faces for solder. Narrow foil can suit small curves, while wider foil may be easier to center on thick or irregular edges.
Foil width should match the glass edge and the solder line you want to create. The tape needs to cover the edge and leave a reliable soldering surface on both faces, but unnecessarily wide foil can make a delicate design look heavy. Start by measuring the glass thickness and considering whether the edge is flat, textured, beveled, or irregular.
- Thin or small pieces: A narrower foil can keep the seam visually light when it covers the edge securely and leaves enough surface for solder.
- Thicker pieces: Wider foil may be easier to center and fold over the edge without leaving uncovered areas.
- Textured or uneven edges: Test a short section first. The correct width is the one that follows the surface without excessive wrinkles or exposed glass.
- Curves and tight points: Use careful, gradual application. Narrower tape may handle a tight curve more easily, but the final choice still has to provide complete coverage.
Foil backing color can also affect the look of exposed edges. Copper-backed foil may suit a warm finish, while silver-backed foil can support a different patina or visual effect. Treat color as a design choice after confirming that the width and adhesion are correct. If you are working with fusible glass rather than non-fusible stained glass, compare COE90 glass and COE96 glass separately. Do not mix glass solely because the colors appear similar. The best foil is not simply the widest or thinnest option. It is the one that fits the glass, stays bonded, and gives you enough clean metal to form an even seam.
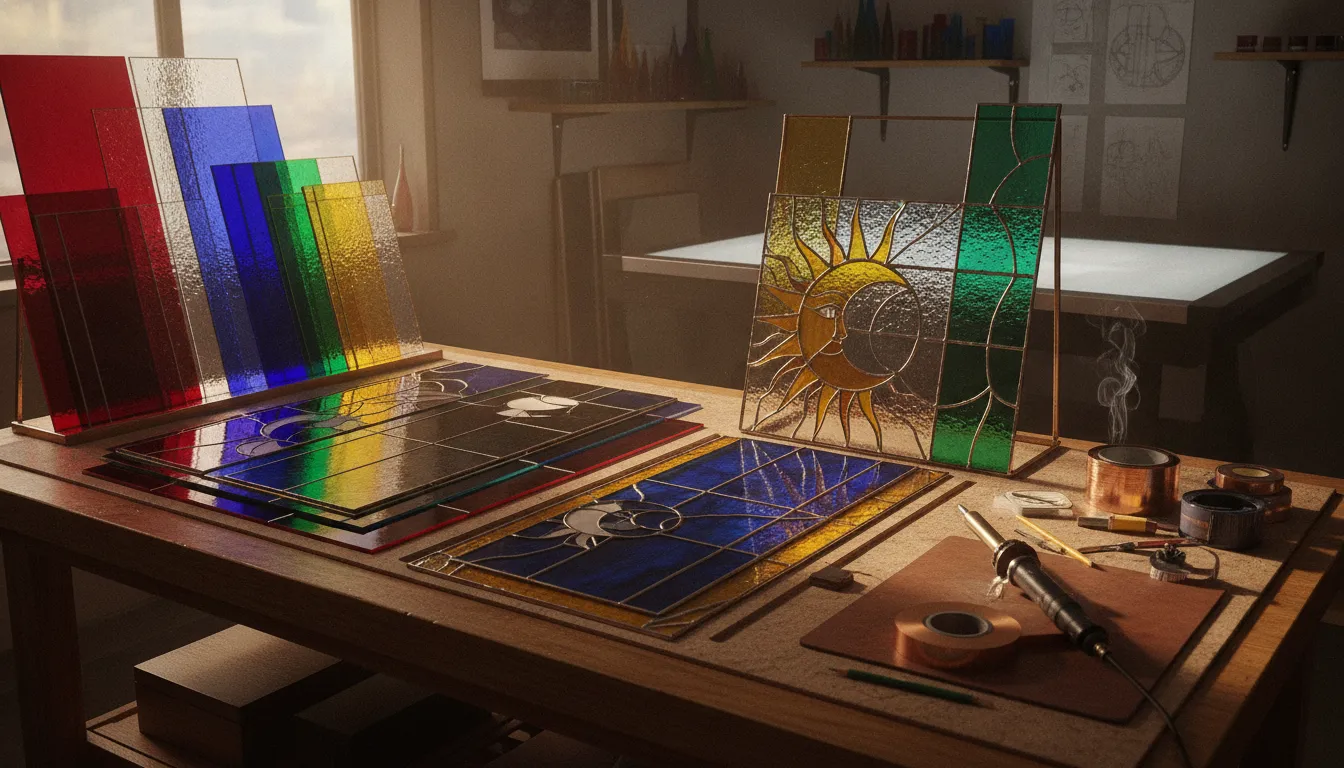
Common Copper Foil Mistakes and How to Fix Them
Most copper foil problems trace to poor fit, contamination, uneven burnishing, excess heat, or uncontrolled solder. Fix the underlying step instead of covering the symptom.
Replace loose tape, refit wide gaps, clean the glass, keep the iron moving, and remove flux residue according to the product instructions.
Bubbles under the foil
Problem: Air pockets leave the tape loose and can shift under soldering heat. Fix: Lift and replace the affected section when possible, then burnish from the center toward the edge. Do not rely on solder to hold a loose bubble in place.
Lifting foil and dirty surfaces
Problem: Dust, moisture, grease, or fingerprints prevent the adhesive from bonding. Fix: Remove the loose section, clean and dry the edge, and apply fresh foil without touching the prepared surface.
Gaps between pieces
Problem: A large gap encourages a heavy bead and can create a weak-looking seam. Fix: Recheck the pattern, grind the glass carefully, and refit the pieces before foiling. Use solder to join a prepared seam, not to fill a missing section of glass.
Uneven solder or solder creep
Problem: Solder builds into lumps while other areas remain thin. Fix: Keep the iron moving at a consistent speed, keep the tip clean and tinned, and use a controlled amount of solder. Let the metal flow across the foil instead of pushing a large pool.
Overheating
Problem: Lingering in one spot can loosen adhesive, overwork the seam, or stress the glass. Fix: Use deliberate passes and allow an area to cool before returning to it. If foil repeatedly lifts, review the burnishing and cleaning steps before increasing heat.
Flux residue left on the panel
Problem: Residual flux can discolor the surface and contribute to corrosion or a poor patina. Fix: Clean the finished panel using a method suitable for the flux and solder used, then dry it fully. Follow product instructions and use protective gloves when recommended.
Choose copper foil and solder for your next stained glass project
Frequently Asked Questions
What is the copper foil stained glass technique?
It is a stained glass method in which adhesive-backed copper tape wraps each glass edge. The foiled edges create a conductive metal surface, and solder joins the pieces along their seams.
How do you apply copper foil evenly?
Clean and dry the glass first, then center the foil on the edge and apply it gradually without stretching. Press and burnish each section before moving on, especially around corners and curves.
How do I choose copper foil width?
Choose a width that covers the glass edge and leaves a dependable soldering surface on both faces. Narrower foil can suit small or tight curves, while wider foil may be easier on thicker or irregular edges.
Why does copper foil lift from glass?
Foil commonly lifts because the edge was dusty, damp, greasy, or not burnished firmly. Heat can expose a weak bond, so replace the loose section after cleaning and drying the glass.
Can copper foil be used with fused glass?
Copper foil can be used to assemble compatible glass pieces after they have been fired, but the foil and solder are not kiln-fusing materials. For any firing, confirm compatible COE and the relevant softening and viscosity behavior first.
Ready to Start Your Copper Foil Project?
Good results come from a repeatable sequence: fit the glass, clean and dry the edges, center and burnish the foil, solder with control, and clean the finished panel. Find the stained glass tools and supplies for your next project.