
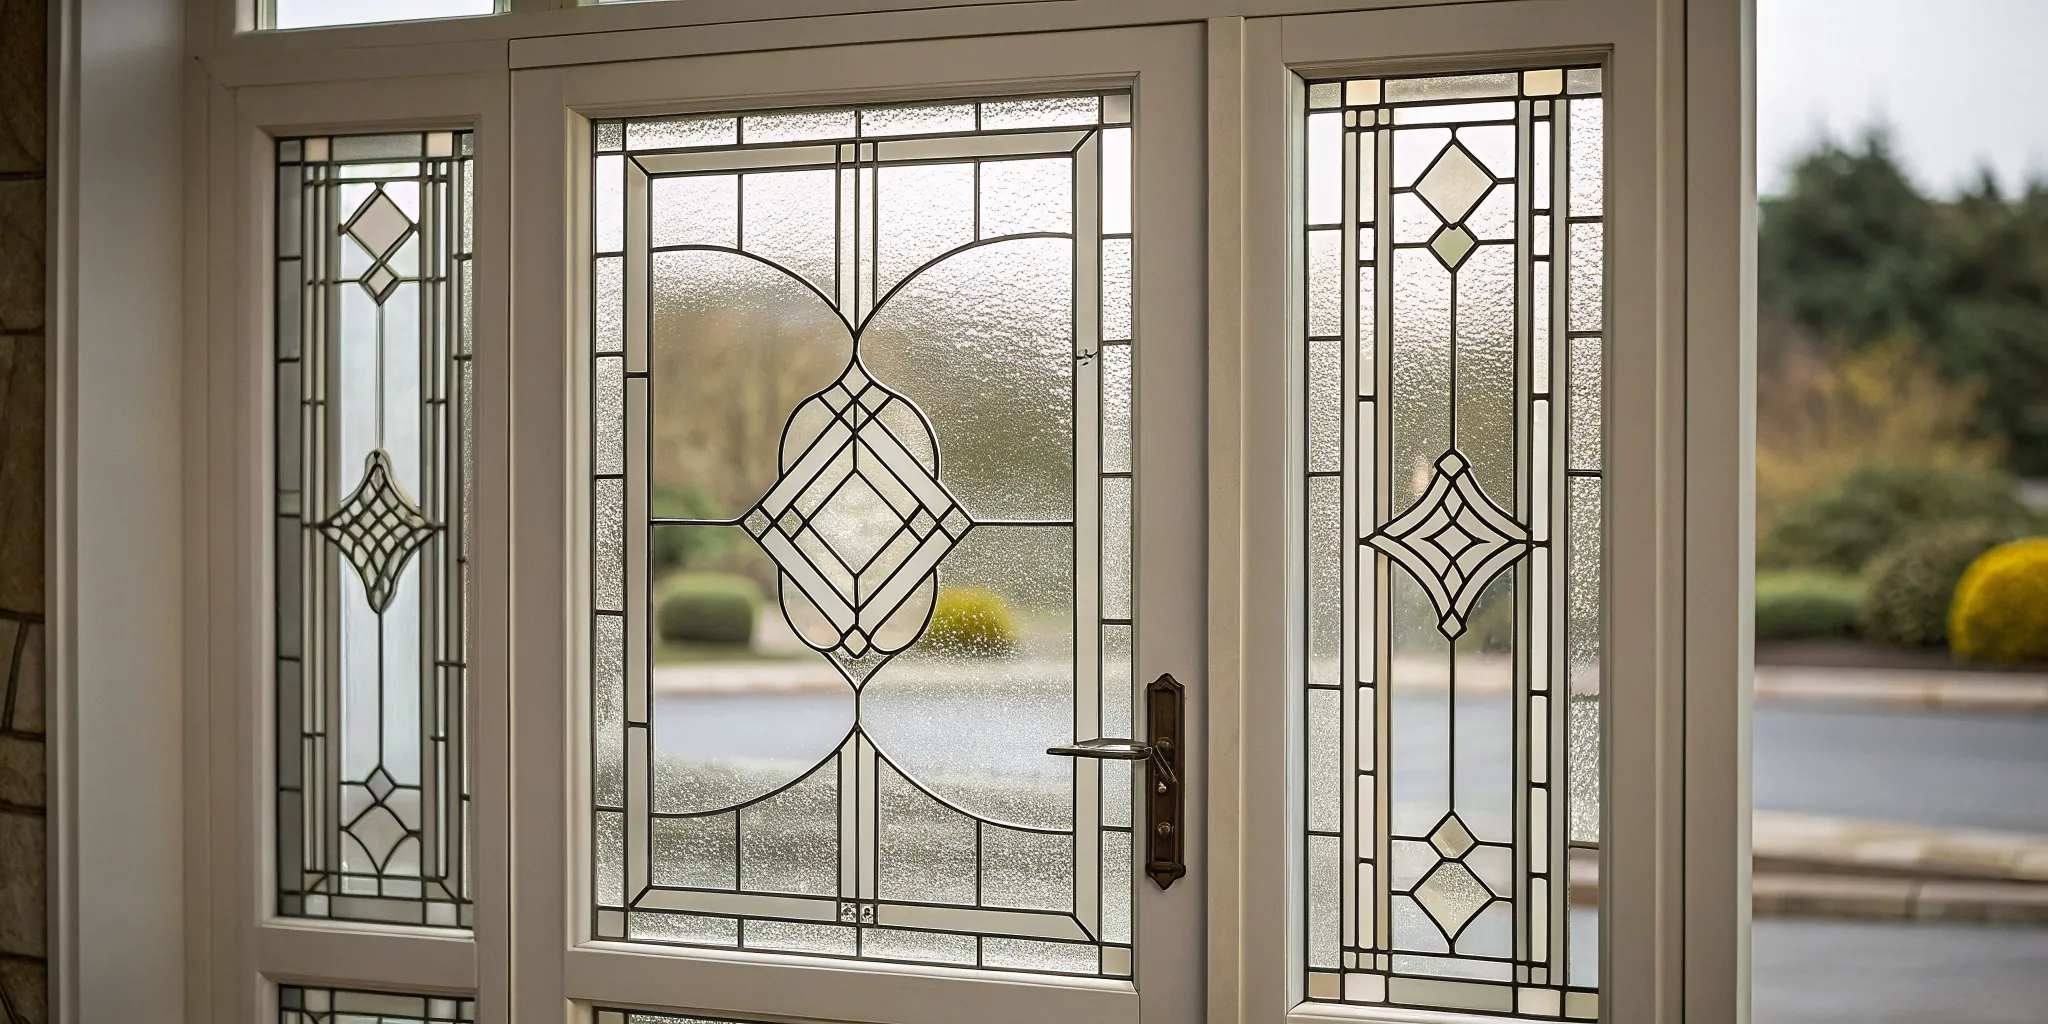
Choosing the right frame for your stained glass is a huge decision. It’s not just about structure; it’s a critical part of your design. While classic lead came gives you soft, traditional lines, a zinc frame for stained glass offers something different. It creates a crisp, modern, and defined border. This makes zinc came for stained glass a fantastic choice for geometric patterns or any piece that needs a bold, clean statement. It’s how you get that professional, gallery-quality finish. This guide covers how to use zinc channel for stained glass for its superior strength and as a key design element.
Key Takeaways
- Choose Zinc for Strength and Durability: Zinc channel offers superior rigidity compared to lead came, making it the ideal choice for framing larger panels, geometric pieces, or any project that needs to hold its shape over time.
- Use the Right Tools for a Professional Finish: For clean results, use a hacksaw for precise cuts, a came bender for smooth curves without kinks, and a properly heated soldering iron with flux for strong, secure joints.
- Measure for the Channel, Not Just the Pattern: To avoid gaps, always account for the space inside the zinc channel where the glass sits. Base your frame measurements on this fit, not just the lines on your paper pattern.
Why Use a Zinc Frame for Stained Glass?
If you’re looking for a way to give your stained glass projects a strong, clean frame, zinc channel is your answer. Think of it as the sturdy skeleton that holds your beautiful glass pieces together. It’s a lightweight yet rigid metal framing material that provides incredible support, making it a fantastic choice for both beginners learning the ropes and seasoned artists creating large, ambitious panels. Unlike more flexible options, zinc adds structural integrity, ensuring your artwork not only looks professional but also stands the test of time. It’s the perfect finishing touch for projects that need to be durable and well-supported.
What Is Zinc Came Made Of?
Zinc channel starts as raw zinc, which is then manufactured into various profiles. The most common one you’ll encounter is the U-channel, which has a distinct “U” shape. This design is incredibly practical because it creates a perfect groove for your glass to slide into, holding it securely in place. The metal itself is malleable enough to work with, so you can create beautiful curves and angles for your designs without a huge struggle. This workability means you don’t have to sacrifice intricate patterns for strength. You get a secure frame that complements the aesthetic of your stained glass art.
Zinc vs. Lead Came: Which Is Better?
When you’re deciding on a framing material, the classic debate is zinc versus lead came. While traditional lead is soft and flexible, making it great for smaller, decorative pieces with lots of intricate curves, it doesn’t offer much strength. This is where zinc shines. Zinc is significantly more rigid and durable, making it the superior choice for larger or geometric panels that need to support their own weight. If your project will be installed as a window, a cabinet insert, or any piece that needs to withstand handling, zinc provides the necessary reinforcement to prevent bowing or sagging over time.
When to Use Lead Instead of Zinc
So, with all this talk about zinc’s strength, you might be wondering if lead came still has a place in your studio. The answer is a definite yes! Lead offers a timeless, classic look with softer lines that zinc just can’t replicate, making it a favorite for traditional stained glass designs. Its flexibility makes it the perfect choice for projects with lots of intricate curves and organic shapes. If you’re creating a small, decorative piece where detailed craftsmanship is the priority, lead is much easier to bend and shape around those delicate glass cuts. It’s also the ideal material for smaller panels that don’t require heavy-duty support. Plus, if your final piece is going to be set into a sturdy wooden frame, you don’t need the extra rigidity from zinc. The wood provides all the strength necessary, allowing you to use lead for its traditional aesthetic without worrying about the structure.
Build a Stronger, More Durable Piece
Using zinc framing is one of the best ways to enhance the strength and longevity of your stained glass panels. The rigid frame provides a solid, protective border that ensures your artwork can endure for years to come, making it a reliable choice for both functional and decorative pieces. This added strength is especially important for larger installations where stability is non-negotiable. When you use zinc, you’re not just framing your art; you’re investing in its future. It gives you the confidence that your piece, whether it was shaped with intricate molds or features simple, bold lines, will remain secure and beautiful.
Exploring Other Metal Framing Options
While zinc and lead are the most common choices for framing stained glass, they aren’t your only options. Depending on the look and structural needs of your project, you might find that other metals are a better fit. Exploring materials like brass, copper, or even steel can open up new design possibilities for your artwork.
Brass and Copper Came
If you’re looking for a frame with a warm, golden finish, brass came is an excellent choice. It’s resilient and offers a distinct visual appeal that can beautifully complement a wide range of stained glass colors and textures. Brass provides a unique aesthetic that feels both classic and sophisticated. Similarly, copper came offers another alternative, often used to create a different kind of visual effect in framing. The decision to use brass or copper instead of lead or zinc really comes down to your specific design goals. If the metallic finish is a key part of your artistic vision, these options are definitely worth considering for their unique character and style.
Rebar (Tinned Steel)
For projects where strength is the most important factor, you might consider using tinned steel rebar. While it’s not as common in decorative pieces, it provides incredible durability and is a solid choice for very large or heavy installations that need maximum support. Much like zinc, the rigidity of tinned steel is great for maintaining the shape of your panels and preventing any bowing. However, its appearance is more industrial, so it’s typically used in situations where structural integrity is a higher priority than the aesthetic of the frame itself. If you’re building a large architectural piece with heavy sheets of stained glass, tinned steel can be a practical and reliable framing solution.
How to Choose the Right Zinc Came
Getting to Know U-Channel Profiles
U-channel is the go-to choice for many stained glass artists. Think of it as the sturdy backbone for your glass panel, adding essential strength and support around the outer edges. This rigidity is crucial for preventing your artwork from bowing or flexing over time. Because it’s so strong, zinc U-channel is perfect for framing panels that won’t be installed in a separate wooden frame. It provides a clean, finished border that is both functional and attractive, making it a versatile staple for any stained glass project.
Specialty Profiles: Round, U-Border, and More
While U-channel is a fantastic all-rounder, sometimes your project calls for a little something extra. This is where specialty profiles come in. Think of profiles like round or U-border channels as design elements in their own right. A round profile, for instance, can give your piece a softer, more finished edge, which is perfect for designs with organic curves or a more delicate feel. These profiles still offer the same strength and rigidity you expect from zinc, but they provide a different aesthetic. The malleability of zinc means you can still bend these specialty cames into beautiful shapes, giving you more creative freedom without sacrificing the structural integrity of your final piece.
Using a specialty profile is a great way to add a professional, polished look to your artwork. The right frame can completely change the feel of a piece, turning a simple panel into something that looks like it belongs in a gallery. For example, a U-border provides a clean, defined edge that neatly contains your design, making the colors of your stained glass pop. These profiles are designed to hold your glass securely while enhancing its visual appeal. They prove that a frame isn’t just a structural necessity; it’s a key part of the artistic expression, ensuring your work is both strong and stunning.
When to Use H-Channel and Y-Channel
Beyond the standard U-channel, you can explore specialty profiles for different applications. H-channel, shaped like the letter H, lets you join two separate stained glass panels together, which is ideal for creating larger installations. Y-channel is less common but serves a similar purpose for joining panels at an angle. These channels are often available in zinc, brass, and copper, giving you different metallic finishes to complement your design. They open up possibilities for constructing more complex pieces.
What Size Zinc Came Do You Need?
Zinc channel isn’t a one-size-fits-all material. It comes in various face widths and channel depths to fit different glass thicknesses and design needs. You’ll find everything from a delicate 1/8-inch capping channel for small edges to a substantial 3/4-inch U-channel for large panels requiring maximum support. Specialty profiles like H-channels also come in different dimensions, such as 3/16-inch round or 1/2-inch flat profiles. The size you choose directly impacts the final look and structural integrity of your piece.
Matching the Profile to Your Design
So, how do you pick the right zinc channel? Start by considering your project’s size and complexity. A small suncatcher might only need a thin U-channel, while a large window panel will demand a wider, more robust frame for support. Next, think about the aesthetic you want. A wider channel creates a bold, defined border, while a narrower one offers a more subtle look. Your choice becomes a key design element of the finished piece. Experiment with different profiles to see how they can enhance your unique stained glass art.
How Zinc Came is Sold
When you’re ready to purchase zinc came, you’ll find it’s typically sold in long, manageable strips. The standard length is often six feet, which is convenient for shipping and allows you to cut exactly what you need for your project with minimal waste. This method of selling by the strip makes it accessible for artists at every level. Whether you’re framing a small panel or a large architectural piece, you can buy the precise amount required for your stained glass project. You can find these strips at specialty glass supply stores, where they are often organized by profile type and size, making it easy to grab the exact channel your design calls for.
Buying Per Strip vs. In Bulk
Deciding whether to buy your zinc came by the strip or in bulk really comes down to the scale of your work. If you’re a hobbyist or working on a single, smaller project, buying individual strips is the perfect solution. It keeps your upfront costs low and ensures you don’t have to store a lot of extra material. This approach gives you the flexibility to experiment with different profiles without committing to a large quantity. On the other hand, if you’re a professional artist or run a studio with a steady stream of projects, buying in bulk is a much more economical choice. Purchasing a case of zinc came significantly reduces the cost per foot and ensures you always have your go-to profiles on hand, so you never have to pause your creative flow to wait for a supply order.
Your Essential Zinc Came Toolkit
Before you start cutting and shaping, let’s get your workspace and toolkit ready. Working with zinc channel is straightforward when you have the right equipment on hand. Gathering everything you need first will help your project go smoothly from the first cut to the final solder joint. Below are the essential tools you’ll want for a professional-looking finish.
Must-Have Tools for Cutting Zinc
To get clean, precise cuts, you’ll need a couple of key tools. A hacksaw with a fine-toothed metal blade is perfect for slicing through zinc channel. For those perfect 45-degree angles, a miter box or a specialized jig is a must, as it holds the came securely for an accurate cut. Remember to use light pressure when sawing and let the blade do the work; forcing it can crush the channel. After each cut, use a small metal file to smooth away any burrs. This simple step ensures your corners will fit together tightly and look seamless.
Using a Lil’ Notcher Tool for Perfect Corners
For corners that fit together flawlessly, a Lil’ Notcher tool is a game-changer. This handy device is designed specifically to cut a perfect 90-degree notch out of the side walls of your U-channel zinc came, allowing you to bend the came into a sharp, clean corner without a miter cut. While you can achieve a similar result with careful filing, the notcher provides consistent, accurate results every time, saving you time and frustration. This precision is what gives your finished piece that professional look, ensuring there are no gaps in your corners. This makes soldering easier and creates a stronger, more polished frame for your stained glass art. It’s one of those specialty tools that, once you use it, you’ll wonder how you ever managed without it.
The Best Tools for Shaping and Bending
Zinc is much stiffer than lead, so bending it into curves by hand isn’t an option. For this job, you’ll need a came bender. This device uses three wheels to guide the zinc into a smooth, consistent curve without any kinks. One handle adjusts the wheels to control the bend’s tightness, while another helps you feed the channel through. For easier use, we recommend bolting the bender to your workbench. This keeps it stable, freeing up your hands to guide the zinc precisely. You can find a variety of glass tools to complete your setup.
How to Set Up for Soldering
If you’ve soldered lead before, you’ll find soldering zinc is quite similar. The main difference is zinc’s higher melting point, which makes it more forgiving and less likely to melt accidentally. Set your soldering iron to a temperature around 680–700°F (360–370°C). Before you solder, apply a quality paste flux to all the joints where the corners meet. This helps the solder flow smoothly and create a strong, clean bond. A solid solder joint is key to a durable frame, so don’t skip this step.
Safety First: Proper Ventilation and Protection
Before you heat up that soldering iron, let’s talk about safety. The fumes from solder and flux are not something you want to breathe, so good ventilation is non-negotiable. At a minimum, work near an open window with a fan pointed out to pull the fumes away from you. For an even safer setup, a fume extractor is a great investment. You’ll also want the right protective gear. Safety glasses are a must to shield your eyes from solder splashes, and wearing gloves will protect your hands from chemicals. Finally, get into the habit of good hygiene: always wash your hands thoroughly after a session, and keep food and drinks out of your workspace to avoid any accidental contamination.
Creating a Safe and Efficient Workspace
A well-organized workspace is a safe one. Start by laying your pattern on a flat board. Place your first piece of zinc channel along the pattern’s edge and use horseshoe nails or layout blocks to hold it firmly in place. As you add your stained glass pieces, gently tap them into the channel with a small mallet or the plastic end of your glass cutter. This ensures a snug fit without stressing the glass. Setting up your project securely from the start prevents shifting and makes the entire assembly process much easier.
Setting Up Your Work Board
A well-organized workspace is a safe one, and it all starts with a solid foundation. Begin by laying your pattern flat on a sturdy work board. Place your first piece of zinc channel along one of the pattern’s straight edges, then use horseshoe nails or layout blocks to hold it firmly in place. As you begin adding your cut stained glass pieces, gently tap them into the channel with a small mallet or the plastic end of your glass cutter. This ensures a snug fit without putting unnecessary stress on the glass. Setting up your project securely from the start is the key to preventing any shifting, which makes the entire assembly process much smoother and more precise.
Essential Hand Tools
To get those clean, professional-looking cuts in your zinc came, you’ll need a couple of key tools. A hacksaw fitted with a fine-toothed metal blade is perfect for slicing through the channel cleanly. For creating perfect 45-degree angles for your corners, a miter box or a specialized cutting jig is a must-have; it holds the came securely so you can make an accurate cut every time. Remember to use light pressure when sawing and let the blade do the work. Forcing it can crush or distort the channel. After each cut, use a small metal file to smooth away any burrs for a perfect fit.
A Step-by-Step Guide to Using Zinc Came
Working with zinc channel is a fantastic way to give your stained glass projects a strong, rigid frame with clean, modern lines. While it might seem a bit intimidating compared to lead came, the process is very manageable once you get the hang of a few key techniques. With the right tools and a little patience, you can create professional-looking frames that add structure and beauty to your art. Let’s walk through the essential steps for cutting, measuring, bending, and soldering zinc channel for a perfect finish every time.
How to Cut Zinc Channel for a Perfect Fit
A clean cut is the foundation of a great frame. To get a perfect 45-degree angle for your corners, use a special jig to hold the zinc steady and a hacksaw with a fine-toothed metal blade. Let the saw do the work; applying too much pressure can crush the channel walls, so use a gentle, steady motion. Once you’ve made your cut, you’ll likely have some rough edges. Take a moment to smooth them with a metal file. This small step ensures your corners will fit together snugly and gives your final piece a polished, professional look.
Measuring and Aligning for a Flawless Frame
Precise measurements are crucial for a frame that fits your glass panel perfectly. To get it right, place a scrap piece of glass into the zinc channel’s groove. Then, lay this assembly over your pattern, or cartoon, and mark where the outside edge of the zinc lies. Here’s a pro tip: for a standard 1/2-inch zinc profile, you’ll want to add an extra 7mm to the outside edge of your pattern lines. This little bit of extra space accounts for the heart of the came and ensures your finished stained glass piece fits snugly inside the frame without any gaps.
Assembling with Internal Lead Came
Before you add the zinc frame, you first need to assemble the interior of your panel using traditional lead came. This is where you’ll bring your design to life, piece by piece. Lead is soft and flexible, making it the perfect material for navigating the intricate curves and tight angles within your pattern. It allows you to build out the detailed parts of your artwork with much more ease than a rigid material would. Think of this step as creating the heart of your piece. You’re using the flexibility of lead for the detailed work, knowing that the strong zinc frame will provide the structural support your stained glass needs later on.
Bending Zinc Came Without Kinks or Cracks
Bending zinc requires a bit of finesse to avoid creating kinks, which can unfortunately ruin a piece of came. The best tool for the job is a came bender, a handy device with three wheels designed to create smooth, even curves. Make sure you use the correct wheel for your profile, as the bottom wheel is typically designed for U-channel zinc. The secret is to work slowly and gradually. Feed the zinc through the bender, making small adjustments until you achieve the desired curve. Rushing the process is the fastest way to create a kink, so take your time for a flawless result.
How to Solder Strong, Clean Joints
Soldering zinc is similar to soldering lead, but with one major advantage: zinc has a higher melting point, so it’s much more forgiving and less likely to burn. Set your soldering iron to around 360 degrees for the best results. Before you solder, apply paste flux to all four corners where the zinc pieces meet, as well as on any adjoining lead lines. This helps the solder flow smoothly and create a strong, secure bond. A well-soldered joint will be clean and solid, providing the structural integrity your beautiful glass art deserves.
Heating and Applying Solder Correctly
To get a strong bond, you need to heat the metal, not the solder. With your iron set to about 700°F, touch the tip directly to the zinc joint where the corners meet. Hold it there for a few seconds to let the metal heat up. Then, touch your solder to the heated joint—not to the iron itself. The heat from the zinc will melt the solder, allowing it to flow smoothly into the seam. You’re looking for a nice, rounded bead that completely fills the joint. This technique ensures the solder bonds *with* the metal, creating a much stronger connection than if you just melted solder *onto* it.
Using Masking Tape for Cleaner Joints
Here’s a simple trick for achieving perfectly neat solder lines: use masking tape. Before you apply any flux, place a strip of tape along each side of the joint, leaving only a small gap where you want the solder to go. This creates a barrier that keeps the solder contained. Once your tape is in place, apply your flux and solder as usual. The tape will prevent the solder from spreading, giving you a crisp, clean line every time. Just be sure to carefully remove the tape while the solder is still warm but has solidified.
Common Mistakes (and How to Fix Them)
Working with zinc channel for the first time can feel a little different than lead, but once you get the hang of it, you’ll love the clean lines and strength it adds to your work. Like any new skill, there’s a bit of a learning curve. To help you get beautiful results right from the start, let’s walk through a few common hiccups that beginners often encounter. Knowing what to watch out for will save you time, materials, and a lot of frustration. From cutting to soldering, a few simple adjustments to your technique can make all the difference in your final piece.
How to Avoid Crushing the Channel
When you’re cutting your zinc channel, it’s tempting to use a lot of force to get through the metal. This is one of the most frequent mistakes and often leads to a crushed, misshapen channel. Instead of pushing down hard, let your saw do the heavy lifting. Guide the blade with a light, steady hand and allow the teeth to make the cut. This gentle approach preserves the channel’s profile, giving you a clean, square edge that will fit your glass perfectly. A good, sharp blade from your collection of stained glass tools is your best friend here, as it requires less pressure to get the job done right.
Ensuring Your Measurements Are Accurate
Precision is everything in stained glass, and even tiny measurement errors can cause big headaches later. A common slip-up is cutting your glass to fit the pattern exactly, without accounting for the heart of the zinc channel where the glass sits. To get a perfect fit, try this trick: place a scrap piece of glass into the channel. Then, lay that entire piece onto your paper pattern, or cartoon. Use a pen to trace along the outside edge of the zinc. This new line is your true cutting guide for the frame, ensuring your finished project fits snugly and securely within its zinc border.
Achieving Strong, Clean Solder Joints
If you’re used to soldering lead came, you’ll notice zinc behaves a bit differently. Zinc has a higher melting point, which can tempt you to crank up the heat on your soldering iron. This can backfire, resulting in messy, weak joints or even melting the zinc itself. The key is to find that sweet spot with your iron’s temperature. Make sure the joint is clean and well-fluxed, then apply heat just long enough to create a smooth, strong bond. Take your time and work patiently. A clean, well-tinned iron tip will also help you transfer heat efficiently without overheating the surrounding zinc.
How to Bend Zinc Without Kinking It
Creating smooth, graceful curves with zinc channel requires the right technique. Trying to bend it by hand or forcing it around a curve too quickly will almost always result in a kink. A kink is a sharp, ugly bend that compromises the channel’s strength and is nearly impossible to fix. To avoid this, it’s best to use a tool designed for the job, like a came bender. These specialty tools allow you to apply gradual, even pressure, coaxing the zinc into a perfect curve without any damage. Working slowly and methodically is the secret to achieving those beautiful, flowing lines in your design.
Where to Find the Best Zinc Came
Once you have the techniques down, finding the right materials is the next step to creating beautiful, lasting art. High-quality zinc channel not only provides the necessary strength for your piece but also contributes to its final look. Here’s how to choose the best came for your work and keep it looking great for years to come.
What to Look for in High-Quality Zinc
When you’re choosing zinc came, you’re looking for a balance of strength and style. Zinc’s primary job is to add rigidity and support, especially for larger or more complex panels that lead came can’t handle alone. Think about the scale of your project. A big, heavy window panel will need a much sturdier frame than a small suncatcher. Also, consider the final aesthetic you want. The width and profile of the came are part of the design, so pick one that complements your glass and overall composition. A quality came will feel solid and consistent, giving you a reliable frame for your artwork.
Choosing the Right Zinc for Your Project
Finding the right profile for your project is simple once you know what to look for. We carry a wide variety of zinc came from Cascade Metals, a trusted name in the industry. You’ll find standard U-channel for framing edges, H-channel for joining panels, and other specialty shapes to fit your design needs. Whether you need a delicate frame for a small piece or a heavy-duty channel for a large architectural installation, there’s an option that fits your project and budget. Take some time to browse the different sizes and profiles to find the perfect match for your next piece.
How to Care for Your Finished Piece
One of the best things about zinc is its natural resistance to rust and tarnish, which means your piece will stay beautiful with minimal upkeep. To keep it clean, just wipe it down occasionally with a soft cloth. When you’re soldering, remember that zinc has a slightly higher melting point than lead. This makes it less likely to melt, but you still need to manage your soldering iron’s temperature carefully to get a clean, strong joint. Proper soldering is the first step to ensuring your frame lasts. With the right care from the start, your stained glass creation will remain a sturdy, stunning piece for a very long time.
Frequently Asked Questions
When should I choose zinc over lead came? Think about your project’s final destination and size. If you’re making a large panel, a window insert, or any piece that needs to support its own weight without bowing, zinc is your best choice. Its rigidity provides the structural support that soft, flexible lead just can’t offer. Lead is wonderful for smaller, decorative pieces with lots of intricate curves, but for strength and durability, zinc is the clear winner.
Do I absolutely need a came bender for curves? Yes, if you want smooth, professional-looking curves, a came bender is essential. Zinc is much stiffer than lead and will kink or buckle if you try to bend it by hand or with pliers. A came bender applies even pressure to guide the channel into a perfect arc without creating those frustrating flat spots or sharp bends. It’s a tool that pays for itself in saved material and flawless results.
How do I figure out the right size zinc channel for my project? Your decision should be based on two things: strength and style. For larger, heavier panels, you’ll want a wider and deeper channel to provide adequate support and prevent flexing. For smaller suncatchers or decorative pieces, a thinner profile will work just fine. Also, consider the final look you want. A wider channel creates a bold, prominent frame, while a narrower one gives a more delicate, subtle finish.
My mitered corners have gaps. How can I get a tighter fit? Gaps in your corners usually come down to the cut. To get a perfect 45-degree angle, it’s crucial to use a miter box or a specialized cutting jig to hold the channel steady. After you make the cut with your hacksaw, always take a moment to file down any small burrs or rough edges. This simple step ensures the two pieces can sit flush against each other, creating a clean, seamless joint when you solder.
Is soldering zinc different from soldering lead? The process is very similar, but the key difference is heat management. Zinc has a higher melting point than lead, which actually makes it a bit more forgiving because you’re less likely to accidentally melt your frame. You’ll want to use a quality paste flux and set your iron to a consistent temperature, around 360 to 370 degrees Celsius. This is hot enough to make the solder flow smoothly for a strong bond without overheating the zinc itself.
A Quick Tip for Saving on Shipping
Here’s a practical tip that can save you a surprising amount of money on your supplies. Zinc came is typically sold in six-foot lengths, which often triggers expensive oversized shipping fees. If your project doesn’t require the full length for any single side, you can ask to have your order cut in half into two three-foot pieces. This simple request can significantly lower your shipping costs, leaving you with more budget for the fun stuff, like beautiful glass. It’s always worth asking your supplier if they can accommodate this, as it’s an easy way to make your hobby more affordable without compromising on the quality of your materials.
Finishing and Maintaining Your Zinc Frame
Once your panel is fully assembled and all the joints are soldered, you’re on the home stretch. The final steps are all about cleaning, polishing, and preparing your piece for display. These finishing touches are what transform a well-built project into a stunning work of art. Taking the time to properly clean the metal, apply a patina if you choose, and prepare the frame for hanging will ensure your stained glass looks professional and remains beautiful for years. Let’s go over the best practices for giving your zinc frame a flawless finish.
Hanging Your Stained Glass Panel
The strength of a zinc frame makes it ideal for hanging panels, but you still need to plan for proper support. For larger, free-hanging pieces, it’s a good idea to use a wide zinc came, such as a 1/2-inch or 3/4-inch profile, to provide maximum rigidity. When it comes to adding hanging loops, always solder them directly onto the sturdy zinc frame itself, not just on a solder joint between the frame and an internal lead line. This ensures the full weight of the panel is supported by its strongest points, preventing stress on the glass and ensuring your artwork hangs securely.
How to Clean and Polish Zinc Came
A clean surface is essential for both strong solder joints and an even patina finish. If you’re working with older zinc that has oxidized and won’t take solder well, you can restore the surface by gently scraping it with a craft knife or cleaning it with rubbing alcohol or white vinegar. For a finished piece, start by removing any flux residue with a specialized cleaner or warm, soapy water. Once it’s dry, you can polish the zinc with a soft cloth and a quality finishing compound to bring out its natural silver luster, giving your entire project a bright, clean look.
Applying Patina to Change the Frame Color
If you prefer a classic black or dark gray border over the natural silver of zinc, you’ll need to use a patina. It’s important to know that standard patinas for lead and copper solder won’t work on zinc. You must use a product specifically formulated for zinc, such as a black patina for zinc or a product called Gun-Bluing. After thoroughly cleaning your frame, apply the patina evenly with a small brush or cloth. Once you achieve the desired color, neutralize the chemical reaction with a flux remover or baking soda and water, then polish it to a shine.
To Putty or Not to Putty?
For artists familiar with traditional lead came techniques, the question of whether to putty a zinc frame often comes up. The short answer is: you probably don’t need to. Putty, or cementing, is primarily used to weatherproof a panel and add some rigidity. Since zinc is already incredibly strong and most stained glass projects are displayed indoors, puttying is usually an unnecessary step. For free-hanging indoor panels, the structural integrity of the zinc frame is more than enough to keep your piece secure, allowing you to skip a messy and time-consuming process.