
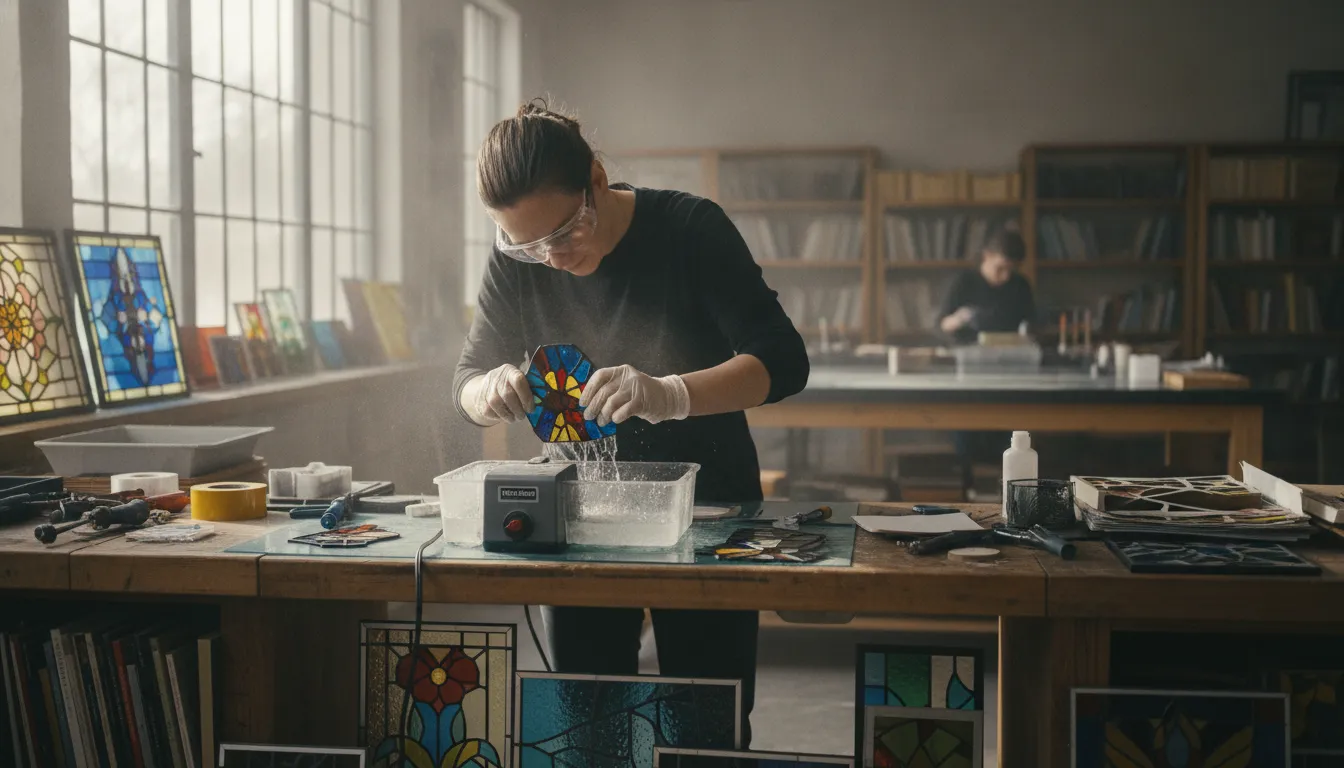
Choosing the best glass cutting tools for stained glass is less about filling a toolbox and more about giving each step of the cut a suitable tool. A hand cutter creates the score, breaking pliers help open it, grozing pliers refine small edges, and a stable work surface keeps the process controlled. Start with the cuts your patterns require, then add specialty equipment as your projects become more detailed.
Compare stained glass cutters, pliers, and tools
Quick answer: which tools do you need first?
For most stained glass projects, begin with a comfortable wheeled glass cutter, a straightedge, a marker, running pliers, grozing or breaker-grozer pliers, eye protection, and a stable work surface. A brush and dustpan help you collect fragments safely. A grinder is useful for precise edge fitting, but it is an upgrade rather than a substitute for learning to score and break glass.
| Tool | Best use | What to know |
|---|---|---|
| Wheeled glass cutter | Creating straight and curved score lines | Scores the surface; it does not saw through the sheet. |
| Straightedge and marker | Layout and repeatable straight cuts | Help you place the score accurately and keep the guide stable. |
| Running pliers | Opening a score across a broad piece | Apply controlled pressure along a score; alignment matters. |
| Breaker-grozer pliers | Separating narrow or awkward pieces | Give you leverage near an edge after the glass is scored. |
| Grozing pliers | Small edge corrections | Nibble small projections; do not use them to remove large sections. |
| Glass grinder | Detailed fitting and deliberate edge shaping | Useful for refinement, but requires its own safety and cleanup routine. |
How the stained glass cutting workflow works
Glass cutting is a sequence of three related actions: score, run, and break. The cutter makes a controlled weakness on the surface. A running or breaker tool helps that weakness travel through the sheet. The piece then separates along the score. Grozing and grinding come afterward, when a small edge needs refinement.
This distinction prevents a common mistake: asking one tool to do every job. Pressing harder with a cutter will not replace a suitable breaking method, and squeezing pliers cannot repair a score that was placed poorly. Choose tools by function and use modest, controlled pressure at each step.
Scoring creates the path
A glass cutter’s wheel rolls across the surface and creates a fine score. It is not intended to cut all the way through the sheet. A good score is deliberate and continuous, with pressure that stays consistent from one edge to the other. The goal is a controlled path, not a deep trench.
Keep the sheet supported and position your body so your arm can move smoothly. A straightedge can guide a long line, but do not let the guide shift while the wheel is moving. For a closer look at cutter styles and selection, read how to choose and use a glass cutter.
Running opens the score
After scoring, the glass still needs to separate. Running pliers apply opposing pressure across a score and can help a break travel through a larger piece. Align the tool with the score and squeeze gradually. If the break stops, pause and reassess the score and support rather than increasing force immediately.
For a long straight break, you may be able to use your hands or a supported table-edge method, depending on the piece and your experience. Running pliers become especially helpful when the sheet is too large, the strip is narrow, or the line is difficult to grip safely.
Breaking and refining finish the cut
Breaker-grozer pliers help with narrow strips and awkward sections. Grozing pliers are for small edge adjustments after the main piece has separated. They can remove a tiny projection or bring an edge closer to a pattern, but they are not a replacement for a fresh score and planned break.
When a design requires more exact fitting, a grinder can refine the edge. Use it as a finishing tool, not as permission to leave every cut rough. A clean initial score and break reduce the amount of grinding, preserve material, and make the rest of the project easier.
1. Choose a wheeled glass cutter that fits your hand
The glass cutter is the first purchase for most stained glass makers. Pencil grips, pistol grips, and other ergonomic designs can all work. The best choice is the one you can hold steadily and guide through a complete score without an awkward wrist angle. Comfort matters because inconsistent hand position often leads to changing pressure, wandering lines, and avoidable waste.
Look for a wheel that rolls smoothly and a handle that feels secure without requiring a tight grip. Some cutters include an oil reservoir or other lubrication system. Follow the care instructions for the specific tool, since lubrication requirements vary. Keep the head clean and replace a damaged or worn tool rather than compensating with extra force.
When should you choose a specialty cutter?
A basic hand cutter is suitable for many straight cuts and gentle curves. A strip cutter can help with repeated narrow strips, while a circle cutter is designed for planned circular work. These specialty tools make sense when a pattern repeatedly requires their specific function. They are not necessary for every beginner setup.
For intricate shapes, the challenge is often the breaking plan rather than the cutter itself. Tight inside curves may need relief cuts and a series of smaller removals. If you regularly produce shapes that cannot be managed through scoring and breaking, consider a glass saw as a separate, advanced purchase.
2. Add running pliers for controlled separation
Running pliers are shaped to apply pressure across the score. The tool’s center line should follow the score so the pressure supports the intended break. Many models include an adjustment screw. Set it according to the manufacturer’s directions and make small changes as you learn how much pressure your glass requires.
Use running pliers on a scored piece, not on unscored glass. Support the sheet so it does not flex unpredictably, keep your fingers away from the edge, and stop if the break begins to travel away from the intended line. The pliers should help a good score open; they should not be used to crush the sheet into compliance.
3. Keep breaker-grozer pliers for narrow pieces
A narrow strip can be difficult to hold with both hands. Breaker-grozer pliers give you a controlled grip close to the edge, allowing you to separate a scored section without placing your fingers directly beside a sharp edge. They are also useful when a pattern leaves an awkward tab or a small section that needs to be removed in stages.
Score the intended line first, support the larger part of the workpiece, and apply a deliberate snapping motion. Avoid twisting the pliers sideways. If the shape is complex, remove small sections rather than attempting one large break that puts unnecessary stress on the glass.
4. Use grozing pliers for small edge adjustments
Grozing pliers are finishing tools. Their jaws can nibble away small chips, points, or projections that remain after a successful break. They are helpful when a piece is nearly the right shape and needs a limited correction before foiling or fitting.
Take small bites and inspect the edge often. If you need to remove a significant amount of material, redraw the shape and make another score instead. Repeatedly grozing a large area can create an irregular edge or put stress into the piece. Wear eye protection because small fragments can move unexpectedly.
5. Use layout tools to prevent inaccurate scores
A straightedge, ruler, marker, and pattern template do not look as specialized as a glass cutter, but they have a direct effect on the finished panel. Mark the intended line clearly, check the measurement twice, and position the guide so it will not slip. Keep your free hand out of the cutter’s path.
For a curved or pattern-based cut, place the template where you can move your arm naturally. Rotate the glass or change your position rather than forcing the wrist into an unstable angle. A smooth motion is easier to control than a reach across the sheet.
Plan the order of your cuts before starting. A large sheet can often be divided into manageable sections, leaving enough material to support the score. Cutting the most delicate detail first may remove the support you need for later lines, so think through the sequence as well as the shape.
6. Decide whether a grinder belongs in your kit
A glass grinder uses an abrasive bit to refine a cut edge and help a piece fit a pattern. It can be valuable for detailed work, repeated fitting, and shapes where a hand break leaves a small amount to remove. It also adds water, electrical equipment, abrasive debris, and cleanup to the workspace.
Do not buy a grinder simply because every edge is currently rough. First check whether the issue is tool alignment, score quality, or the breaking method. A grinder is most useful when your project genuinely requires controlled edge shaping. Use the correct bit and follow the equipment instructions, including eye protection, water management, and cleanup.
What safety supplies should accompany cutting tools?
Eye protection belongs in the cutting kit, not in a drawer for occasional use. Scoring, breaking, grozing, and grinding can all create fragments. OSHA’s eye and face protection standard describes appropriate protection for hazards including flying particles. Hobbyists should also follow the safety instructions for their specific tools and workspace.
- Wear suitable eye protection whenever you score, break, groze, grind, or clean up glass.
- Keep the work surface stable, clear, and well lit.
- Use a brush and dustpan or another appropriate method to collect fragments. Do not sweep shards aside with bare hands.
- Keep loose pieces in a container that protects people from sharp edges.
- Use gloves when appropriate for the task, but do not let gloves reduce your control of the glass or tool.
- Keep food, drinks, and unrelated materials away from the cutting area.
Safety glasses do not make an uncontrolled break safe. The best protection is a combination of appropriate equipment, a supported workpiece, a sound score, and a plan for separating the piece.
Which tools fit different stained glass cuts?
Straight lines
Use a wheeled cutter, straightedge, and a suitable breaking method. Running pliers can help with a broad sheet or a line that is difficult to grip. Make sure the guide is secure before scoring.
Gentle outside curves
Use a hand cutter to score a smooth curve, then break in manageable stages. Leave enough surrounding glass to support the piece. Grozing pliers can correct small projections after the main break.
Tight inside curves
Inside curves are more demanding because the glass has less room to release along the intended path. Use relief cuts and remove small sections progressively. If a design repeatedly calls for very tight curves, a saw may be more suitable than forcing a hand-cut method.
Narrow strips
Use a straightedge for layout, score the strip, and use breaker-grozer or running pliers as appropriate. Support the larger section and work from an edge. Avoid squeezing the middle of a narrow piece.
How do you build a practical starter kit?
For a first project, buy for the workflow you will actually perform. A sensible starter kit includes:
- A comfortable wheeled glass cutter.
- A straightedge, ruler, marker, and pattern templates.
- Running pliers for opening scores.
- Breaker-grozer or grozing pliers for narrow pieces and small corrections.
- Eye protection and a stable, clear cutting surface.
- A brush, dustpan, and safe container for fragments.
Add a grinder when your patterns or fitting process justify it. Add specialty cutters when you repeatedly need circles, strips, or another defined function. This approach keeps the first purchase focused while leaving room to grow.
The broader stained glass supplies guide for beginners covers materials beyond cutting, including foil, solder, and workspace planning. When you are ready to compare options, browse the stained glass selection and the available glassworking tools.
Find glass cutters and pliers for your next stained glass project
Common mistakes when choosing cutting tools
- Choosing a grip by appearance: A cutter should fit your hand and support a steady score, not simply look advanced.
- Buying a grinder before learning the score: Edge refinement cannot correct every problem created by an inaccurate score.
- Using grozers for major cuts: Score and break large removals instead of taking a large bite with finishing pliers.
- Ignoring the breaking step: A cutter starts the process, but the score still needs an appropriate and controlled separation method.
- Skipping layout: A straightedge and template can prevent more waste than a more expensive cutter.
- Forgetting cleanup: Small fragments can remain on a bench or in a tool tray. Clean the area before beginning the next piece.
For more technique detail, continue with this step-by-step glass cutter guide. It is easier to choose an upgrade when you know whether your current limitation is scoring, breaking, fitting, or cleanup.
Shop stained glass cutting tools by function
Frequently asked questions
What are the most important glass cutting tools for stained glass?
Start with a comfortable wheeled glass cutter, a straightedge, running pliers, and grozing or breaker-grozer pliers. Add eye protection, a stable work surface, and cleanup tools. A grinder is optional for projects that require deliberate edge fitting.
Are running pliers and grozing pliers the same?
No. Running pliers apply controlled pressure across a score to help it open. Grozing pliers remove small projections or chips from an edge after the main break. Use each tool for its intended function.
Do beginners need a glass grinder?
Not always. Many first projects can be cut and fitted with a hand cutter, breaking pliers, grozing pliers, and careful layout. Add a grinder when your designs require more precise edge shaping or repeated fitting.
What is the best glass cutter grip?
The best grip is the one that feels stable and comfortable while you guide one complete score. Pencil, pistol, and other handle shapes can work. Choose based on your hand, pressure control, and the type of cuts you make.
Can grozing pliers replace a glass cutter?
No. Grozing pliers are for small edge adjustments. Use a glass cutter to score a planned line, then separate the piece with an appropriate breaking method. Reserve grozing for limited finishing work.
Choose the tool that matches the cut
A focused setup gives you more control than a crowded toolbox. Start with a cutter that fits your hand, use pliers for controlled separation and small corrections, and add a grinder or specialty cutter only when your patterns call for it. Keep the work surface stable, protect your eyes, and clean up fragments before moving to the next piece.
Explore Art Glass Supplies cutting tools for stained glass
Start with the tool that solves the next problem in your cutting workflow, then build from there.