
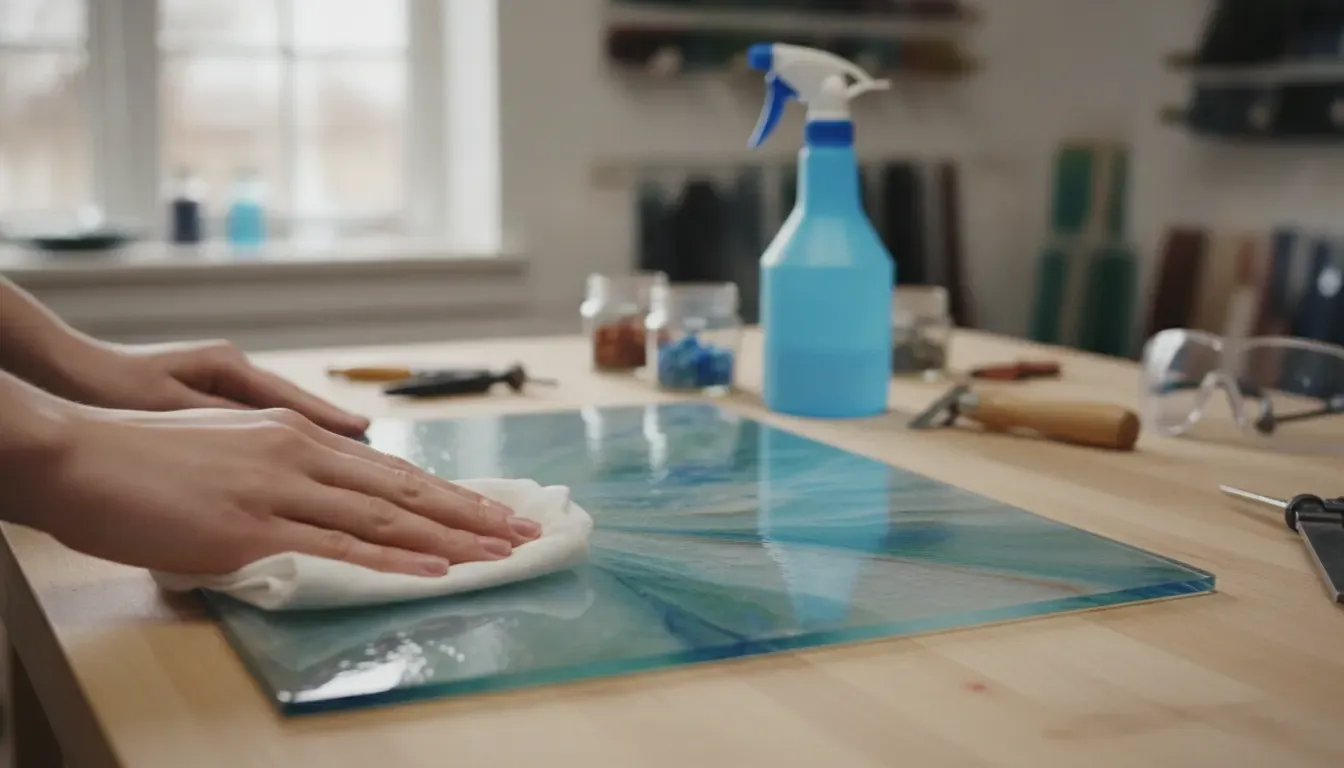
Learning how to clean glass before fusing or painting is one of the simplest ways to protect a finished piece. Dust, fingerprints, cutting fluid, marker, adhesive residue, and cleaner film can remain almost invisible on the workbench, then show up as spots, cloudy areas, poor paint adhesion, or surface defects after firing. A deliberate cleaning routine gives you a cleaner starting surface without asking a firing schedule or paint coating to overcome contamination.
Shop glass fusing supplies for your next project.
Why clean glass before fusing or painting?
Clean glass has a uniform surface, which helps reduce contamination-related defects during kiln firing and gives decorative coatings a better chance to bond. Cleaning will not correct incompatible glass, an unsuitable firing schedule, or an incorrect paint system, but it removes a preventable source of trouble before you cut, stack, paint, or load the kiln.
Glass can look clean while carrying a thin film of oil from your hands. Fine glass dust can settle after cutting, and a marker line or sticker can leave organic residue. Cutting fluids, polishing compounds, salts from water, and fibers from a dirty towel can also remain on the surface. In a kiln, that material may burn away, leave a mark, or contribute to a cloudy finish. Under paint, it can cause beading, pinholes, fisheyes, or weak adhesion.
Cleaning is also a quality-control step. If the surface is clean before firing, you can more confidently investigate a later defect as a possible compatibility, kiln-schedule, shelf, or glass-composition issue rather than guessing whether a fingerprint caused it.
How to clean glass before fusing
To clean glass before fusing, first remove loose particles, then wipe with a tested residue-free cleaner and a clean lint-free cloth. Work from the center toward the edges, change cloth sections often, let the surface dry completely, and inspect it under angled light before stacking or placing it in the kiln.
- Set up a clean work area. Clear away loose frit, powder, paper fibers, and other debris. Keep the glass on a clean, stable surface rather than directly on a dusty cutting mat.
- Remove loose glass dust carefully. Use a soft, clean brush or a suitable studio vacuum method. Do not blow glass dust across the workbench or toward your face. Wear appropriate eye protection and follow your studio safety practices.
- Choose a cleaner you have tested. Use a non-abrasive, residue-free product that is appropriate for your glass and studio. If you are following a manufacturer’s process, use the cleaner specified in that guidance. Do not assume that a household cleaner is safe just because it leaves a shiny appearance.
- Apply the cleaner to the cloth when practical. Spraying onto a cloth gives you more control than misting near glass, electrical equipment, kiln controls, or other supplies. Keep solvents and sprays away from heat sources and use ventilation required by the product label.
- Wipe both sides. Use light, even strokes and turn the cloth to a fresh section as soon as it picks up visible dirt. Pay attention to edges and corners, where cutting fluid and fine particles can collect.
- Finish with a clean, dry wipe. If the product instructions call for rinsing or a second wipe, follow them. Allow the glass to dry fully. A damp surface can trap fibers or dilute a coating when the piece is painted.
- Inspect before stacking. Hold the glass at an angle to a strong light. Look for streaks, fingerprints, lint, cloudy patches, and beads of liquid. If you see a problem, clean that area again rather than stacking and hoping the kiln will remove it.
Use separate clean cloths for dirty cutting work and final inspection. A cloth that looks acceptable can still carry oil or glass powder from an earlier step. White or light-colored lint-free cotton makes contamination easier to see, and frequent changes prevent you from transferring residue from one sheet to another.
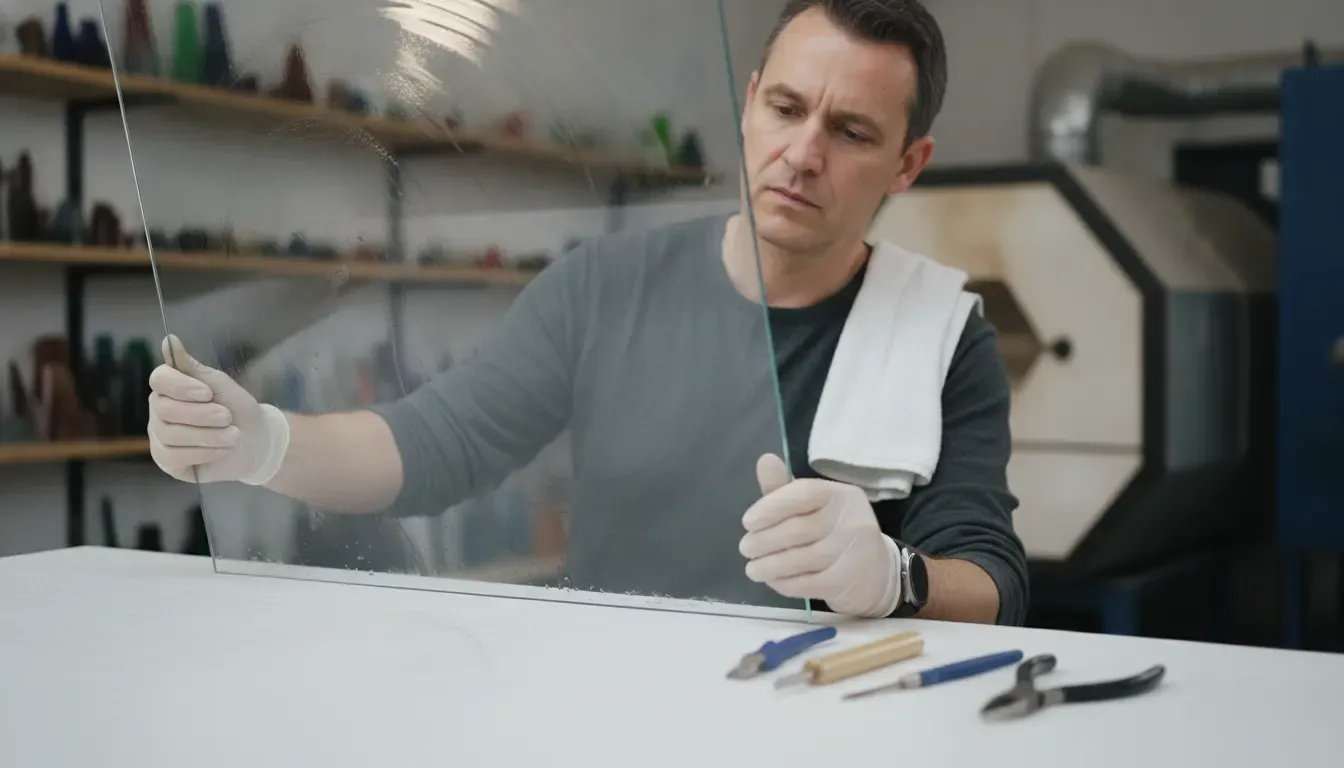
Which cleaners are safe for fusible glass?
The safest cleaner is not the strongest one. Choose a product that removes the contamination you actually have without leaving surfactants, fragrance, minerals, oil, or other film. Test any unfamiliar cleaner on scrap or a noncritical piece, because different glass formulations and surface finishes can respond differently.
| Cleaning approach | Useful for | Important caution |
|---|---|---|
| Soft dry brush | Loose dust and small particles | Do not brush aggressively across a delicate coating or aerosolize dust. |
| Residue-free glass cleaner tested on scrap | Fingerprints, light oil, and general surface film | Some formulas leave a film. Test transparent and opalescent glass separately when possible. |
| Water-based final wipe | Light residue after a compatible cleaning step | Mineral-heavy water can leave spots. Dry completely and inspect under angled light. |
| Manufacturer-approved solvent or degreaser | Persistent oil or specialty contamination | Follow the label, ventilation, PPE, storage, and disposal directions. Keep away from heat. |
Avoid treating dish soap, ammonia-based cleaner, fragranced multipurpose cleaner, or ordinary window spray as automatically safe for kilnforming. A product can clean visibly while depositing a residue that becomes a firing problem. The correct choice depends on the glass, the contamination, and the process, so a small test is more reliable than a universal promise.
Never use an abrasive pad to make a surface look clean. Scratches, scuffs, and altered coatings may become more noticeable after firing. Do not scrape contamination with a metal edge against a surface you intend to keep smooth.
Review the glass fusing consumables guide before you prepare your kiln shelf.
How should you clean glass for painting?
For glass painting, clean the surface after cutting and shaping but before applying paint, enamel, or a primer. Remove dust first, degrease with the coating manufacturer’s approved preparation method, allow the glass to dry, and avoid touching the painted area with bare fingers. The correct process depends on whether the coating is decorative or kiln-fired.
Paint preparation and fusing preparation overlap, but they are not identical. A decorative acrylic or air-dry coating may require a completely dry, grease-free surface and a cure period. A kiln-fired enamel or glass paint may have its own cleaning, thinning, drying, and firing requirements. Read the product directions before choosing a cleaner or adding a second coating.
- Clean the glass before you arrange paint supplies, so dust from cutting does not settle into wet paint.
- Use a clean, lint-free applicator and avoid reusing a cloth that touched cutting oil or solvent.
- Handle the glass by its edges after the final wipe whenever the design allows.
- Let the surface dry for the time specified by the paint or enamel instructions.
- Test the full system, including cleaner, paint, cure, and firing if applicable, on scrap glass.
Do not put a decorative paint on a kiln schedule simply because it is labeled for glass. Decorative glass paint, kiln-fired enamel, and fusible glass color are different product categories. If a paint is intended to be fired, follow its firing instructions and confirm that the glass, coating, and schedule are appropriate together.
For a broader look at coating choices, read this guide to paints for glass art. Use it as a selection resource, then return to the paint label for the exact preparation and curing requirements.
What should you check before stacking or firing?
Before stacking or firing, confirm that the glass is clean, dry, compatible, and placed on a properly prepared kiln surface. A final inspection should catch fibers, fingerprints, cleaner streaks, marker residue, loose particles, and accidental paint transfer before heat makes the defect harder to diagnose.
- Surface: No visible streaks, oily patches, lint, fingerprints, or loose particles.
- Edges: No trapped cutting fluid, sharp loose shards, or powder that can migrate into the design.
- Dryness: No beads or damp areas remain after the final wipe.
- Materials: The glass is identified by manufacturer and COE, and the pieces are intended to be used together.
- Paint: Any coating is approved for the intended process and has dried or cured as directed.
- Kiln surface: Kiln wash, shelf paper, or another separator is clean and suitable for the project.
Place clean components on a clean surface as soon as you finish inspecting them. If you need to pause, cover them in a way that prevents dust without allowing the cover to touch a wet coating. Reinspect anything that has been handled, moved, or left exposed.
Does cleaning glass fix compatibility problems?
No. Cleaning removes surface contamination, but it does not change a glass’s Coefficient of Expansion, composition, viscosity, or softening behavior. COE90 and COE96 are not interchangeable simply because both pieces are clean. Compatibility must be confirmed through the manufacturer’s system, documented testing, or a qualified firing process.
During heating, glass softens and flows according to its composition and temperature history. Its viscosity changes as it approaches softening and fusing temperatures, and those changes affect how a piece moves, bonds, and relieves stress. Cleaning cannot make two incompatible formulations share the same thermal behavior.
Think of the two checks separately:
- Surface preparation: Removes dust, oils, residues, and other contaminants that can affect appearance or coating adhesion.
- Compatibility: Determines whether the glass pieces can be heated and cooled together without damaging stress.
Identify the COE and manufacturer before you stack pieces. For example, a clean COE90 sheet is still not made compatible with a COE96 sheet by wiping it with alcohol or water. Follow the glass manufacturer’s compatibility guidance, and use a test tile when the combination or firing behavior is uncertain.
For more background on the thermal side of kilnforming, see the glass fusing temperature guide and the COE90 glass and COE96 glass category pages.
What causes cloudy or spotted fused glass after cleaning?
Cloudy or spotted fused glass can result from residue, contamination, devitrification, trapped material, kiln-surface problems, or the glass itself. Start with the simplest checks: review the cloth and cleaner, inspect the pre-firing routine, and compare the result with a clean test piece. Do not assume every cloudy surface is a cleaning failure.
Residue often appears as a streak, spot, or localized mark that follows handling or wiping. Devitrification is different: it is a surface crystallization effect that can produce a dull, cloudy, or chalky appearance during firing. A clean surface reduces one risk, but it cannot control every variable in the kiln.
If the defect remains, document the glass type, COE, manufacturer, cleaner, cloth, shelf preparation, firing schedule, and location of the mark. Compare a cleaned test piece with an intentionally unclean or differently cleaned control only when doing so is safe and useful. This kind of record helps separate a surface-preparation issue from a schedule or material issue.
Our guide to devitrification in glass fusing covers the separate causes and prevention steps in more detail.
Glass-cleaning safety tips for the studio
Glass cleaning combines sharp edges, fine particles, liquid products, and sometimes solvents. Protect your eyes and hands, keep ventilation appropriate to the cleaner, label secondary containers, and follow the product’s safety data. A clean surface is never worth risking an injury or creating a flammable-vapor hazard near a kiln.
- Wear eye protection when handling cut glass and loose particles.
- Use cut-resistant hand protection when appropriate for the task, while keeping gloves away from rotating tools and kiln controls.
- Do not blow glass dust off a work surface or use compressed air toward people.
- Do not spray cleaner near an operating kiln, hot shelf, electrical outlet, or control panel.
- Never mix cleaning chemicals. Follow the label and the safety data sheet for storage and disposal.
- Keep wet cloths and solvent containers away from flames, sparks, and hot surfaces.
Good studio habits make cleaning repeatable. Store final-wipe cloths separately from shop rags, keep the spray nozzle pointed away from the kiln area, and clean the work surface before beginning the final inspection. Consistency is more valuable than using an aggressive product.
Find glass fusing supplies and preparation essentials at Art Glass Supplies.
Frequently asked questions
What is the best way to clean glass before fusing?
Remove loose dust, wipe the glass with a tested residue-free cleaner and a clean lint-free cloth, then let it dry completely. Inspect both sides under angled light before stacking. The best cleaner depends on the glass, contamination, and manufacturer’s guidance.
Can I use dish soap to clean glass before fusing?
Do not assume dish soap is safe for kilnforming. Surfactants, fragrance, minerals, or other ingredients can leave a film. If you consider a soap-based method, test it on scrap and verify that the glass is fully rinsed and dry before firing.
How do I prepare glass for painting?
Remove dust, degrease the glass with the paint manufacturer’s approved preparation method, allow it to dry, and handle it by the edges. Follow separate instructions for decorative paint, kiln-fired enamel, or another coating because their cure and firing requirements differ.
Will cleaning make COE90 and COE96 glass compatible?
No. Cleaning removes surface contamination but does not change the glass’s Coefficient of Expansion, composition, viscosity, or softening behavior. Confirm compatibility through the manufacturer’s system, documented testing, or a qualified firing process before combining glass.
Why did my fused glass turn cloudy after cleaning?
Possible causes include cleaner residue, fingerprints, trapped contamination, kiln-shelf material, the glass formulation, or devitrification during firing. Review the cleaning routine and firing record, then compare a clean test piece before changing multiple variables at once.
Prepare your next glass project
Clean surfaces, compatible materials, and a documented process give glass artists a better chance of repeating a successful result. Start with the glass and coating instructions, use a tested cleaning routine, and keep the final inspection as part of your normal project workflow.
Shop Art Glass Supplies for glass fusing materials, tools, and kiln-ready project essentials.