
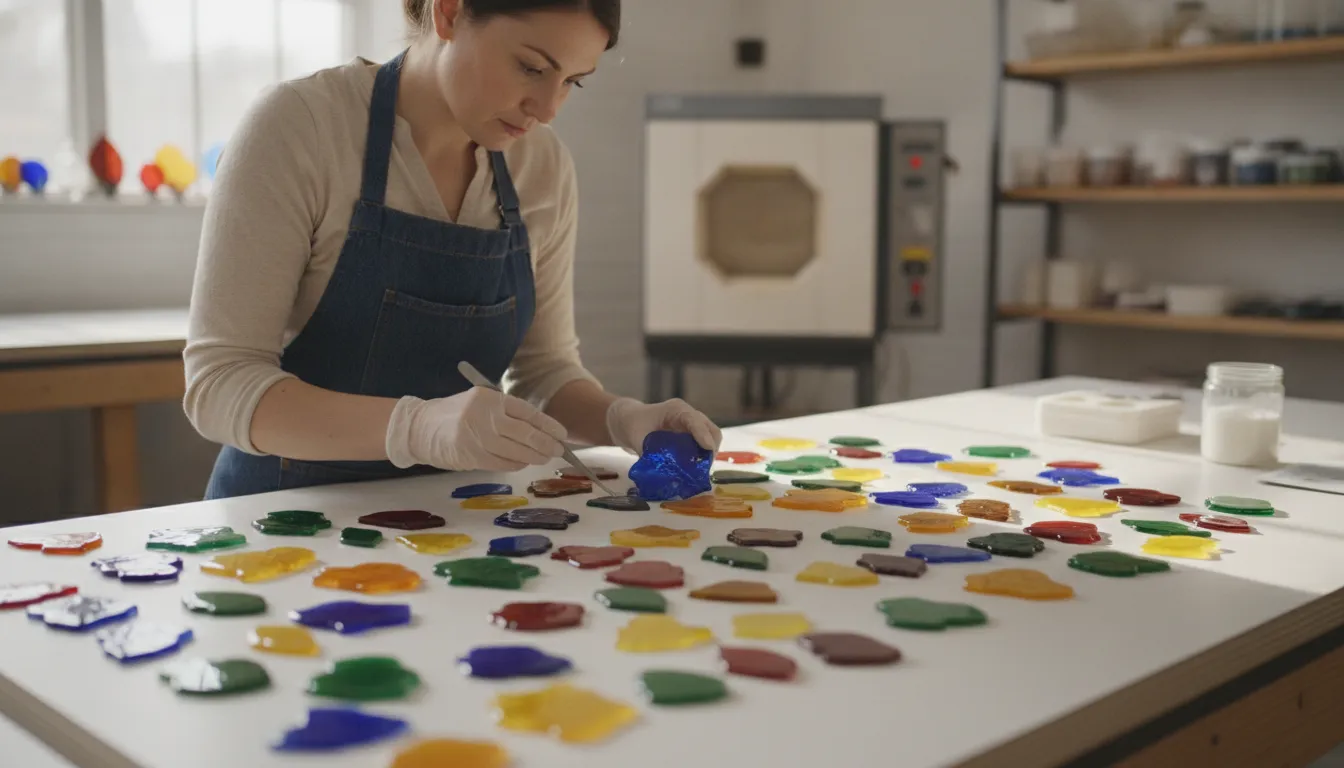
A fused flower can be a simple flat ornament, a layered botanical study, or a shaped piece with petals that lift from the surface. The result depends less on copying a single pattern than on making compatible material choices and planning how heat will change the stack.
To make glass flowers, choose a verified compatible glass system, combine sheet glass or precut petals with details such as frit, stringers, noodles, or cane, and decide whether the design will remain flat or be formed over a mold. ArtGlassSupplies.com carries these glass forms, along with kilns and molds for fusing projects. Firing guidance should come from the glass manufacturer because the schedule depends on the glass, thickness, design, and kiln.
Before selecting colors or arranging petals, it helps to define what you want the finished flower to do and how its structure will be built. That distinction clarifies the materials, forming method, and firing plan that follow.
What Are Glass Flowers in Fused Glass?
Glass flowers are decorative forms made by arranging compatible pieces of glass into a floral design and heating them in a kiln. Depending on the construction, the result may be a flat flower for a panel or dish, a layered flower with raised petals, or a more dimensional form shaped over a mold. The phrase can describe both the finished object and the process of building it from glass components.
That making-focused meaning is different from the Harvard Glass Flowers collection. Harvard’s Ware Collection of Blaschka Glass Models of Plants is a museum collection of highly detailed botanical models. It is useful context for understanding why people search for this phrase, but it is not a fused-glass project or a product category for home kiln work. It is also different from a finished glass-flower decoration that you simply purchase and display.
For a fused-glass project, the design can begin with sheet glass, small pieces, or ready-made components. Frit can add granular color, while stringers, noodles, and cane can create lines, stems, centers, or surface detail. Precut flower and leaf shapes can also provide a starting point when you want to focus on composition rather than cutting every petal yourself. ArtGlassSupplies.com lists these forms alongside other glass-fusing materials and equipment.
Material selection matters before the design enters the kiln. COE, or Coefficient of Expansion, describes how glass responds to temperature changes. Use glass confirmed as compatible within the same system, rather than assuming that similar colors or shapes can be combined safely. During heating, glass becomes increasingly deformable as it approaches its softening range, so the kiln, thickness, layering, and intended shape all affect the outcome. Plan the flower’s structure first, then follow the manufacturer’s compatibility and firing guidance for the glass you choose.
How Do You Choose Glass for Flowers?
Start with compatibility, then choose color, opacity, and shape. The Coefficient of Expansion (COE) is a useful compatibility filter because it describes how much glass expands and contracts as temperature changes. During a kiln cycle, pieces that respond differently can place stress on one another as they heat and cool. A flower may look beautiful before firing and still crack or fail if its components are not intended to work together.
Keep the glass system consistent
COE90 and COE96 are separate glass systems, not interchangeable labels for similar-looking material. Choose one system for the sheet, petals, frit, stringers, leaves, and other components in a project unless the manufacturer has specifically verified a combination. ArtGlassSupplies.com carries both COE90 glass and COE96 glass, so check the product information before adding a contrasting color or decorative element to your basket. Color, transparency, and surface appearance cannot confirm compatibility on their own.
For a coordinated COE90 project, available choices include transparent, opalescent, and streaky glass, along with flower and leaf shapes. Precut pieces can simplify petal construction, but they still need to belong to the same verified system as the base glass. The guide to COE-compatible precut shapes can help you evaluate ready-made components before layering them.
Why expansion and softening both matter
COE addresses movement during temperature changes, while viscosity helps explain what happens when the flower becomes hot enough to change form. As glass approaches its softening range, it becomes increasingly able to flow, bend, or settle. A National Institute of Standards and Technology study describes viscous deformability as increasing rapidly between critical and softening temperatures. It also relates these temperatures to comparable deformability in different glasses: NIST glass expansion and softening research.
In practical terms, a thin petal, a thick center, and a raised stack may not move in exactly the same way during heating. Select compatible materials first, plan the flower’s thickness and form, and follow the glass manufacturer’s guidance for firing. Compatibility is a material property to verify, not something to judge by appearance.
Glass Flower Materials and Tools: A Practical Comparison
A flower design can be built from cut sheet glass, ready-made components, or a combination of both. Choose materials by the result you want first: layered petals need pieces that stack cleanly, while textured centers and dimensional forms call for components or forming equipment. ArtGlassSupplies.com catalogs glass, kilns, molds, tools, and consumables for fusing projects, so you can plan the complete setup rather than choosing color alone.
| Material or tool. | Primary role. | Best use in a flower project. |
|---|---|---|
| Sheet glass. | Creates the main silhouette and broad color fields. | Cutting custom petals, leaves, stems, or a base layer. |
| Precut shapes. | Adds consistent components without cutting every outline. | Building repeated petals or combining ready-made flowers and leaves. |
| Frit. | Adds granular color and surface texture. | Flower centers, speckled accents, transitions, and small details. |
| Stringers or cane. | Provides narrow lines and linear decoration. | Veins, fine stems, radiating center details, or graphic accents. |
| Kiln. | Provides controlled heat for fusing and forming. | Firing a prepared flower according to the glass and kiln manufacturer guidance. |
| Shelf and separator. | Supports the project and helps prevent it from bonding to the shelf. | Preparing a stable firing surface for flat or supported work. |
| Hand tools. | Supports measuring, cutting, shaping, and cleanup. | Making custom petals and handling small components with control. |
| Molds. | Guides glass into a dimensional form. | Shaping curved petals, bowls, or other three-dimensional floral designs. |
These categories are starting points, not a universal shopping list. Confirm that every glass component belongs to a verified compatible system before combining it, and follow the manufacturer guidance for firing. For a broader selection of glass, components, equipment, and consumables, browse the glass-fusing supplies collection.
How Do You Build Layered Glass Flower Petals?
A layered flower is easier to control when you treat it as a planned stack rather than a collection of pieces. The outline, glass system, thickness, and intended finish should be decided before the kiln is loaded.
- Sketch the flower from the top. Draw the center, petal count, approximate petal widths, and any leaves. Mark which pieces will sit underneath and which will remain visible. This simple map helps you keep the design balanced and gives you a record to compare with the finished piece.
- Choose one verified glass system. Select the base, petals, center, and leaves from materials that are compatible according to the manufacturer. COE is an important selection filter, so do not assume that glasses with different COE ratings can be combined safely. If you are deciding between ready-made components and sheet glass, the guide to COE-compatible precut shapes can help you plan the design.
- Prepare the base layer. Cut or select a stable foundation that matches the scale of your sketch. A simple round or organic base can support the petals, while a thin accent layer may be enough for a small flower. Keep the edges intentional, since anything placed on the base can influence the final silhouette.
- Select and cut the petals. Make a paper template for repeated petals, or choose matching precut flower components. Varying the size or angle slightly can make the flower feel less mechanical, but keep the pieces close enough in thickness and compatible with the base. Inspect every edge for chips or debris before assembly.
- Dry-place the layers before cleaning. Arrange the petals around the center without adhesive or firing. Check for gaps, overlaps, and a clear focal point. Photograph the arrangement if it is complex. Then lift the pieces in order, clean them with the method recommended for your materials, and handle them carefully so dust and fingerprints do not remain between layers.
- Build the stack from back to front. Return the base to its prepared surface, then place the lower petals, upper petals, center, and leaves according to your sketch. Small frit, stringers, noodles, or cane can add line and texture, but use them deliberately so they do not obscure the petal structure. For more ideas on arranging ready-made components, see this guide to layering precut fusible shapes.
- Record the finished layout. Note the glass colors or product names, compatible glass system, layer order, and any decorative elements. Follow the glass manufacturer’s firing guidance rather than applying a universal schedule. Keeping these notes makes it easier to adjust a future flower when the first test reveals that a petal, center, or layer needs a different design choice.
How Can You Form Dimensional Glass Flowers?
Flat fused-glass flowers are built on a level kiln shelf, so the petals, center, and decorative details remain in one plane. This approach works well for ornaments, panels, jewelry components, and designs that need a stable back. A dimensional flower uses heat to let the glass bend, slump, or settle over a form. The result can suggest an open blossom, a cupped petal, or a shallow bowl rather than a flat silhouette.
Choose the form around the finished shape
Start by sketching the profile you want. A shallow, broad form can create gently curved petals, while a deeper form produces more pronounced relief but also asks more of the glass and the firing process. Browse the guide to glass fusing and slumping molds for help matching a mold to the intended shape. Ceramic molds can also be useful when their size, surface, and release requirements suit the project; compare options in the guide to ceramic molds for glass fusing.
Plan support, spacing, and movement
Give each petal enough room to move without colliding with its neighbor or catching on the mold. Arrange layered pieces so the center remains supported and the outer petals have a clear path as they curve. Small precut shapes, frit, stringers, or noodles can add definition, but extra layers also change the thickness and weight of the finished flower. Make a test piece when the form, scale, or material combination is new.
Heat does not simply make glass liquid. As temperature rises, viscosity and softening behavior change, and the glass becomes increasingly able to deform under its own weight and the shape of the mold. NIST describes viscous deformability as rising rapidly through the range between critical and softening temperatures: read the technical reference. The exact result depends on the glass, thickness, mold, kiln, and firing instructions. Follow the manufacturer’s guidance rather than treating any single temperature or schedule as universal. Allow the formed piece to cool according to the requirements of the specific project.
How Should You Fire and Anneal Glass Flowers?
There is no universal firing schedule for glass flowers. The correct program depends on the compatible glass system, the thickest part of the design, the number and arrangement of layers, the shape you want, and the behavior of your kiln. Start with the manufacturer’s published firing guidance for the exact glass, then adjust only when you have a documented reason and a controlled test piece.
Plan the heatwork around the whole flower
Before loading the kiln, inspect the flower as a stack rather than as separate petals. A thin, flat blossom and a layered flower with a raised center do not present the same thermal mass. Note the thickest area, any narrow projections, and whether the piece is supported by a mold. Keep the glass within a verified compatible system; matching or confirming COE is part of the safety plan, not a detail to resolve after firing. If the materials or their compatibility are uncertain, do not combine them just because they look similar.
A firing schedule is a sequence of heat-up ramps, holds, and cooling stages. The initial ramp controls how quickly the kiln approaches the working range. A hold may allow heat to distribute through the project, while the peak portion determines how much the petals soften, round, or fuse. Cooling is not simply an afterthought. The annealing stage and controlled cool-down help reduce stress as the glass passes through its annealing range. Use the glass manufacturer’s terms and schedule for those stages rather than substituting a remembered program from another project.
Why softening and viscosity matter
As glass becomes hotter, its viscosity changes and it can deform more readily. The National Institute of Standards and Technology explains that viscous deformability rises rapidly between critical and softening temperatures in its research on glass properties: NIST’s glass-properties report. In practical terms, a longer hold or a hotter peak can change petal edges, flatten texture, close openings, or let a supported flower settle more than intended. The same heatwork that bonds layers can erase detail if the design is not planned for it.
Annealing also depends on thickness, shape, cooling uniformity, and kiln performance. Let the piece cool according to the applicable manufacturer schedule, and avoid opening the kiln early simply because the outside looks cold. Record the glass system, layer arrangement, mold or shelf setup, schedule, and result. That record gives you a safer starting point for the next flower without pretending that one successful firing is a universal recipe.
How Do You Finish and Plan Your First Flower Project?
Once the petals and center are arranged, pause before firing. Look at the piece from several angles and decide whether the color balance supports the flower’s shape. A transparent accent may add depth, while an opaque piece can make a petal read more clearly. For painted details, review the guidance in this fired glass paint details guide and confirm that the product is intended for your glass-firing process.
Inspect the stack for dust, chips, unexpected gaps, or pieces that extend beyond the design. Check every component against the compatible glass system you selected. Do not assume that a visually appealing combination will behave the same way in the kiln.
For a first project, make a small sample or a simplified flower before committing to a more complicated arrangement. Use the sample to observe how your chosen colors, details, layers, and forming approach respond to firing. Follow the glass manufacturer’s instructions rather than treating a schedule from another project as universal.
Keep a simple project record. Note the glass types and colors, the layer arrangement, any paint or decorative elements, the kiln program, and what you observe after firing. Photographing the stack before it enters the kiln can make later adjustments much easier. If the result changes shape or color more than expected, your notes give you a useful starting point for the next test.
Plan the finished use before shopping: a flat flower, a formed element, a pendant, or another small studio project may call for different materials and tools. The beginner glass fusing guide can help you review the broader workflow. When you are ready to choose materials, browse the verified glass-fusing supplies collection and build from the compatible system you have documented.
Explore compatible glass-fusing materials before you start your flower project.
Frequently Asked Questions
What glass should I use for fused-glass flowers?
Choose glass labeled for fusing and keep every layer within a verified compatible COE system. COE describes how glass expands with heat, so do not combine COE90, COE96, or other systems simply because the colors look alike. Match the base, petals, frit, stringers, and decorative elements to the manufacturer’s compatibility guidance.
How can I make the petals look dimensional?
Build the flower in thin layers, then use a suitable slumping or forming mold when the design needs a curved profile. Arrange petals with enough support to prevent unwanted movement, and test a small sample first. Heat changes glass viscosity, so the final shape depends on the glass, thickness, mold, and firing program rather than on the mold alone.
Do glass flowers need a separate tack-fuse and slump firing?
No, not always. A flat layered flower may use one compatible firing approach, while a dimensional flower may need a separate forming step. Follow the glass manufacturer’s schedule and your kiln manufacturer’s guidance instead of using a universal program. The required process depends on the glass system, layer thickness, mold, and intended finish.
How should I plan annealing for a fused-glass flower?
Plan annealing around the thickest part of the assembled flower and the way its shape will cool. Uneven thickness, concentrated layers, and a deep form can change how heat leaves the piece. Use the schedule recommended for your specific glass, and avoid opening the kiln while the project is still cooling through the manufacturer’s specified range.
Ready to Make Your Own Glass Flowers?
Choosing compatible glass, color, and supporting materials before you begin can make your next flower project easier to plan. Browse glass-fusing supplies to compare materials for layered or dimensional designs, then select products that fit your verified glass system and firing plan.