
The true beauty of glass stringers lies in their versatility. These slender glass rods can be used to create crisp, graphic lines, soft, painterly effects, or rich, woven textures. You can arrange them in a simple grid, bend them into flowing curves, or layer them to build depth and dimension. With a whole spectrum of colors available, your creative options are nearly limitless. This article is your roadmap to unlocking that potential. We will cover the techniques you need to get clean, precise lines, explain how different firing schedules affect your design, and help you avoid common mistakes, all while providing a wealth of glass stringer project ideas to spark your next creation.
Key Takeaways
- Prioritize COE Compatibility: To prevent cracks and ensure your piece survives the kiln, every glass element in your project must have the same COE. This means your stringers, frit, and base sheet should all be either COE90 or COE96, with no exceptions.
- Control Texture with Your Kiln: Your firing schedule determines the final look of your stringers. Use a full fuse for a smooth, flat design where the lines melt into the glass, or choose a tack fuse to keep the stringers raised and create a dimensional, textured surface.
- Master Precision for Clean Lines: Achieve professional-looking details by handling stringers with care. Use nippers for clean breaks and tweezers for exact placement, and consider a small amount of glass glue to hold intricate designs in place before firing.
What Are Glass Stringers (and What Can They Do)?
If you’ve ever wanted to draw on glass, stringers are about to become your new favorite tool. Think of them as thin, spaghetti-like rods of glass that let you add incredibly fine lines, details, and patterns to your fused glass art. Whether you want to create delicate swirls, write a name, or outline a complex shape, stringers give you the precision to bring your vision to life. They are perfect for adding that extra pop of detail that makes a piece truly unique. Many artists also use them to create beautiful and intricate glass jewelry, from statement pendants to colorful earrings.
The Different Types of Glass Stringers
One of the best things about stringers is the sheer variety available. You can find them in a whole rainbow of colors, making it easy to find the perfect shade for any project. They also come in different styles, like transparent, opal, and even reactive, which create unique effects when fired. Most importantly, stringers are made in different Coefficients of Expansion (COE) to match your base glass. You’ll primarily work with COE90 and COE96 glass. Having so many options means you have complete creative control to mix, match, and design stunning works of art.
Why COE Compatibility Matters
This is probably the most important rule in glass fusing: always match your COE. The Coefficient of Expansion (COE) tells you how much a piece of glass will expand and contract when it’s heated and cooled in the kiln. If you mix glass with different COE values, they will fight against each other as they cool, causing stress, cracks, and heartbreak. To ensure your beautiful stringer details fuse perfectly and permanently to your base, the COE of your stringers must be the exact same as the COE of your sheet glass and any other glass elements in your project. Always double-check your labels before you start creating.
What You Need to Get Started
Before you start arranging stringers and firing up your kiln, it’s important to get your workspace and materials in order. Setting yourself up for success means having the right tools on hand, understanding your glass, and creating a safe environment where you can let your creativity flow. With a little preparation, you’ll be ready to move from idea to finished piece smoothly and safely. Let’s walk through the essentials you’ll need to begin your glass-fusing journey.
Gather Your Tools and Materials
You don’t need a studio full of equipment to start working with stringers. The basics include a glass cutter for scoring your base glass, along with running and breaking pliers to help you make clean snaps. Most importantly, you’ll need safety gear. Always wear protective glasses to shield your eyes from stray shards and consider a pair of cut-resistant gloves. Of course, you’ll also need your glass. For fusing, you must use special “compatible” glass, which is designed to melt and cool together without causing stress fractures. This ensures your finished piece remains strong and intact.
COE90 vs. COE96: Which Glass to Choose?
If you remember one thing, let it be this: all the glass in a single fusing project must have the same COE. COE, or Coefficient of Expansion, refers to how much the glass expands and contracts when heated and cooled. Mixing different COEs is a classic beginner mistake that will cause your beautiful piece to crack or shatter as it cools. The two main families you’ll work with are COE90 glass and COE96 glass. Neither is better than the other, but they cannot be mixed. Pick one and stick with it for your entire project, including your base glass, stringers, and any other decorative elements.
Set Up Your Workspace for Safety
A safe studio is a happy studio. Start by making sure you have proper ventilation, which is crucial when you’re firing glass in a kiln to vent heat and any potential fumes. Keep your work area tidy and organized, with a designated place for your tools and glass sheets stored safely. A clean space reduces the risk of accidents, like knocking over a project or tripping on a cord. By making safety a habit, you can focus on what really matters: creating beautiful glass art.
Beginner-Friendly Stringer Projects
If you’re just getting started with glass fusing, stringers are your new best friend. These thin strands of glass are like drawing tools, letting you add lines, patterns, and intricate details to your work without needing advanced skills. They’re playful, versatile, and perfect for dipping your toes into fused glass art. These simple projects are designed to help you get comfortable with handling stringers and see amazing results from your very first firing. So grab your glass, fire up your creativity, and let’s make something beautiful.
Decorative Coasters with Stringer Details
Coasters are a fantastic first project because they’re small, practical, and offer a perfect canvas for experimentation. Start with a 4-inch square of clear COE90 glass as your base. From there, you can arrange your stringers in any pattern you like: a simple grid, a sunburst, or even a random scattering of colors. For the most striking design, choose stringer colors that contrast sharply with each other and your base. A good rule of thumb for beginners is to keep your design to two layers of glass (your base and the stringers) to ensure a clean, even fuse in the kiln.
Line Art Pendants and Earrings
Ready to make some wearable art? Stringers are ideal for creating delicate line art on jewelry. Since you’re working on a small scale, often a 1-inch base for a pendant or a half-inch piece for earrings, stringers allow for a level of detail that would be difficult to achieve otherwise. You can create simple swirls, geometric shapes, or even tiny abstract scenes. For an extra touch of sparkle, try placing your stringer design on a piece of dichroic glass. The shifting colors of the dichroic base combined with the crisp lines of the stringers make for a truly eye-catching piece.
Suncatchers with Stringer Patterns
Suncatchers are all about playing with light, and stringers add a wonderful linear element to the mix. Begin with a clear glass base so the light can shine through. You can lay your stringers out to create flowing waves, sharp geometric patterns, or a whimsical design that captures your personality. Try mixing opaque and transparent stringers to see how they interact with the light differently. When hung in a window, the light will catch the lines of your design, casting colorful shadows and creating a beautiful focal point in any room. It’s a simple way to make a piece of stained glass art with a modern twist.
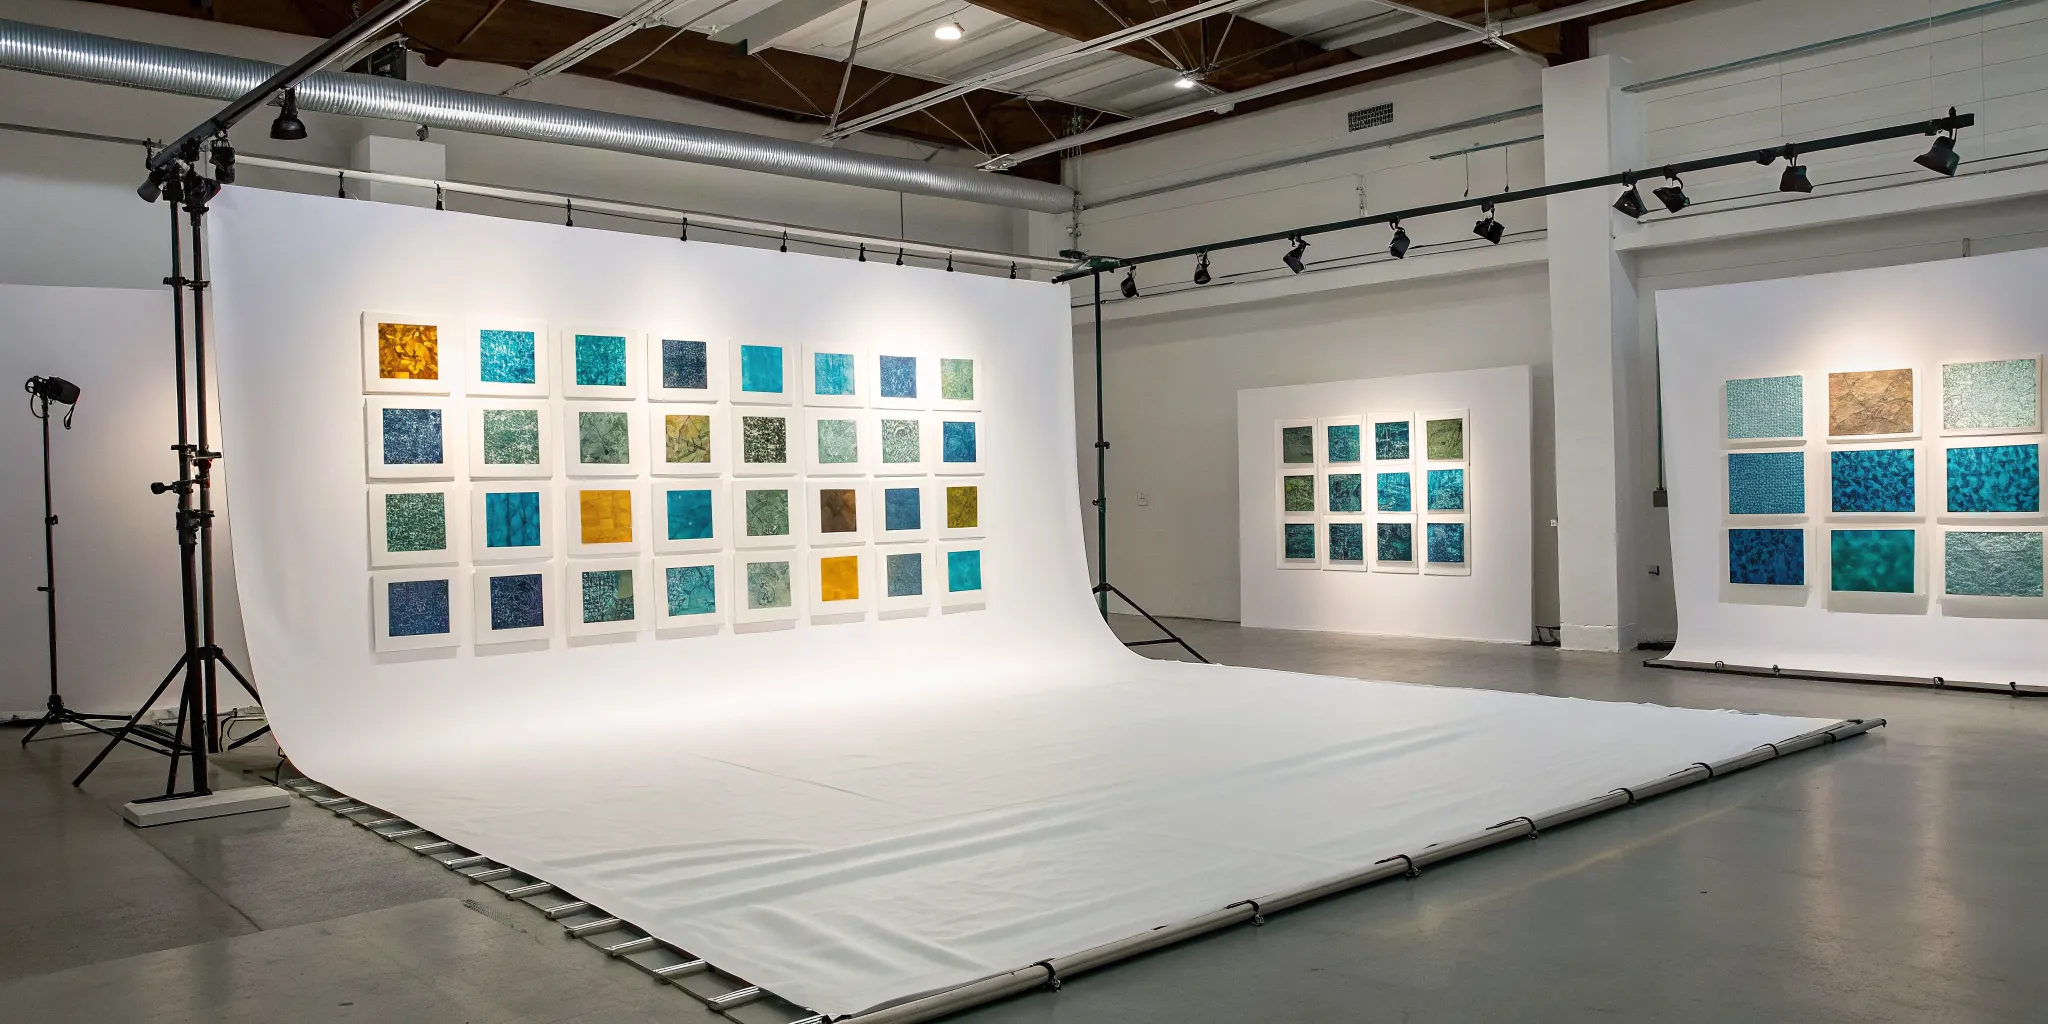
Simple Geometric Fused Glass Tiles
If you want to practice precision and control, making a set of geometric tiles is an excellent exercise. This project lets you focus on cutting and placing stringers to create clean, intentional lines. You can design a series of matching tiles with patterns like chevrons, stripes, or intersecting grids. This is a low-pressure way to get comfortable with how stringers behave and how they look after firing. You can later use these tiles as decorative accents, mosaic pieces, or simply as a reference for what different color combinations and patterns look like once fused.
Bubble Plates with Tack-Fused Stringers
This project introduces a simple but valuable technique: the tack fuse. To create a “bubble plate,” you’ll place stringers on a sheet of glass and run it through a tack fuse firing schedule in your kiln. This fuses the stringers to the glass just enough to hold them in place without losing their dimension. Then, you can place another sheet of glass on top and do a full fuse, trapping air between the stringers and creating a bubble effect. It’s a fun way to add texture and depth to your work, and it’s a great first step toward using different firing schedules to achieve specific results.
Ready for a Challenge? Intermediate Stringer Projects
Once you’ve mastered the basics, you’re ready to take on projects that require a bit more planning and precision. These intermediate ideas introduce new techniques like layering, slumping, and creating more complex patterns. They’re a fantastic way to build on your skills and create some truly stunning pieces. Don’t be intimidated; think of these as the next fun step in your glass art journey. With a little patience, you’ll be amazed at what you can make.
Layered Stringer Landscape Panels
This is where you can really let your inner artist shine. Think of a sheet of glass as your canvas and stringers as your paint. You can create beautiful, detailed scenes like a fiery sunset, a calm ocean, or a dense forest by carefully placing and layering stringers. Start with a base sheet of COE90 glass and build your landscape from the background to the foreground. Use different colors and thicknesses of stringers to create depth and perspective. After firing, these panels make gorgeous wall hangings, or you can cut them into smaller pieces for unique jewelry.
Fused Glass Bowls with Surface Designs
Ready to move into three dimensions? Making a fused glass bowl is a two-step process that feels like magic. First, you’ll create a flat, decorated panel using stringers to add texture and pattern. You can arrange them in spirals, geometric shapes, or random lines for a dynamic look. After the initial full fuse, you’ll place the flat piece over a form and fire it again at a lower temperature. This second firing, called slumping, allows the glass to soften and drop into the shape of the mold. The result is a beautiful, functional bowl with your unique stringer design embedded in the surface.
Flower and Nature-Inspired Wall Art
Bring the outdoors in with wall art inspired by the natural world. Stringers are perfect for creating the delicate lines of flower stems, blades of grass, and tree branches. You can even try a “woven” or “tapestry” look by layering stringers in a crisscross pattern before firing. This technique creates incredible texture and depth. For even more detail, combine your stringer work with other glass elements. A sprinkle of frit can become the center of a flower, or powdered glass can create a soft, shaded background. It’s a great way to practice combining different forms of COE96 glass in one piece.
Functional Art: Detailed Plates and Home Décor
Why not make art you can use every day? Stringers are a fantastic tool for decorating functional pieces like plates, platters, and coasters. You can create clean, modern designs with sharp stripes and geometric patterns, or go for a more organic, free-flowing look. This is a great opportunity to experiment with color and create a matching set of dishes for your home. Creating food-safe functional ware requires careful control over your firing process, so you’ll want to make sure your kiln can hold precise temperatures. The end result is a custom piece of home décor that is both beautiful and practical.
How to Get Clean, Precise Stringer Lines
The secret to making your glass art look polished and professional often comes down to the details. When you’re working with stringers, achieving those sharp, clean lines can feel like a challenge, but it’s a skill you can definitely master. It’s all about having a steady hand, a bit of patience, and a few clever techniques up your sleeve. By focusing on precision from the very beginning, you can make sure your final design comes out of the kiln looking exactly as you envisioned. Let’s walk through some practical steps to help you get those perfect lines every time.
Cut and Place Stringers with Precision
Getting a clean line starts with a clean break. Since stringers are essentially thin glass rods, often just 1mm or 2mm thick, they can be fragile. Instead of trying to snap them with your fingers, use a pair of stringer nippers or wheeled glass cutters to score and break them. This gives you a much cleaner edge to work with. For placement, tweezers are your best friend. They allow you to position each tiny piece exactly where you want it without bumping neighboring stringers. If you’re creating an intricate design, a small dab of clear-drying glass glue can hold everything in place on your base glass before it heads into the kiln.
Create Balanced Designs with Spacing and Layering
How you space your stringers has a huge impact on the final piece, both visually and structurally. Consistent spacing creates a sense of rhythm and balance that is pleasing to the eye. It can also help you manage air bubbles. As some artists have found, spacing stringers about a half-inch apart can affect bubble consistency. To keep your spacing even, try using a ruler or placing a grid pattern under your clear base glass as a guide. You can also layer stringers to build dimension, but be mindful of how the thickness will affect the melt. A well-balanced design looks especially stunning when slumped into one of our glass molds to create a functional plate or bowl.
Add Depth with Frit and Glass Powders
Combining stringers with frit or glass powders is a fantastic way to add texture and complexity to your work. You can fill the negative space between your stringer lines with a complementary color of frit to create a beautiful mosaic effect. Some artists even use special reactive glass powders and stringers that create unique color reactions where they touch during firing. For an even application of powder, use a fine sifter to lightly dust it over your base glass. Experimenting with different combinations of COE90 glass stringers and frits is a great way to discover unexpected and beautiful results in your art.
Choose Color Combinations for Maximum Impact
With stringers available in a huge spectrum of colors, the creative possibilities are endless. The key to making your design pop is choosing your colors thoughtfully. High contrast is a simple and effective strategy; placing dark stringers on a light base, or vice versa, will make your line work stand out. You can also use a color wheel to explore complementary (opposite) or analogous (neighboring) color schemes for a more harmonious look. Before committing to a large project, consider making a small test tile with a few different color combinations. This lets you see exactly how the colors interact and melt together in the kiln, ensuring you love the final result.
Full Fuse vs. Tack Fuse: How Firing Affects Your Design
The magic of glass fusing happens inside the kiln, and your firing schedule is what directs the show. Choosing between a full fuse and a tack fuse is one of the most important creative decisions you’ll make, as it completely changes the texture and dimension of your finished piece. When you’re working with fine details like stringers, the type of fuse you choose determines whether those lines melt into a smooth surface or stand out with raised, tactile definition.
Think of it this way: a full fuse blends your design elements together, while a tack fuse preserves them. Neither is better than the other; they are simply different tools to help you achieve your artistic vision. Understanding how each firing style works will give you the control to create exactly what you imagine, whether it’s a glossy, flat panel or a piece with rich surface texture. Your kiln isn’t just a heater; it’s a tool for shaping and refining your design.
The Visual Difference Between Firing Styles
The easiest way to understand the difference is to think about the final texture. A full fuse happens when the glass reaches a high enough temperature (around 1450°F to 1490°F) to become quite fluid. At this point, separate layers of glass melt together into a single, smooth piece. If you full fuse a design with stringers, the stringers will flatten and blend into the base glass, leaving behind a clean, graphic line of color with no raised texture. This is perfect for creating a sleek, polished look on items like coasters or tiles.
A tack fuse, on the other hand, uses a lower temperature. The goal is to heat the glass just enough for the pieces to stick, or “tack,” together permanently without losing their individual shapes. When you tack fuse stringers, they will adhere to the surface but keep their distinct, rounded shape. This creates a wonderful sense of dimension and texture. This technique is ideal when you want the stringer details to be a prominent, tactile feature of your design, like on a decorative pendant or a piece of wall art.
Create a Firing Schedule to Protect Your Details
Your firing schedule is the recipe that tells your kiln exactly what to do. To protect the delicate details of your stringer designs, you need to plan your schedule around your desired outcome. For a tack fuse that preserves texture, you’ll program your kiln to heat to a lower top temperature, typically between 1350°F and 1425°F. This ensures the stringers stick firmly to the base without melting away and losing their shape.
For a full fuse, you’ll need to aim for a higher temperature, usually between 1450°F and 1490°F for COE90 glass. This allows the glass to become liquid enough for all layers to merge smoothly. Because every kiln fires a little differently, it’s a great idea to run some small test pieces first. Keep a logbook of your schedules and results; this will become an invaluable resource for achieving consistent, predictable outcomes and protecting the beautiful details you worked so hard to create.
Tips for Slumping and Draping with Stringers
Slumping and draping are techniques used to shape glass by heating it until it softens and takes the form of a mold. This is how you create bowls, plates, and other three-dimensional objects. When you’re using stringers on a piece that will be slumped, it’s best to approach it as a two-step process. First, complete your design on a flat sheet of glass and perform a tack fuse. This will secure the stringers in place so they don’t shift or slide around later.
Once your tack-fused piece has cooled, you can place it on top of or inside one of your molds for a second, lower-temperature firing. This slumping schedule will be just hot enough to bend the glass into its new shape without further melting the stringers. This method gives you the best of both worlds: the beautiful, raised texture of a tack fuse combined with the functional shape of a slumped piece.
Common Stringer Mistakes (and How to Avoid Them)
Working with glass stringers is incredibly rewarding, but a few common slip-ups can derail an otherwise perfect project. The good news is that these mistakes are easy to sidestep once you know what to look for. Learning to avoid these pitfalls will help you create beautiful, durable pieces right from the start. Think of it as building a strong foundation for all your future creative explorations in glass. Let’s walk through some of the most frequent issues artists face and how you can steer clear of them.
Mixing Incompatible COE Values
This is the number one rule of glass fusing: never mix glass with different Coefficients of Expansion (COE). COE measures how much glass expands and contracts when heated and cooled. If you combine glass types that shrink at different rates, your project will develop stress cracks or even break apart entirely during the cooling process. It’s a heartbreaking outcome for any artist. To prevent this, always check that your sheet glass, stringers, and any other glass elements share the same COE. For any given project, commit to using either all COE 90 or all COE 96 glass. Keeping your supplies organized by COE is a great habit to get into.
Preventing Over-Fusing and Lost Detail
You’ve spent hours carefully placing your stringers into an intricate design, only to pull a melted, undefined puddle from the kiln. This frustrating experience, known as over-fusing, happens when the glass gets too hot for too long. Your kiln’s firing schedule is the key to preserving those crisp details. Thicker glass projects, in particular, need a slower heating and cooling cycle to ensure the heat penetrates evenly. Pay close attention to your top temperature and hold time. A tack fuse, which uses a lower temperature, is often perfect for stringer work because it sticks the stringers to the surface without completely flattening them. Experiment with your kiln to find the sweet spot that gives you the definition you want.
Getting the Spacing Just Right
The way you space your stringers does more than just create a pattern; it also influences how the glass behaves in the kiln. Placing stringers too close together can trap air, leading to unwanted or inconsistent bubbles. On the other hand, spacing them too far apart might not give you the cohesive, flowing look you’re after. A good starting point is to place your stringers about half an inch apart, which allows the glass to flow evenly between them. This isn’t a rigid rule, of course. Feel free to play with different spacing to achieve unique effects, but keep this general principle in mind as you design your piece.
Watching Your Kiln Temperatures
Properly managing your kiln temperatures is crucial for both the quality of your art and your personal safety. Always use heat-resistant gloves and the proper tools when loading or checking on a hot kiln to prevent serious burns. Beyond safety, precise temperature control is what allows you to achieve specific results. A full fuse requires higher temperatures to make everything melt into one smooth layer, while a tack fuse uses lower heat to maintain texture and dimension. Understanding how different temperatures affect your glass will give you complete creative control over the final look and feel of your stringer projects. Always follow your kiln’s manual and recommended firing schedules.
How to Choose the Right Glass Stringers
Picking the right glass stringers is like choosing the perfect ink for a drawing. The colors, quality, and type of stringer you select will define the lines and details of your final piece. A thoughtful choice can turn a simple design into something truly special, while a poor one can leave your project looking muddy or cracked. Before you start cutting and placing, it’s worth spending a moment thinking about what you want your stringers to do for your artwork.
Your decision comes down to two key things: the color strategy for your design and the quality of the materials you’re working with. Getting these two elements right will set you up for a successful and satisfying project, whether you’re making a simple coaster or an intricate piece of wall art.
Strategies for Selecting and Layering Colors
Think of your base glass as your canvas. The colors of your stringers should complement or contrast with it to create the effect you’re aiming for. For sharp, graphic lines that stand out, choose stringers in colors that contrast strongly with your base. A black stringer on a white or transparent base, for example, creates a classic, bold look. For a softer, more blended effect, select stringers in colors that are similar to your base glass.
Don’t be afraid to layer stringers to create depth and new hues. Placing a thin yellow stringer over a blue one can produce a delicate line of green where they fuse. Before you commit to your main project, try creating a small test tile with your chosen color combinations. This lets you see exactly how the colors will melt and interact in the kiln, saving you from any unwanted surprises later.
Where to Find Quality Glass Stringers
When you’re putting time and effort into a piece, you want materials you can rely on. High-quality stringers have a consistent diameter and uniform color, which means your lines will be clean and your final colors will be true. Inconsistent stringers can lead to uneven melting and unpredictable results, which is frustrating for any artist. Finding a reliable supplier is key to getting the results you envision.
You can find a wide variety of stringers made from beautiful and reliable COE90 glass, ensuring they are compatible with your base sheets. Whether you need transparent stringers that catch the light or opaque ones for solid, bold lines, using quality materials is the first step toward a piece you’ll be proud of. This ensures that when you fire your project, everything fuses together perfectly without stress cracks.
Related Articles
- Fused Glass Stringers 101: A Complete Guide
- Glass Stringers COE 90: The Ultimate Artist’s Guide
- A Buyer’s Guide to COE 90 Glass Stringers
- COE 90 Stringer Glass: A Complete Fusing Guide
Frequently Asked Questions
What is the single most important rule when working with glass stringers? Always, always match your COE. The Coefficient of Expansion (COE) tells you how much glass expands and contracts with heat. If you use stringers with a different COE than your base glass, your piece will crack as it cools. So, if you start with a COE90 sheet, you must use
How do I stop my stringer design from looking like a melted blob? This is all about controlling the temperature in your kiln. If you want your stringers to stay raised with a defined, rounded texture, you need to do a “tack fuse” at a lower temperature. If you want the stringers to melt completely flat and smooth into the glass, you’ll need a “full fuse” at a higher temperature. Your firing schedule is what gives you control over the final look.
Can I make 3D objects like bowls or plates with stringer designs? Absolutely, and it’s a really fun two-step process. First, you create your flat design with stringers on a sheet of glass and fire it. After that piece has cooled, you place it on top of a mold and fire it again at a lower temperature. This second firing, called slumping, softens the glass just enough to let it drop into the shape of the mold.
Do I have to use COE90 glass, or is COE96 better? Neither one is better than the other; they are just different systems. You can create beautiful art with both COE90 and COE96 glass. The only rule is that you cannot mix them in the same project. Pick one family of glass for your project and make sure every single component, from the base sheet to the stringers and frit, has that same COE value.
How do I get the tiny stringer pieces to stay in place while I’m working? A pair of tweezers will be your best friend for placing stringers precisely where you want them. For more complex designs where you’re worried about pieces shifting, you can use a very small dot of clear-drying glass glue to hold the stringers in place on your base glass before you fire the project. The glue will burn off cleanly in the kiln.