
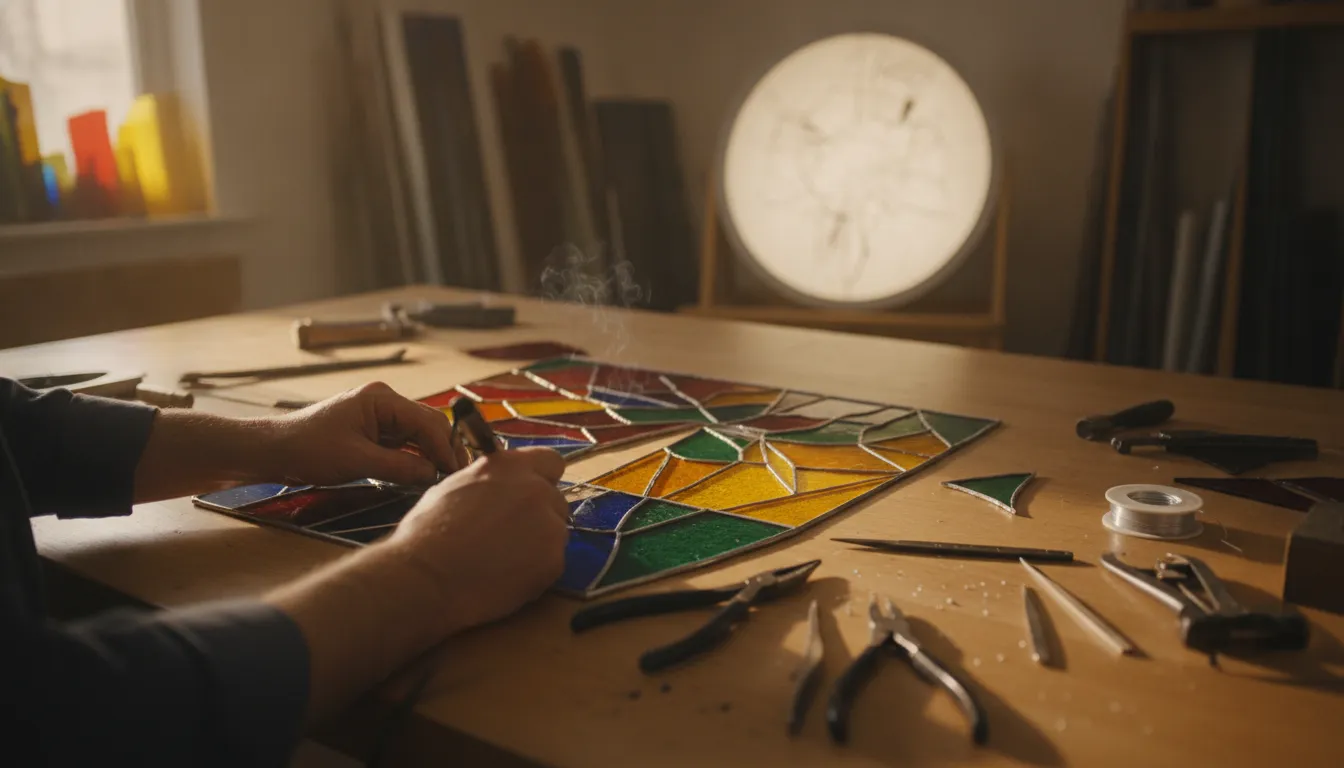
Lead came gives a stained glass panel its visible framework, but a clean result depends on fit, layout, and controlled shaping. This stained glass techniques reference covers the broader workflow. This guide focuses on choosing profiles, fitting channels, and building a traditional leaded panel.
Browse stained glass tools and supplies for your project.
Lead came is a shaped metal strip that joins glass pieces through one or two channels. H-came holds two neighboring pieces, while U-came finishes an exposed edge. Choose the profile by channel fit and panel design. Then stretch, cut, bend, dry-fit, and solder it without forcing the glass. Came does not determine glass compatibility. When glass is heated, the glass system, including its Coefficient of Expansion (COE) and viscosity or softening behavior, must suit the process.
A Lead Came Stained Glass Guide to Profiles and Panel Structure
Lead came is a metal strip with a channel that receives the edge of a glass piece. H-came has two opposing channels separated by a central ridge, often called the heart. U-came has one channel and a finished outside face. Unlike copper foil, came creates a visible framework, so the profile affects both the panel’s structure and its appearance.
How H-came joins adjacent glass
At an interior joint, one pane slides into each side of the H-profile. The heart becomes the line between the pieces, and the intersecting lengths are soldered together. This arrangement suits geometric designs, repeated lead lines, and traditional panel construction.
Start with a full-size pattern on a flat board. Straighten and cut the came, then dry-fit the glass before soldering. Keep each channel engaged with the glass edge and check that the pattern stays aligned. Came can form a border, but large or heavy panels may still need planned reinforcement.
Why compatibility is a separate decision
Choose came by its profile and channel opening, not by the glass’s COE. COE describes how glass expands and contracts with temperature. Viscosity and softening behavior describe how glass flows or changes shape as it is heated. These properties matter when glass pieces are fired together. Came is a joining material and cannot make an incompatible glass system compatible.
H-Came vs U-Came: Which Profile Fits Your Project?
H-came joins two glass edges, while U-came captures one edge and finishes the outside. Use H-came for interior divisions and U-came for exposed perimeters, framed openings, or borders. The right profile depends on how many glass edges meet, the design’s shape, and the line you want the finished panel to show.
| Feature | H-came | U-came |
|---|---|---|
| Primary use | Joins adjacent pieces inside a leaded panel. | Finishes an exposed edge or perimeter. |
| Channels | Two opposing channels. | One channel with a finished outside face. |
| Visual effect | Creates a lead line between neighboring panes. | Creates a clean outer border or edge. |
| Best design fit | Interior joints and repeated lines. | Frames, borders, and open edges. |
When H-came makes sense
Choose H-came when glass pieces meet on both sides of a line. Its two channels give each edge a destination, which simplifies layout in panels with many internal joints. It also keeps the lead lines visually consistent when they form a repeated design rhythm.
When U-came makes sense
Use U-came where only one glass edge needs to be captured. Its solid outer side gives a border a finished appearance and can frame an opening or panel edge. Test a short offcut before forming a tight curve. Never force a rigid profile to follow a curve it cannot make safely.
How Does a Lead Came Stained Glass Guide Help With Sizing?
A reliable sizing decision starts with the actual glass, not a remembered nominal thickness. Measure the sheet or an edge offcut, compare it with the channel opening, and test the fit before cutting a complete run. The channel should hold the pane securely without chipping, crushing, or leaving enough space for it to rattle.
Match the channel to the glass
Slide a glass edge into a short piece of came with light pressure. If the profile grips so tightly that the edge chips or will not seat, choose a wider channel or a different profile. If the pane moves loosely, check whether the channel has opened too far or the glass is thinner than expected.
Account for anything that will occupy the channel, such as foil, cement, or another finishing material used in the design. A profile that looks right from the front can still be mechanically wrong if it does not protect the glass edge. Fit should guide the decision more than a universal width chart.
Balance line weight and panel scale
Visible came width is also a design choice. A broad face can create strong lines in a large window or geometric panel. A narrower face may suit small work with delicate shapes. Lay a short sample over the pattern or hold it beside the glass at the intended viewing distance. This quick test shows whether the line supports the design before you commit to a full length.
Keep glass compatibility planning separate from channel sizing. If a project includes firing, use glass from a compatible system and consider its COE, viscosity, and softening point in the firing schedule. Those properties do not tell you whether a lead channel fits. Review the available stained glass materials and stained glass supplies for the construction method.
Before ordering a full bundle, make a small test joint with the actual glass and profile. Check the fit from the face and side, then flex the sample gently to see whether the pane stays seated. This trial can reveal a channel that is too tight. A profile that is too soft for the intended frame, or a line weight that overwhelms a small design. It also gives you a chance to confirm how the came reacts to cutting, stretching, and bending. Keep notes about the profile and glass combination so a successful test can guide the rest of the panel. When the fit is uncertain, choose a different profile or ask the supplier for product-specific channel information rather than forcing the material into service.
A careful test also protects the pattern. If the sample shifts or binds, correct the cause before the full panel is laid out. Small adjustments are easier to make with one short piece than after every edge has been cut.
How to Cut, Stretch, and Bend Lead Came
Prepare lead came in a controlled sequence. Establish a clean workspace, measure the run, straighten long pieces, and cut carefully. Open narrowed channels only as needed, dry-fit the glass, and shape curves gradually. This order limits distortion and prevents an inaccurate cut from causing problems after the glass is inserted.
- Set up the work area. Use a stable, easy-to-clean board. Keep food and drinks away, provide ventilation that exhausts outside, and wash your hands after handling lead came.
- Measure the run. Use the cartoon or pattern to determine the length. Mark the cut line and allow for fitting adjustments. Confirm that the profile suits the measured glass.
- Stretch straight pieces. Secure one end in a purpose-made holding tool and pull steadily to remove waviness. Do not jerk the came or pull until the channel distorts.
- Cut in stages. Secure the profile and use a suitable came knife, lead nippers, or another purpose-made tool. Remove only burrs that interfere with a clean joint.
- Restore channel shape. If handling has narrowed a channel, open it only to the working width needed for the glass. Avoid crushing the flanges.
- Dry-fit before permanent shaping. Check the glass edges, joints, pattern lines, and border. Correct binding, loose fits, or drifting alignment before adding solder.
- Bend curves gradually. Support the came against the pattern and make small progressive bends. Recheck the profile, then trim the ends after the curve is accurate.
For soldering equipment and related materials, see the guide to soldering a stained glass project. Follow the directions for each flux, solder, and finishing product rather than assuming every combination behaves the same way.
How Do You Assemble and Solder a Leaded Panel?
Assemble a leaded panel on a flat board larger than the design, with the pattern secured beneath or beside the work. Build from a planned corner or edge, keep the glass seated in its channels, and tack joints before completing the soldering. Frequent alignment checks prevent small shifts from becoming permanent structural errors.
Build and tack the layout
Place the first came against the pattern and use temporary stops or brads to keep the border from moving. Slide each pane into its channel without forcing it. Add the next length, then check that the joints meet cleanly and that the design remains square. Measure the diagonals and sight along the lead lines before proceeding.
Once the dry fit is stable, tack-solder the intersections. A tack is a small amount of solder that holds the network together without filling every joint. Alternate areas rather than heating one region repeatedly. If a joint does not wet properly, stop and clean the contact surfaces before trying again.
Complete the joints and inspect the panel
Finish each intersection with a neat, adequately bonded joint. Avoid excessive heat or lingering in one spot, especially near fragile glass. Large, tall, or frequently handled panels may need reinforcing bars or another support method suited to their size and installation. Plan that support before the panel is finished.
Inspect corners, edges, and solder points. Confirm that no glass edge is exposed where it could cause injury, and remove sharp points or excess flux according to product directions. The Illinois Department of Public Health lead-safety guidance emphasizes ventilation, housekeeping, and hygiene. Avoid dry sweeping, control residue, and wash your hands after the session.
Zinc Came vs Lead Came: When Is Each the Better Choice?
Zinc and lead came serve different design needs. Zinc is comparatively rigid and suits crisp straight lines, geometric frames, and firm perimeters. Lead is more malleable and suits organic contours, rounded borders, and traditional panels where the came follows the movement of the glass. Choose by shape, scale, handling, and reinforcement needs.
Choose zinc for straight structure
Zinc can help a rectangular frame or architectural design keep a clear linear appearance during layout. Its stiffness is useful when the frame itself is a strong graphic element. The tradeoff is flexibility. Avoid forcing zinc into a tight curve or using it to compensate for inaccurate measurements.
Choose lead for curves and traditional lines
Lead came fits flowing designs and irregular borders because it can be shaped progressively. It also gives a traditional leaded panel a softer visible line. Stretching can make straight runs easier to handle, but it does not replace a test fit or careful support.
Copper foil is another construction method. It wraps individual glass edges instead of placing them into a came channel, so it behaves differently during layout and finishing. The choice between foil, lead, and zinc should reflect the design, size, desired line, and working method. For broader planning, use the complete stained glass techniques reference.
Find the stained glass tools and supplies for your next panel.
Frequently Asked Questions About Lead Came Stained Glass
What is the difference between H-came and U-came?
H-came has two channels and joins adjacent pieces inside a panel. U-came has one channel and a finished outside face, so it is commonly used around an exposed edge, frame, or border.
How do I choose a lead came channel size?
Measure the actual glass and test it in a short piece of came. The pane should seat securely with light pressure, without chipping, binding, or rattling. Account for any material that will occupy the channel.
Should lead came be stretched before use?
Stretch long straight pieces gently before cutting to remove waviness and make alignment easier. Secure the came, pull steadily, and stop before the profile or channel distorts. Shape curved sections gradually against the pattern.
Does COE determine which lead came I should buy?
No. COE concerns glass expansion and contraction during heat-based processes. Came selection depends on the profile, channel opening, glass thickness, panel design, and construction method. Compatibility still matters for the glass itself.