
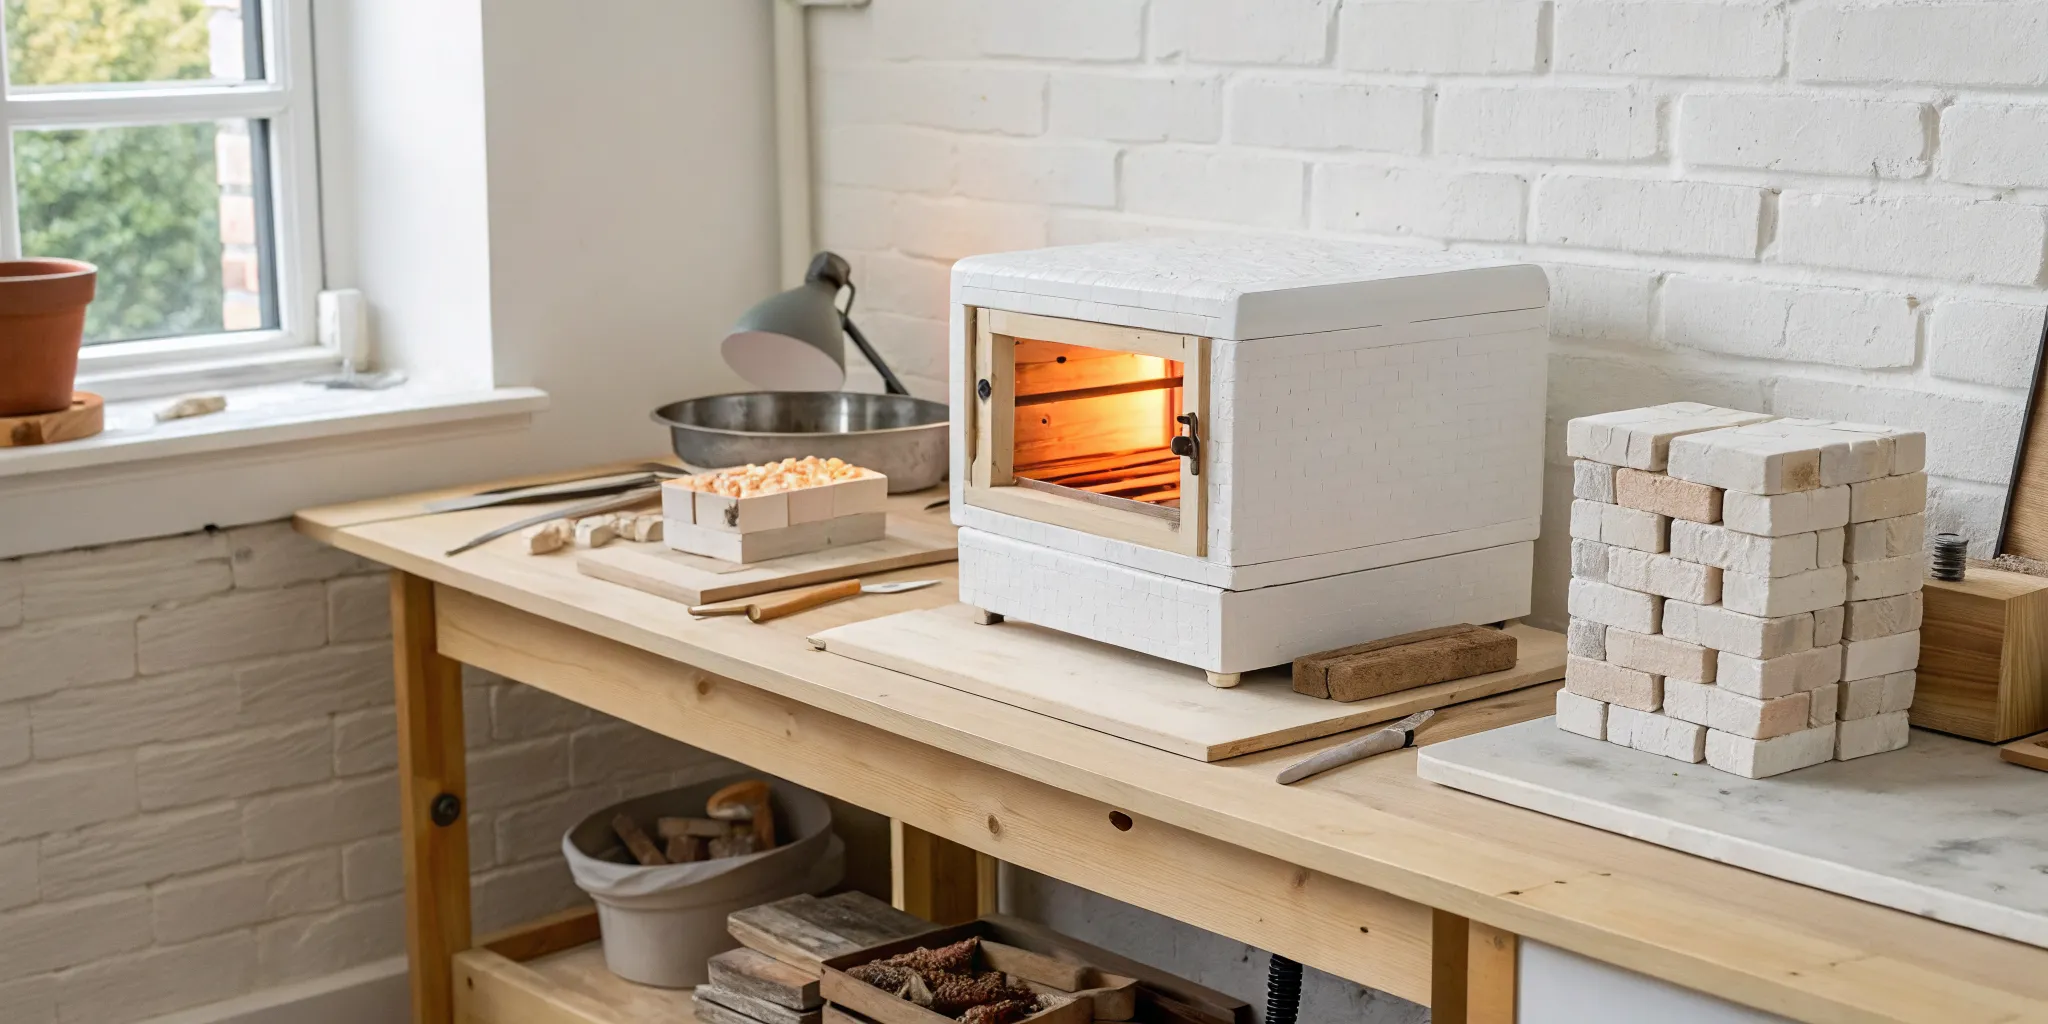
Tired of working around someone else’s schedule just to fire your glass projects? Renting studio time is not only limiting, but it gets expensive. Bringing a glass fusing kiln into your own studio is a complete game-changer, giving you the freedom to create whenever inspiration strikes. It’s the key to truly mastering the firing process on your own terms. You can test new techniques and work on your own timeline. This guide is here to help you choose a kiln that fits your space, budget, and artistic goals for years to come.
Key Takeaways
- Choose your first kiln with confidence: Look for a model with a programmable digital controller for consistent results, a medium size that fits a 13 to 15-inch shelf, and compatibility with a standard household outlet for an easy setup.
- Set up your studio for success: A safe, well-ventilated workspace is your top priority, and having essentials like kiln shelves, shelf paper, and glass cutters ready will make your first firing process much smoother.
- Master the basics to avoid common mistakes: Always use glass with the same COE to prevent cracking, clean your glass thoroughly for a professional finish, and trust your kiln’s pre-set firing schedules as you learn.
So, What Exactly Is a Glass Fusing Kiln?
A glass fusing kiln is essentially a specialized, high-temperature oven designed to heat glass to precise temperatures, allowing you to melt and join different pieces together. Think of it as the heart of your glass art studio. Unlike a pottery kiln, which often reaches much higher temperatures, a glass kiln offers the fine-tuned control needed to achieve specific effects like tack fusing (a textured finish) or full fusing (a smooth, blended surface). This precision is what allows you to create delicate jewelry pendants or sturdy, colorful plates with predictable results.
For anyone starting out, a tabletop kiln is the perfect entry point. These compact but powerful units are designed for home use and can handle a surprising range of projects. The key is to find one with a shelf large enough for the molds and glass pieces you envision creating. Having your own kiln opens up a world of creative possibilities right in your own space. You can experiment with different glass types, colors, and forms on your own schedule. Instead of renting kiln time at a local studio, you have the freedom to test new ideas whenever inspiration strikes. This hands-on access helps you quickly learn how different firing schedules affect your glass, speeding up your journey from beginner to confident artist.
How Does a Glass Fusing Kiln Actually Work?
At its core, glass fusing is a straightforward process. You start by cutting and layering pieces of compatible glass onto a flat base piece. This design is then placed inside a kiln and heated according to a specific “firing schedule,” which is a pre-programmed set of temperatures and hold times. As the kiln heats up, the glass softens and the layers melt, or “fuse,” into a single, solid piece. The final look depends entirely on the peak temperature you reach. A lower temperature might just stick the pieces together, while a higher one will melt them into a smooth, flat surface. It’s crucial to use glass with the same Coefficient of Expansion (COE) to prevent cracking as it cools. Most artists work with either COE90 or COE96 glass.
Kiln Design: What Makes a Glass Kiln Different?
You might see a glass kiln and a pottery kiln side-by-side and think they’re basically the same thing. While they both get incredibly hot, their designs are fundamentally different, tailored to the unique needs of their materials. A glass kiln is engineered for precision, focusing on even heating and controlled cooling to prevent thermal shock in your delicate pieces. The main distinctions come down to their construction materials, the placement of their heating elements, and their overall shape. Understanding these differences will help you appreciate why using a dedicated glass kiln is so important for getting beautiful, consistent results with your fusing projects.
Ceramic Fiber vs. Firebrick Construction
Many modern glass kilns are built with ceramic fiber walls instead of the dense firebrick found in most pottery kilns. This isn’t just a matter of weight; it completely changes how the kiln performs. Ceramic fiber is lightweight and heats up and cools down very quickly. This rapid response time gives you incredible control over the firing schedule, which is essential for achieving specific fusing effects without over-firing your glass. Firebrick, on the other hand, absorbs and holds heat for a long time. While great for the slow, sustained firings pottery requires, it’s less ideal for the precise temperature ramps and holds needed to fuse glass successfully and avoid thermal shock.
The Importance of Heating Element Placement
Another key difference is where the heating elements are placed. In a glass fusing kiln, you’ll typically find the elements in the lid, the sides, or both. This design allows heat to radiate evenly down onto the surface of your glass project. Why does this matter so much? Even heating is crucial for ensuring your entire piece fuses at the same rate, from the center to the edges. When one part of the glass gets hotter than another, it creates internal stress that can lead to cracking during the cooling phase. By heating the glass uniformly, these kilns give your beautiful sheets of COE90 glass the stable environment they need to fuse perfectly without any unexpected breaks.
Why Glass Kilns Are Often Shallower
If you place a glass kiln next to a pottery kiln, you’ll immediately notice the difference in shape. Glass kilns are much shallower, and for good reason. This design makes it easy to load and unload flat glass projects without having to reach deep into a hot chamber. It also provides a better view of your work, which is helpful for placing pieces precisely. This shallow depth is perfectly suited for the kind of work most glass artists do, from fusing small jewelry components to creating larger plates and platters. It’s an ideal shape for working with various molds for slumping and draping, as you can easily position both the mold and the glass for a successful firing. Pottery kilns, in contrast, are built tall to accommodate stacking shelves of pots and sculptures.
Is an At-Home Glass Fusing Kiln Worth It?
Bringing a kiln into your home studio is a game-changer. Fused glass is one of the most accessible ways to get into kiln work, and it unlocks so much creative potential. Suddenly, you can make custom jewelry, vibrant coasters, decorative suncatchers, and unique dishes that are both beautiful and functional. You’re no longer limited to what you can create with cold techniques. An at-home kiln gives you the control to experiment with slumping (shaping glass over a mold) and draping (letting glass melt over a form), turning flat fused pieces into three-dimensional art. It’s an investment that pays off in artistic freedom and the ability to bring your most colorful ideas to life.
How Much Space and Money Do You Need for a Kiln?
Before you buy a kiln, it’s smart to think about your budget and workspace. Glass fusing kilns can range from a few hundred dollars for a small, microwave-style unit to several thousand for a larger, professional model. The good news is you don’t need to break the bank to get started. Many excellent beginner kilns are available at an affordable price point. For your space, you’ll need a well-ventilated area with a sturdy, level surface away from flammable materials. Even small tabletop kilns require proper clearance on all sides. Also, check your electrical setup. Most smaller kilns run on a standard household outlet, but larger models may require a dedicated, higher-voltage circuit.
Choosing Your Kiln: Key Features to Consider
Picking out your first kiln is a huge step, but it’s simpler than it looks. By focusing on a few key features, you can find the perfect model for your space, budget, and creative vision. Let’s walk through the most important things to look for so you can feel confident in your decision.
How Big of a Kiln Do You Really Need?
When you’re starting out, a medium-sized kiln is often the best choice. Look for a model that can fit a 13- to 15-inch shelf, which is large enough for projects like a 12-inch plate or decorative tiles. This size offers plenty of creative freedom without taking over your workspace, making it perfect for a home studio.
Why Temperature Range and Controls Matter
A programmable digital controller is a must-have. It automates the entire firing process by controlling temperature and timing based on a schedule you set. This removes the guesswork from fusing and delivers consistent results every time. While some basic kilns use manual switches, a digital controller saves you time and prevents costly mistakes.
Common Fusing Temperatures to Know
To fuse glass, the kiln heats it to very high temperatures, usually between 1300º and 1500º Fahrenheit. Within this range, you can achieve different results by adjusting the heating and cooling plan, known as a “firing schedule.” Think of it this way: a lower temperature might just stick the pieces together in what’s called a “tack fuse,” preserving the texture and dimension of your individual glass cuts. This is great for creating pieces with a lot of surface detail. If you want a completely smooth, blended surface, you’ll need a “full fuse,” which requires a higher temperature to melt the glass layers into a single, flat piece. Mastering these temperatures is key to controlling your artistic outcomes.
Do You Need a High-Temperature Kiln?
You might think you need a kiln that can reach extreme temperatures, but for glass fusing, precision is far more important than raw power. Unlike a pottery kiln, which often gets much hotter, a glass kiln gives you the fine-tuned control needed to achieve specific effects. Whether you’re aiming for a textured tack fuse or a smooth full fuse, any quality glass fusing kiln will easily reach the necessary temperatures. The most important thing is that your kiln can reliably hold specific temperatures for set amounts of time. This control allows you to work successfully with popular glass types like COE90 and COE96, ensuring your projects come out exactly as you planned.
Will a Kiln Work with Your Home’s Outlets?
Before buying a kiln, check its power requirements. Many beginner-friendly models plug directly into a standard 120-volt household outlet. This is a huge plus because you won’t need to hire an electrician for special wiring. Always confirm the voltage is compatible with your home’s electrical system to make setup simple and easy.
Understanding Energy Consumption and Wattage
It’s also smart to think about how running a kiln will affect your energy bill. The amount of electricity a kiln uses depends on its size, how well it’s insulated, and the firing temperatures you need for your projects. Smaller, tabletop kilns are generally more energy-efficient and economical for hobbyists, making them a great starting point. While many of these models operate on a standard 120-volt outlet, their wattage still contributes to your overall energy consumption. When comparing different kilns, look at their power specifications. A more efficient model with better insulation might have a higher upfront cost but can save you money on electricity in the long run by holding heat more effectively during a firing cycle.
Don’t Skip These Safety and Ventilation Features
Safety is the top priority. Modern kilns have built-in features like automatic shut-offs to prevent overheating. Proper ventilation is also critical, as firing glass can release fumes. Set up your kiln in a well-ventilated space like a garage or workshop, never in your main living area, and ensure there’s good airflow.
Looking for Durability? What to Know About Relays
When looking at specs, you might see the term “relay,” a switch that cycles the heating elements. Some kilns use mechanical relays, which wear out over time. A better option is a solid-state relay. Since they are electronic with no moving parts, they last much longer and are far more reliable, saving you from future repairs.
Beyond Fusing: Other Types of Glass Kilns
While fusing is often the main event, the world of glass art is vast, and so is the range of available kilns. As you grow as an artist, you might find yourself drawn to techniques that require specialized equipment. Understanding these other kiln types can open your eyes to new creative paths. From creating solid glass sculptures to pulling delicate strands of color, there’s a kiln designed for nearly every artistic impulse. These specialized tools are built to handle specific processes that a standard fusing kiln might not be optimized for, giving you even more control over your final creations.
Glass Casting and Annealing Kilns
Glass casting is a fascinating process where you pour molten glass into a form to create solid, three-dimensional objects. To do this, you need a kiln that can handle the slow, controlled cooling required for thick glass pieces. This cooling process is called annealing, and it’s essential for preventing internal stress that can cause the glass to crack. Annealing kilns are specifically designed for this purpose, ensuring your cast sculptures, paperweights, or architectural elements cool down evenly and safely. While many fusing kilns can anneal smaller projects, a dedicated casting and annealing kiln is a must for anyone serious about creating substantial, sculptural glass art with intricate molds.
Vitrigraph Kilns for Pulled Stringers
If you’ve ever admired art with delicate, spaghetti-like lines of glass, you’ve likely seen the work of a Vitrigraph kiln. These unique, top-loading kilns have a hole in the bottom. You place a pot full of scrap glass inside, heat it until it becomes molten, and then pull the flowing glass through the hole to create thin strands called stringers and murrine. Because this process requires a very specific setup and lower operating temperatures, a specialized Vitrigraph kiln is necessary. It’s a fantastic way to recycle scrap glass from your COE90 or COE96 projects and turn it into a completely new design element for future work.
Extra Features That Make a Difference
When you’re comparing different kiln models, the basic specs like size and temperature are just the starting point. The small, extra features are often what separate a good kiln from a great one, making your creative process smoother, safer, and more enjoyable. These thoughtful additions show that the manufacturer understands the day-to-day realities of a glass artist. From being able to check on your project mid-fire to simplifying cleanup after the fact, these details can have a big impact on your workflow and the longevity of your equipment. Paying attention to them now can save you a lot of hassle down the road.
Viewing Windows and Bead Doors
A viewing window is an incredibly useful feature that lets you monitor your glass as it fires without having to open the lid and cause a sudden drop in temperature. This allows you to watch the fusing process in real-time, helping you learn exactly how your glass behaves at different temperatures and giving you the chance to stop the firing at the perfect moment. Some kilns also come with a smaller, secondary opening called a bead door. This feature is perfect for artists who make glass beads, as it provides easy access to insert and remove a bead-making mandrel without disturbing the kiln’s internal temperature, making the process much more efficient.
Cool-Touch Exteriors and Lid Safety Switches
Safety should always be a top priority in your studio, and modern kilns come with features designed to give you peace of mind. A cool-touch exterior is a great example, as it helps prevent accidental burns if you brush against the kiln while it’s operating. An even more critical feature is a lid safety switch. This mechanism automatically cuts power to the heating elements the moment the lid is opened, protecting you from exposure to extreme temperatures. This is especially important in a home studio environment where distractions can happen, ensuring a safer workspace for you and anyone else who might be nearby.
Removable Floors for Easy Cleaning
Accidents happen, and sometimes glass can flow off your shelf or kiln wash can flake onto the kiln floor. A kiln with a reversible or removable floor makes cleanup so much easier. Instead of trying to scrape or vacuum out debris from inside the kiln chamber, you can simply take the floor out to clean it thoroughly. This not only saves you time and frustration but also helps maintain the integrity of your kiln’s firebrick and heating elements. Keeping your kiln clean is essential for ensuring its longevity and achieving consistent, professional results, making this practical feature a true long-term benefit.
Which Glass Fusing Kiln Is Best for a Beginner?
Picking your first kiln is a huge step, and it’s totally normal to feel a little overwhelmed by all the options. The good news is that modern kilns are more user-friendly than ever, especially those designed for home studios. When you’re just starting out, the best kiln is one that simplifies the process so you can focus on your art, not on complex machinery. Think about it in terms of three main factors: how you’ll load your glass, how you’ll control the temperature, and what fits your budget.
Most beginners find that smaller, tabletop kilns are the perfect entry point. They don’t require special wiring, fit easily into a home workspace, and are designed specifically for the temperature ranges needed for glass fusing. As you browse, you’ll notice different loading styles and controller types. Don’t worry about getting the most advanced model right away. Instead, look for a reliable, well-built kiln with features that make your life easier. A great beginner kiln will help you achieve beautiful results consistently, building your confidence as you learn the ins and outs of fusing.
Starting Small: Microwave Kilns and “Studio in a Box” Kits
If you’re intrigued by glass fusing but not quite ready to commit to a larger piece of equipment, starting small is a fantastic option. Microwave kilns are incredibly affordable and let you fuse small projects like jewelry pendants and cabochons right in your home microwave. These compact units are perfect for dipping your toes into the craft without needing a dedicated studio space. Similarly, “studio in a box” kits bundle everything you need, often including one of these small kilns, a selection of glass, tools, and instructions. These all-in-one packages remove the guesswork and let you create beautiful fused pieces from day one, making them an excellent way to experiment with fusing and discover if it’s the right hobby for you before making a bigger investment.
Top-Loader vs. Front-Loader: Which Is Right for You?
One of the first choices you’ll make is between a top-loading and a front-loading kiln. Most tabletop kilns designed for beginners are top-loading. This means the lid opens from the top, allowing you to look directly down into the chamber as you place your glass pieces. This design is fantastic for arranging smaller projects and ensuring everything is perfectly positioned before you fire.
Front-loading kilns open like a conventional oven, with a door on the front. You typically slide shelves into the chamber. While these are excellent for larger projects or for artists who need to load multiple shelves at once, they are often bigger and more common in professional studios. For most hobbyists starting with jewelry, coasters, or small art pieces, a top-loading kiln offers the perfect combination of convenience and accessibility.
A Guide to Your Kiln’s Digital Controller
A digital controller is your best friend when you’re new to glass fusing. This small electronic screen is the kiln’s brain, and it automates the entire firing schedule for you. Instead of manually adjusting the temperature throughout the process, you simply program the controller with the heating and cooling rates you need, and it does all the work. This precision is key to preventing thermal shock and achieving a perfect fuse.
Many modern kilns come with incredibly intuitive, preset programs specifically for glass. Some, like the GlassMaster Touchscreen Controller, even have apps and safety features that prevent you from accidentally selecting a high-fire ceramics program that could damage your glass. A reliable digital controller removes the guesswork and lets you repeat successful firings with ease.
Balancing Your Budget with Kiln Performance
It’s easy to assume that a more expensive kiln will give you better results, but that’s not always the case, especially when you’re starting out. Glass fusing kilns can range from a few hundred to several thousand dollars, but you can find many affordable options that deliver fantastic performance. A higher price tag often reflects a larger size or more advanced features that you may not need right away.
When comparing models, focus on build quality, controller reliability, and whether the size fits your project goals. Many entry-level kilns are built by the same trusted brands that make professional models, so you can count on their durability. The goal is to find a kiln that offers the best value for your needs, allowing you to invest the rest of your budget in beautiful glass and molds.
Remembering the Ongoing Cost of Glass
While your kiln is the main upfront investment, it’s important to budget for the materials you’ll use with it. The real fun is in collecting and creating with glass, and this will be your primary ongoing expense. Depending on the scale of your work, you might spend anywhere from $20 to $100 on glass for a single project. It’s a good idea to factor this in so you can keep your studio stocked with beautiful sheets of COE90 or COE96 glass. Think of it less as a recurring bill and more as an investment in your creative palette, allowing you to grab the perfect color or texture whenever an idea strikes.
Planning for Production and Shipping Delays
It’s helpful to know that most kilns are not sitting on a shelf waiting to be shipped; they are often built to order by the manufacturer. Because of this, production and shipping times can vary quite a bit. It’s not uncommon for some brands to have a lead time of several weeks or even a few months. When you’re ready to buy, be sure to ask about the current estimated production schedule. This is especially important if you have a specific deadline in mind, like preparing for a craft fair or making holiday gifts. A little planning ensures your new kiln will arrive right when you need it.
My Top Kiln Picks for Getting Started
If you’re looking for a great starting point, several models are consistently recommended for their ease of use and reliability. Kilns like the EvenHeat Studio Pro 14 and the Paragon Fusion 14 are popular choices because they are perfectly suited for small-scale glass fusing projects. They are user-friendly, durable, and have excellent digital controllers that make it easy to get started.
These kilns are large enough to experiment with different techniques but small enough to fit comfortably in a home studio or garage. Exploring models like these can give you a good sense of the features that matter most. Ultimately, the best kiln for you will match your artistic ambitions, your workspace, and your budget.
Your Essential Kiln Accessory Checklist
Your kiln is the heart of your home studio, but the right accessories are what truly bring your glass art to life. Think of them as the supporting cast that ensures every performance is a success. Gathering these essential tools before your first firing will make the entire process smoother, safer, and much more enjoyable. From protecting your kiln to preparing your glass, these items will help you achieve beautiful, professional-looking results right from the start. Let’s get your workspace set up with everything you’ll need.
What Is Kiln Furniture and Why Do You Need It?
Kiln furniture is the collection of heat-resistant shelves and posts that support your glass inside the kiln. A good kiln shelf is non-negotiable. It provides a flat, stable surface for your projects and protects the kiln floor from any accidental glass drips. When choosing a shelf, think about the size of the molds and pieces you plan to create. Proper shelving is key to using your kiln’s space efficiently and promoting even heat distribution. You’ll also need kiln wash or shelf paper to apply to the shelf surface, which prevents the glass from sticking during firing. This simple step will save you a world of frustration.
When to Use Posts, Dams, and Repair Kits
Kiln posts are sturdy ceramic stilts that allow you to stack multiple shelves, letting you fire several projects at once. Even if you start with one shelf, having posts on hand gives you room to grow. Dams are another useful tool. These are heat-resistant barriers you can place on your shelf to contain the flow of molten glass, helping you create specific shapes or thick pieces without the glass running everywhere. It’s also wise to have a small kiln repair kit with kiln cement. Little cracks can sometimes appear on the kiln’s interior, and being able to patch them quickly will extend the life of your kiln.
Additional Tools for Your Studio
High-Temp Boards and Rolling Stands
Beyond the essentials inside your kiln, a few other tools can make your studio space much more functional. A rolling stand is a fantastic investment, especially if your workspace is a garage or a shared area. These sturdy, wheeled carts are designed to hold your kiln securely, allowing you to easily move it for cleaning or to tuck it away when it’s not in use. This mobility gives you flexibility and helps you make the most of your space. Another incredibly useful item is a high-temp board. These rigid, lightweight ceramic fiber boards can be carved to create your own custom molds or used as temporary, lightweight shelving. They open up another layer of creative control, letting you experiment with unique forms and textures beyond what standard molds offer. Together, these tools help you build a studio that’s not just equipped, but also efficient and adaptable to your creative flow.
How to Create a Safe Fusing Studio
Creating a safe environment for your kiln is your most important task. Your kiln needs to be on a sturdy, level surface with plenty of clearance on all sides, away from any flammable materials. Proper ventilation is absolutely critical to vent fumes, so placing your kiln in a garage or workshop with good airflow is ideal. Always have a fire extinguisher nearby and invest in a pair of high-quality, heat-resistant gloves for handling hot items. If you’re ever unsure about your setup, taking a class at a local glass studio is a fantastic way to learn safety best practices from experienced artists.
Tools for Perfect Glass Prep (and What COE Means)
The golden rule of glass fusing is compatibility. You can’t mix glasses with a different Coefficient of Expansion (COE), or your finished piece will crack as it cools. Your studio should be organized to keep your COE90 glass separate from your COE96 glass. To prepare your glass for the kiln, you’ll need a few basic tools. A quality glass cutter, breaking and running pliers for clean breaks, and a grinder to smooth sharp edges are the essentials. These tools give you precise control over your designs and ensure your glass pieces fit together perfectly before they go into the kiln.
How to Keep Your Kiln Clean and Running Smoothly
Taking care of your kiln is just as important as creating with it. Regular maintenance ensures it operates efficiently and safely for years to come. Poor upkeep can lead to uneven heating or contamination of your glass. A small, dedicated shop vacuum is perfect for cleaning out dust and small debris from the kiln interior between firings (make sure the kiln is completely cool, of course). It’s also a good habit to regularly inspect your heating elements for any signs of wear and to keep your kiln shelves clean and freshly coated with kiln wash. A well-maintained kiln is a reliable partner in your creative journey.
How to Avoid Common Beginner Mistakes
Every artist has a collection of “learning experiences,” those pieces that didn’t quite turn out as planned. While trial and error are part of the creative process, you can sidestep some of the most common frustrations in glass fusing with a bit of know-how. Think of it as getting a head start on your journey. From understanding glass compatibility to loading your kiln with care, these simple practices will help you achieve beautiful, successful results much sooner. Paying attention to these details from the beginning builds a strong foundation of habits that will serve you well as you explore more complex projects. Let’s walk through a few key areas where new fusers often stumble and how you can avoid them.
Why You Can’t Mix Certain Glasses (A Guide to COE)
If you remember one rule in glass fusing, make it this one: never mix glass with a different COE in the same project. COE, or the Coefficient of Expansion, measures how much glass expands when heated and shrinks when cooled. If you fuse two pieces of glass with different COEs, they will shrink at different rates, creating stress that will cause your project to crack or even shatter. To avoid this heartbreak, always check the COE of your materials. Most fusing glass is clearly labeled as either COE90 or COE96. Stick to one type for your entire piece, including frits, stringers, and powders, to ensure everything fuses together harmoniously.
Getting Your Firing Schedule Just Right
A firing schedule is essentially a recipe of temperatures and times that guides your kiln through the fusing process. Firing too quickly is a classic beginner mistake that can lead to thermal shock, where the glass cracks from changing temperature too fast. While you’ll eventually learn to create custom schedules, it’s best to start with the manufacturer’s recommendations for the specific glass you’re using. Your kiln’s digital controller likely has pre-set programs for basic fusing, slumping, and tack fusing. Trust these schedules. They are designed to heat and cool the glass at a safe, controlled rate, giving you consistent and reliable results as you learn the ropes.
Always Check the Glass Manufacturer’s Recommendations
Think of the glass manufacturer’s recommendations as your ultimate cheat sheet. While your kiln’s pre-set programs are a great starting point, the companies that make the glass, like Bullseye and Wissmach, have tested their products extensively. They provide detailed firing schedules designed to get the best results for their specific glass. These guides often account for variables like the thickness of your project and whether you’re aiming for a tack fuse or a full fuse. Following these recommendations is the surest way to achieve predictable outcomes and avoid wasting your beautiful materials. Before you even start cutting, look up the suggested schedule for the COE90 glass you’re using. It’s a simple step that saves a lot of guesswork and potential disappointment.
The Right Way to Load Your Glass Fusing Kiln
How you place your project in the kiln is just as important as the firing schedule. First, always prepare your kiln shelf with a separator like kiln wash or shelf paper. This creates a barrier that prevents the molten glass from permanently fusing to your shelf. When placing your glass, leave at least an inch of space between your pieces and from the kiln’s walls and heating elements. This ensures even heat circulation. Also, be mindful of how thick you stack your glass. Stacking too many layers can trap air bubbles or cause the piece to heat unevenly, so it’s best to start with two or three layers.
Does Clean Glass Really Matter? (Spoiler: Yes!)
It might seem like a small step, but cleaning your glass before firing is absolutely essential. Any fingerprints, dust, or oils left on the surface can become permanently fused into your finished piece, creating smudges or cloudy spots called devitrification. Get into the habit of cleaning every piece of glass right before you assemble your project. You don’t need anything fancy; a simple wash with soap and water or a spritz of glass cleaner followed by a thorough dry with a lint-free cloth is all it takes. This simple act of preparation makes a huge difference in the clarity and professional finish of your work.
Stuck? Where to Find Fusing Help and Inspiration
Working with glass can sometimes feel like a solo activity, but you’re part of a huge, supportive community. When you run into a problem you can’t solve or just need a fresh idea, don’t hesitate to reach out. Online forums and social media groups dedicated to glass fusing are fantastic places to ask questions and see what other artists are creating. Many local art centers and studios also offer glass fusing classes where you can learn from experienced instructors and connect with fellow hobbyists in your area. Tapping into this collective knowledge is one of the best ways to grow your skills and stay inspired.
Related Articles
- Best Glass Kiln for Beginners: A Buyer’s Guide – ArtGlassSupplies
- The Ultimate Glass Fusing Kiln Guide for Artists – ArtGlassSupplies
- Microwave Kiln for Beginners: What to Buy & How It Works
- What is a Glass Kiln & How Does It Work? – ArtGlassSupplies
Frequently Asked Questions
What’s the difference between fusing, tack fusing, and slumping? Think of these terms as different results you can get by using different temperatures. A “full fuse” happens at a high temperature where the glass layers melt completely into one smooth, flat piece. A “tack fuse” uses a lower temperature, so the pieces of glass stick together firmly but keep their individual shape and texture. Slumping is a separate step you do after fusing; you place your flat fused piece over a mold and heat it again just enough for gravity to bend it into a shape, like a bowl or a plate.
Is it really safe to have a kiln in my garage? Yes, it is absolutely safe as long as you follow the proper safety guidelines. The most important factors are ventilation and clearance. Your kiln needs to be in a space with good airflow to vent any fumes, which is why a garage or workshop is a great spot. You also need to place it on a sturdy, non-flammable surface and keep it several inches away from any walls or combustible materials. As long as you respect the heat and give it the space it needs, a home kiln is a perfectly safe tool.
Which COE is better for a beginner, 90 or 96? Neither one is technically “better,” they are just two different systems of compatible glass. The most important thing is to choose one and stick with it for a project. Many beginners start with COE96 because it can be slightly more affordable and is known to be a little more forgiving in the kiln. On the other hand, COE90 glass, like Bullseye, offers an incredible range of colors. My advice is to browse the glass available in both COEs and see which color palette inspires you the most.
Do I really need a digital controller, or can I save money with a manual one? I strongly recommend investing in a kiln with a digital controller, especially when you’re starting out. While you might save a little money upfront with a manual kiln, the digital controller saves you from so much guesswork and potential frustration. It automates the entire firing schedule with precision, giving you consistent, successful results. This means you’ll waste less glass on failed projects and can confidently repeat what works, which makes the learning process much more enjoyable.
What should I make for my very first project? Start with something small and simple. A set of 4×4 inch coasters or a few jewelry pendants are perfect first projects. This allows you to practice the whole process on a manageable scale: cutting the glass, cleaning it, arranging your design, and running a basic firing schedule. You’ll learn how the glass behaves in the kiln without the pressure of creating a large masterpiece. Plus, you get a finished piece you can use and enjoy right away, which is a fantastic confidence builder.